How to Set Up Email Forwarding | Alice
Overview
Email forwarding in Alice lets you centralise communication by automatically routing messages from multiple email addresses into a single, main inbox. This guide will show you how to set up and manage email forwarding to streamline your workflow and enhance team collaboration.
Step-by-Step Guide
1. Access Email Forwarding Settings
-
Go to Settings → Inboxes in Alice.
- To access settings, click on the settings button on the left navigation bar.
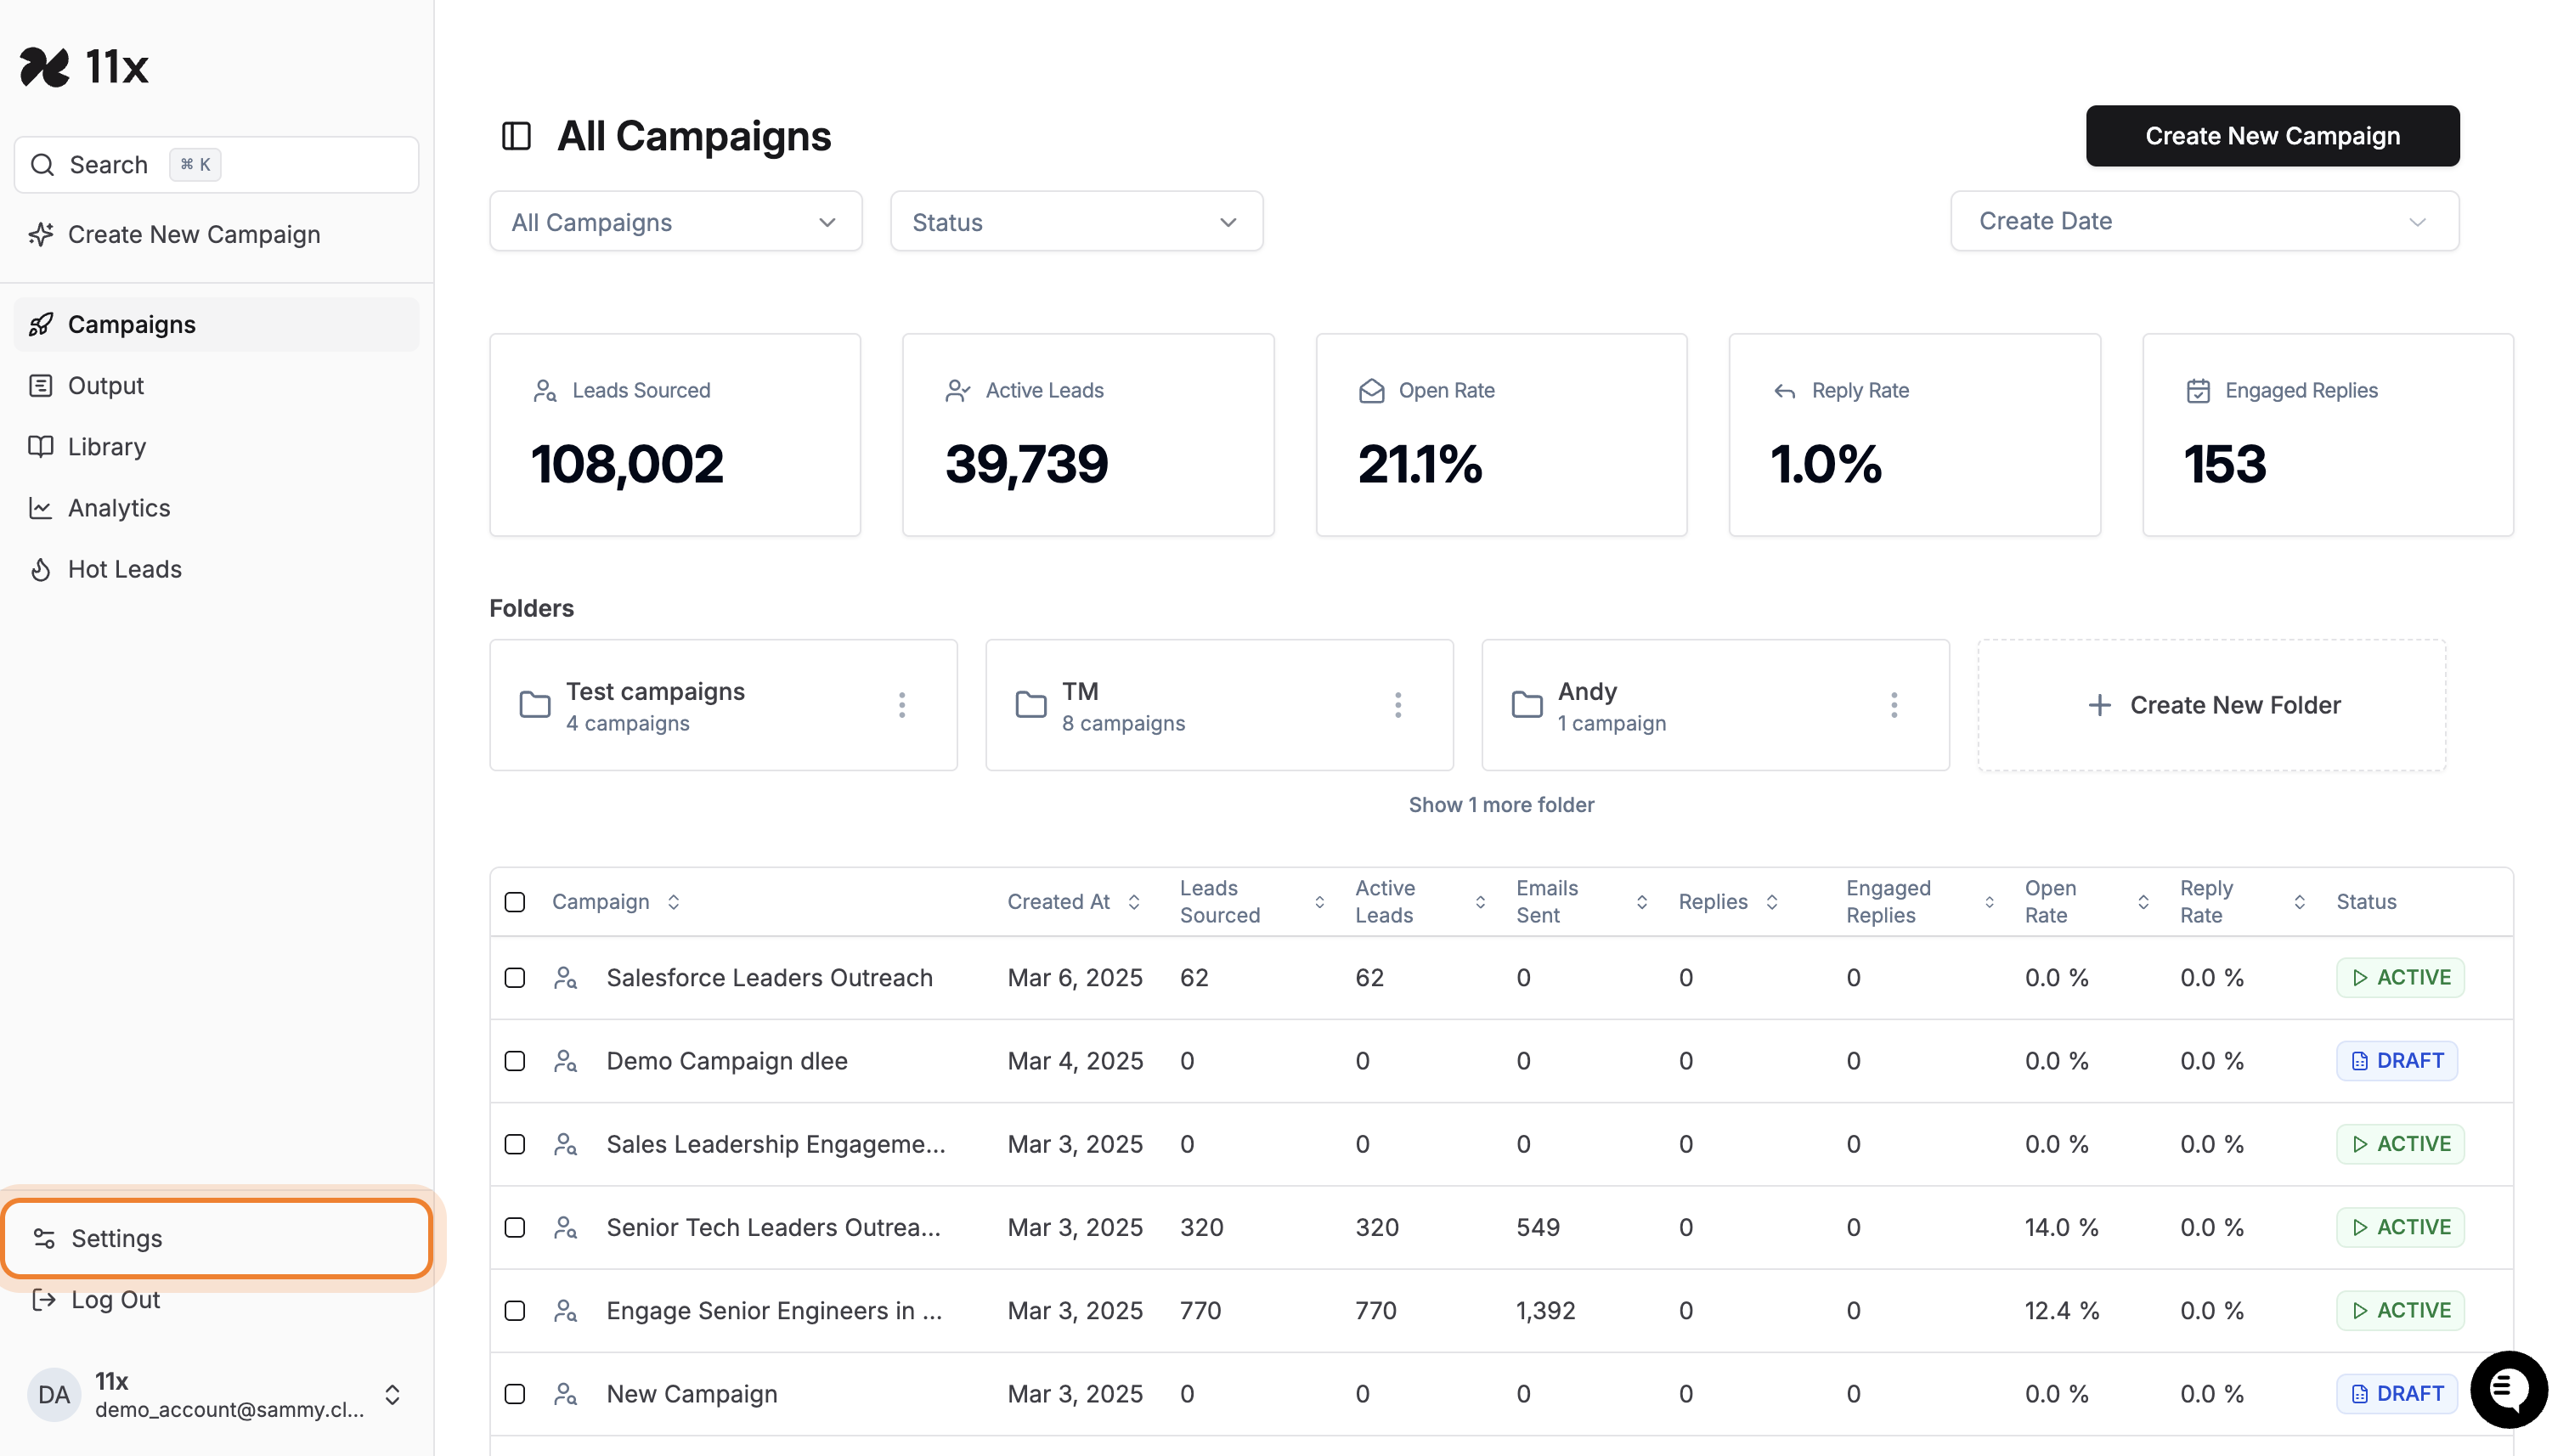
-
Once in settings, click the Inboxes button.
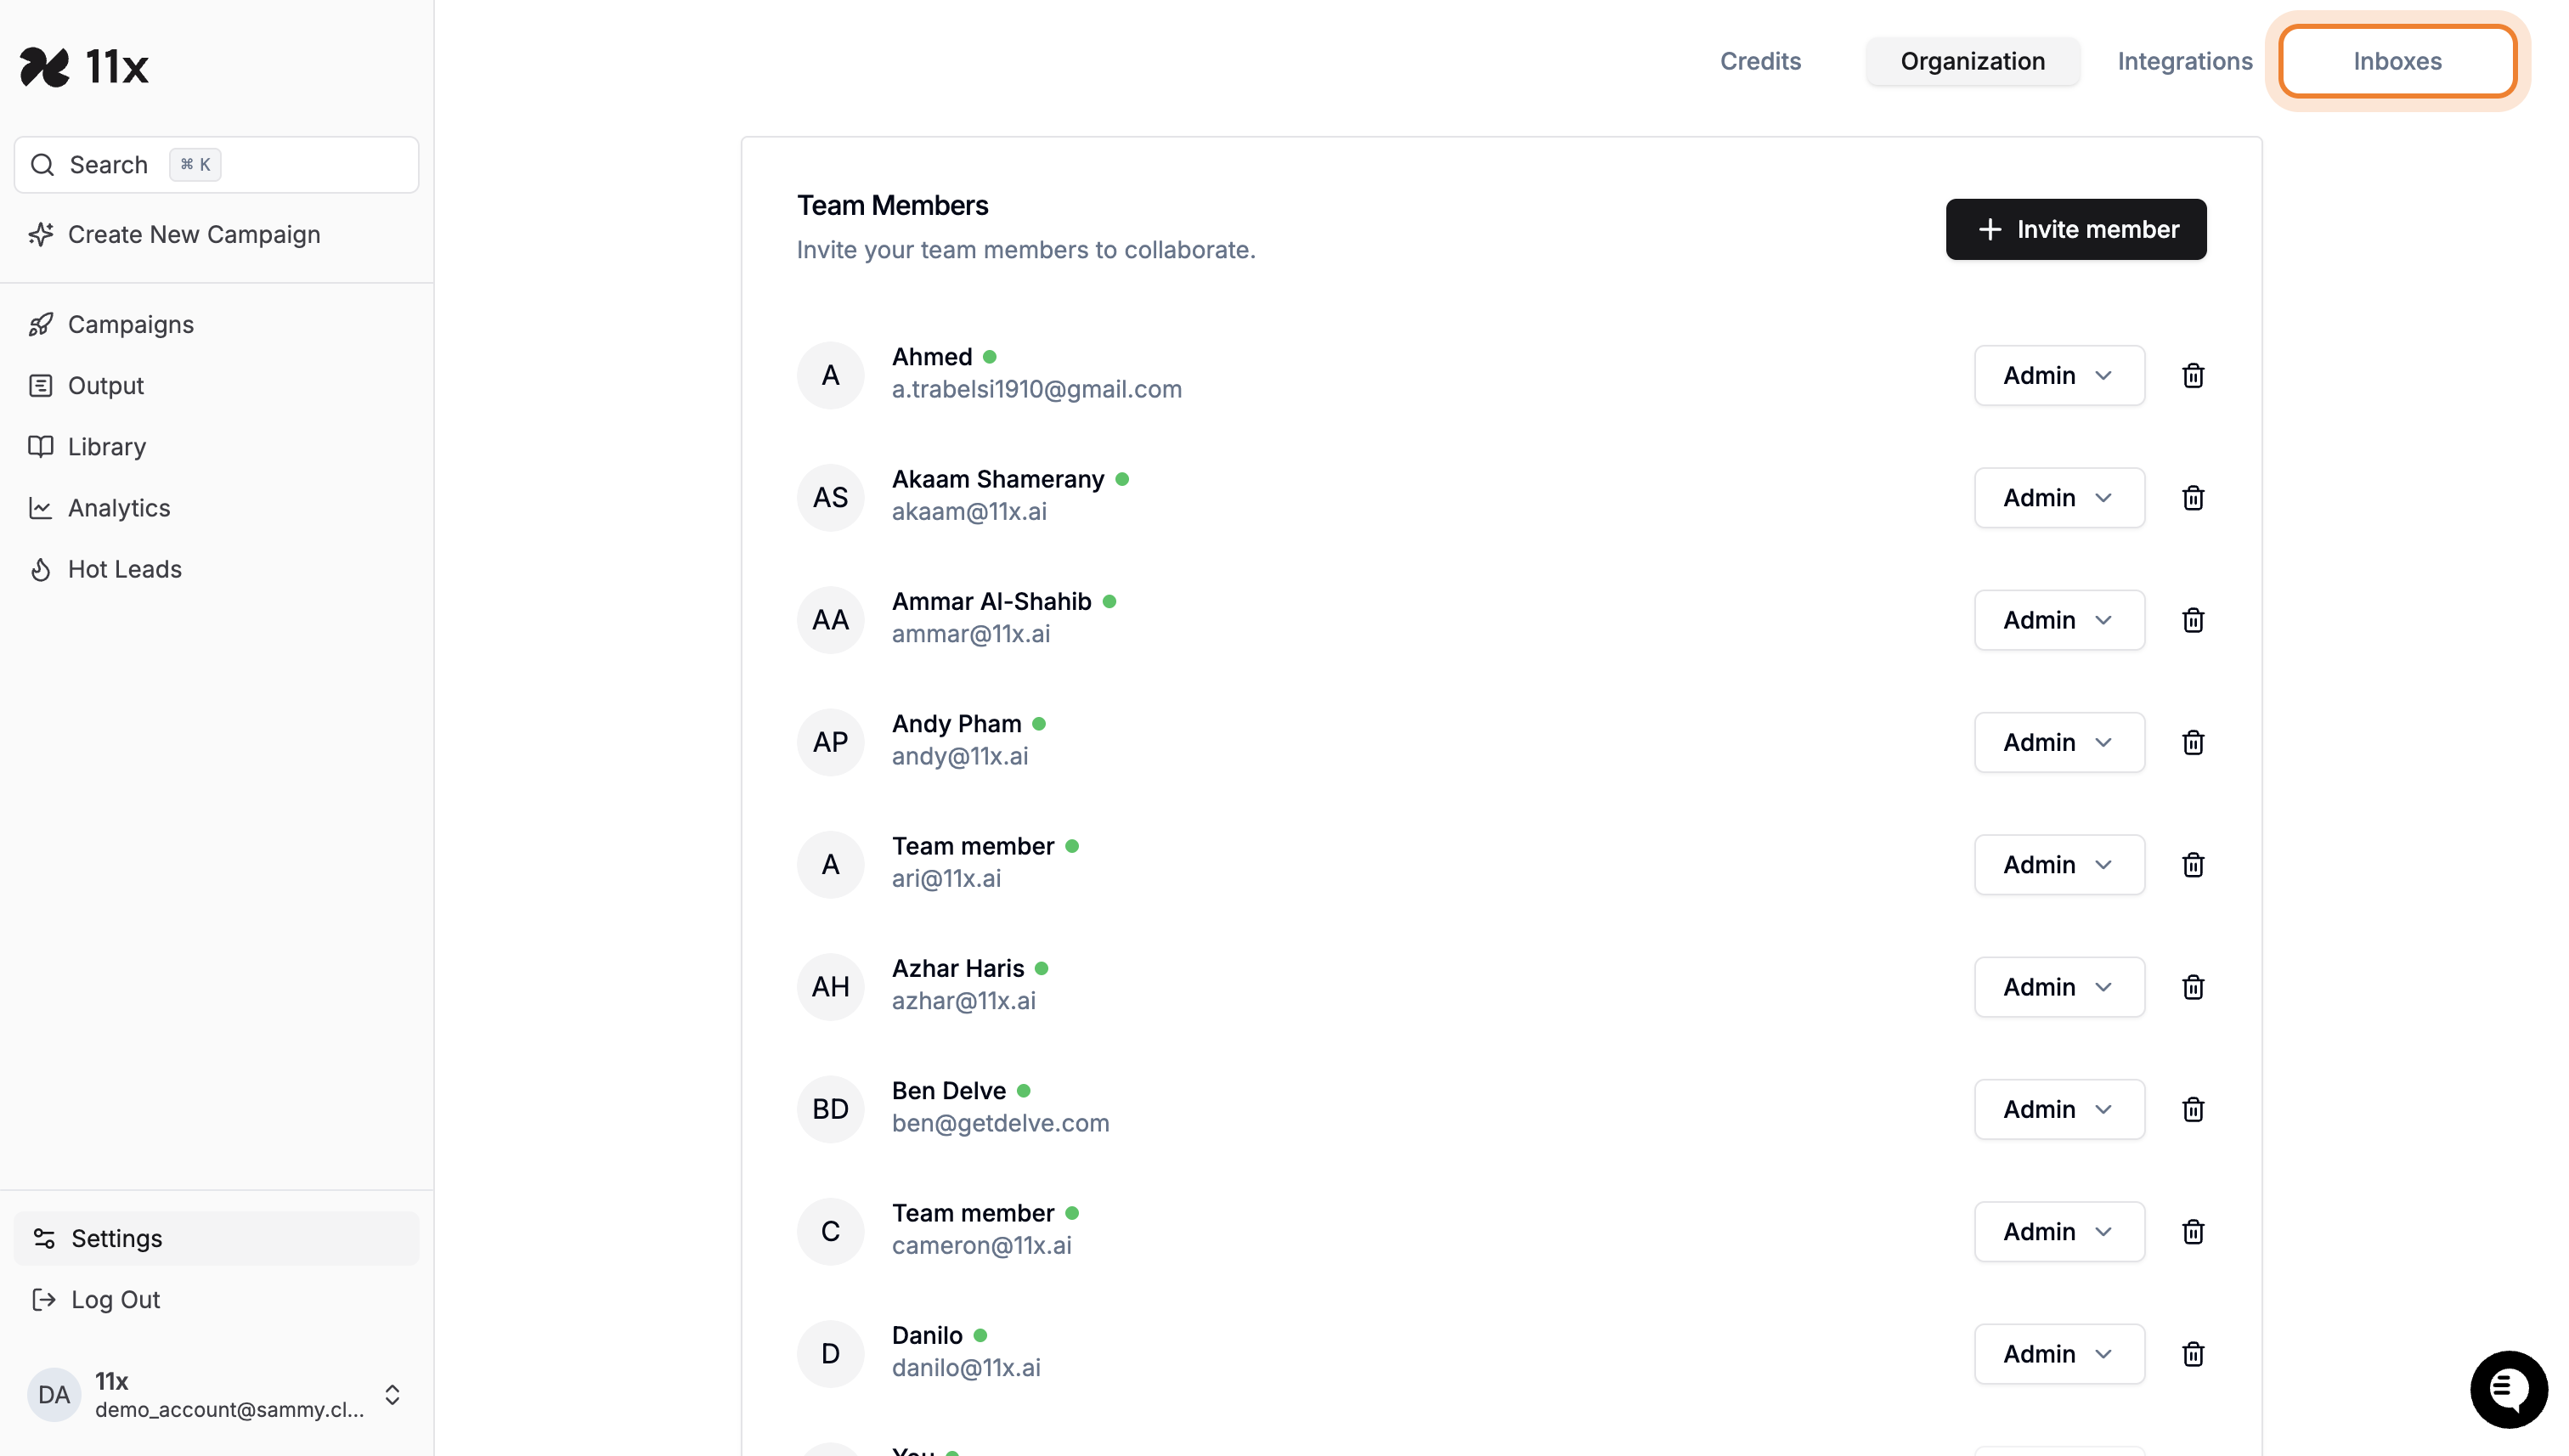
-
Review the list of team members and their associated email addresses.
-
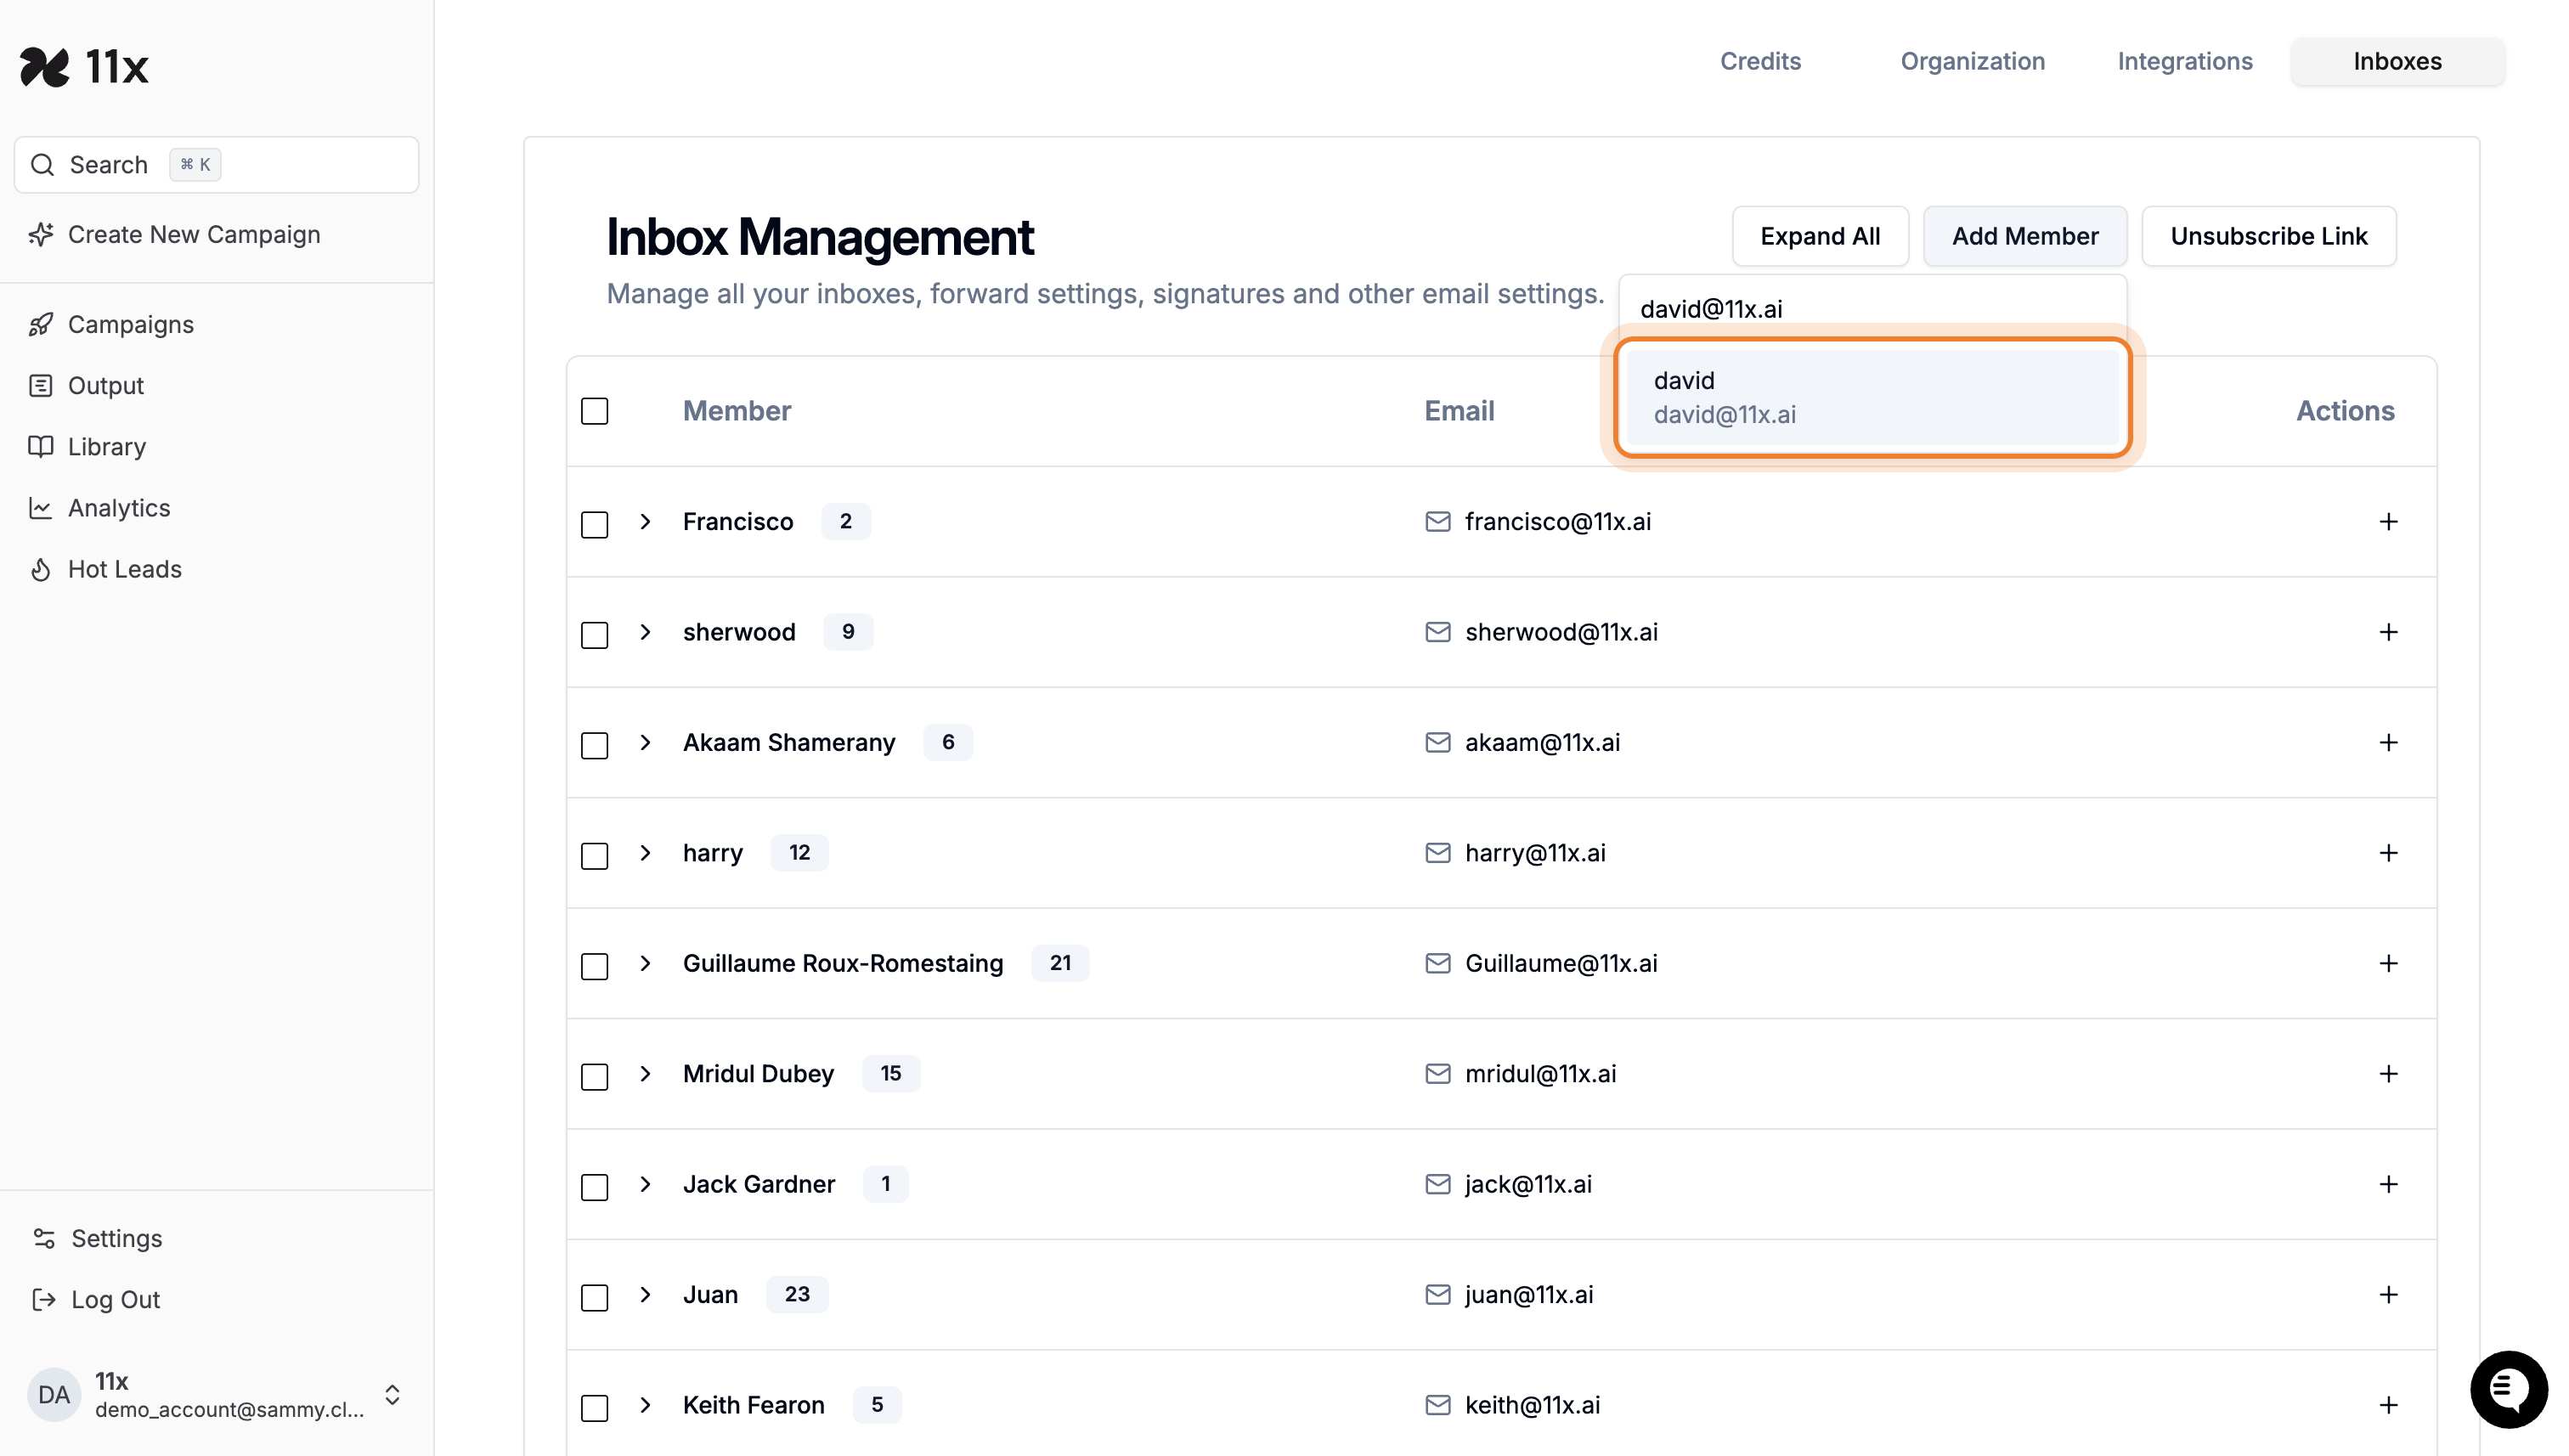
To add a new team member:
-
Click Add Member.
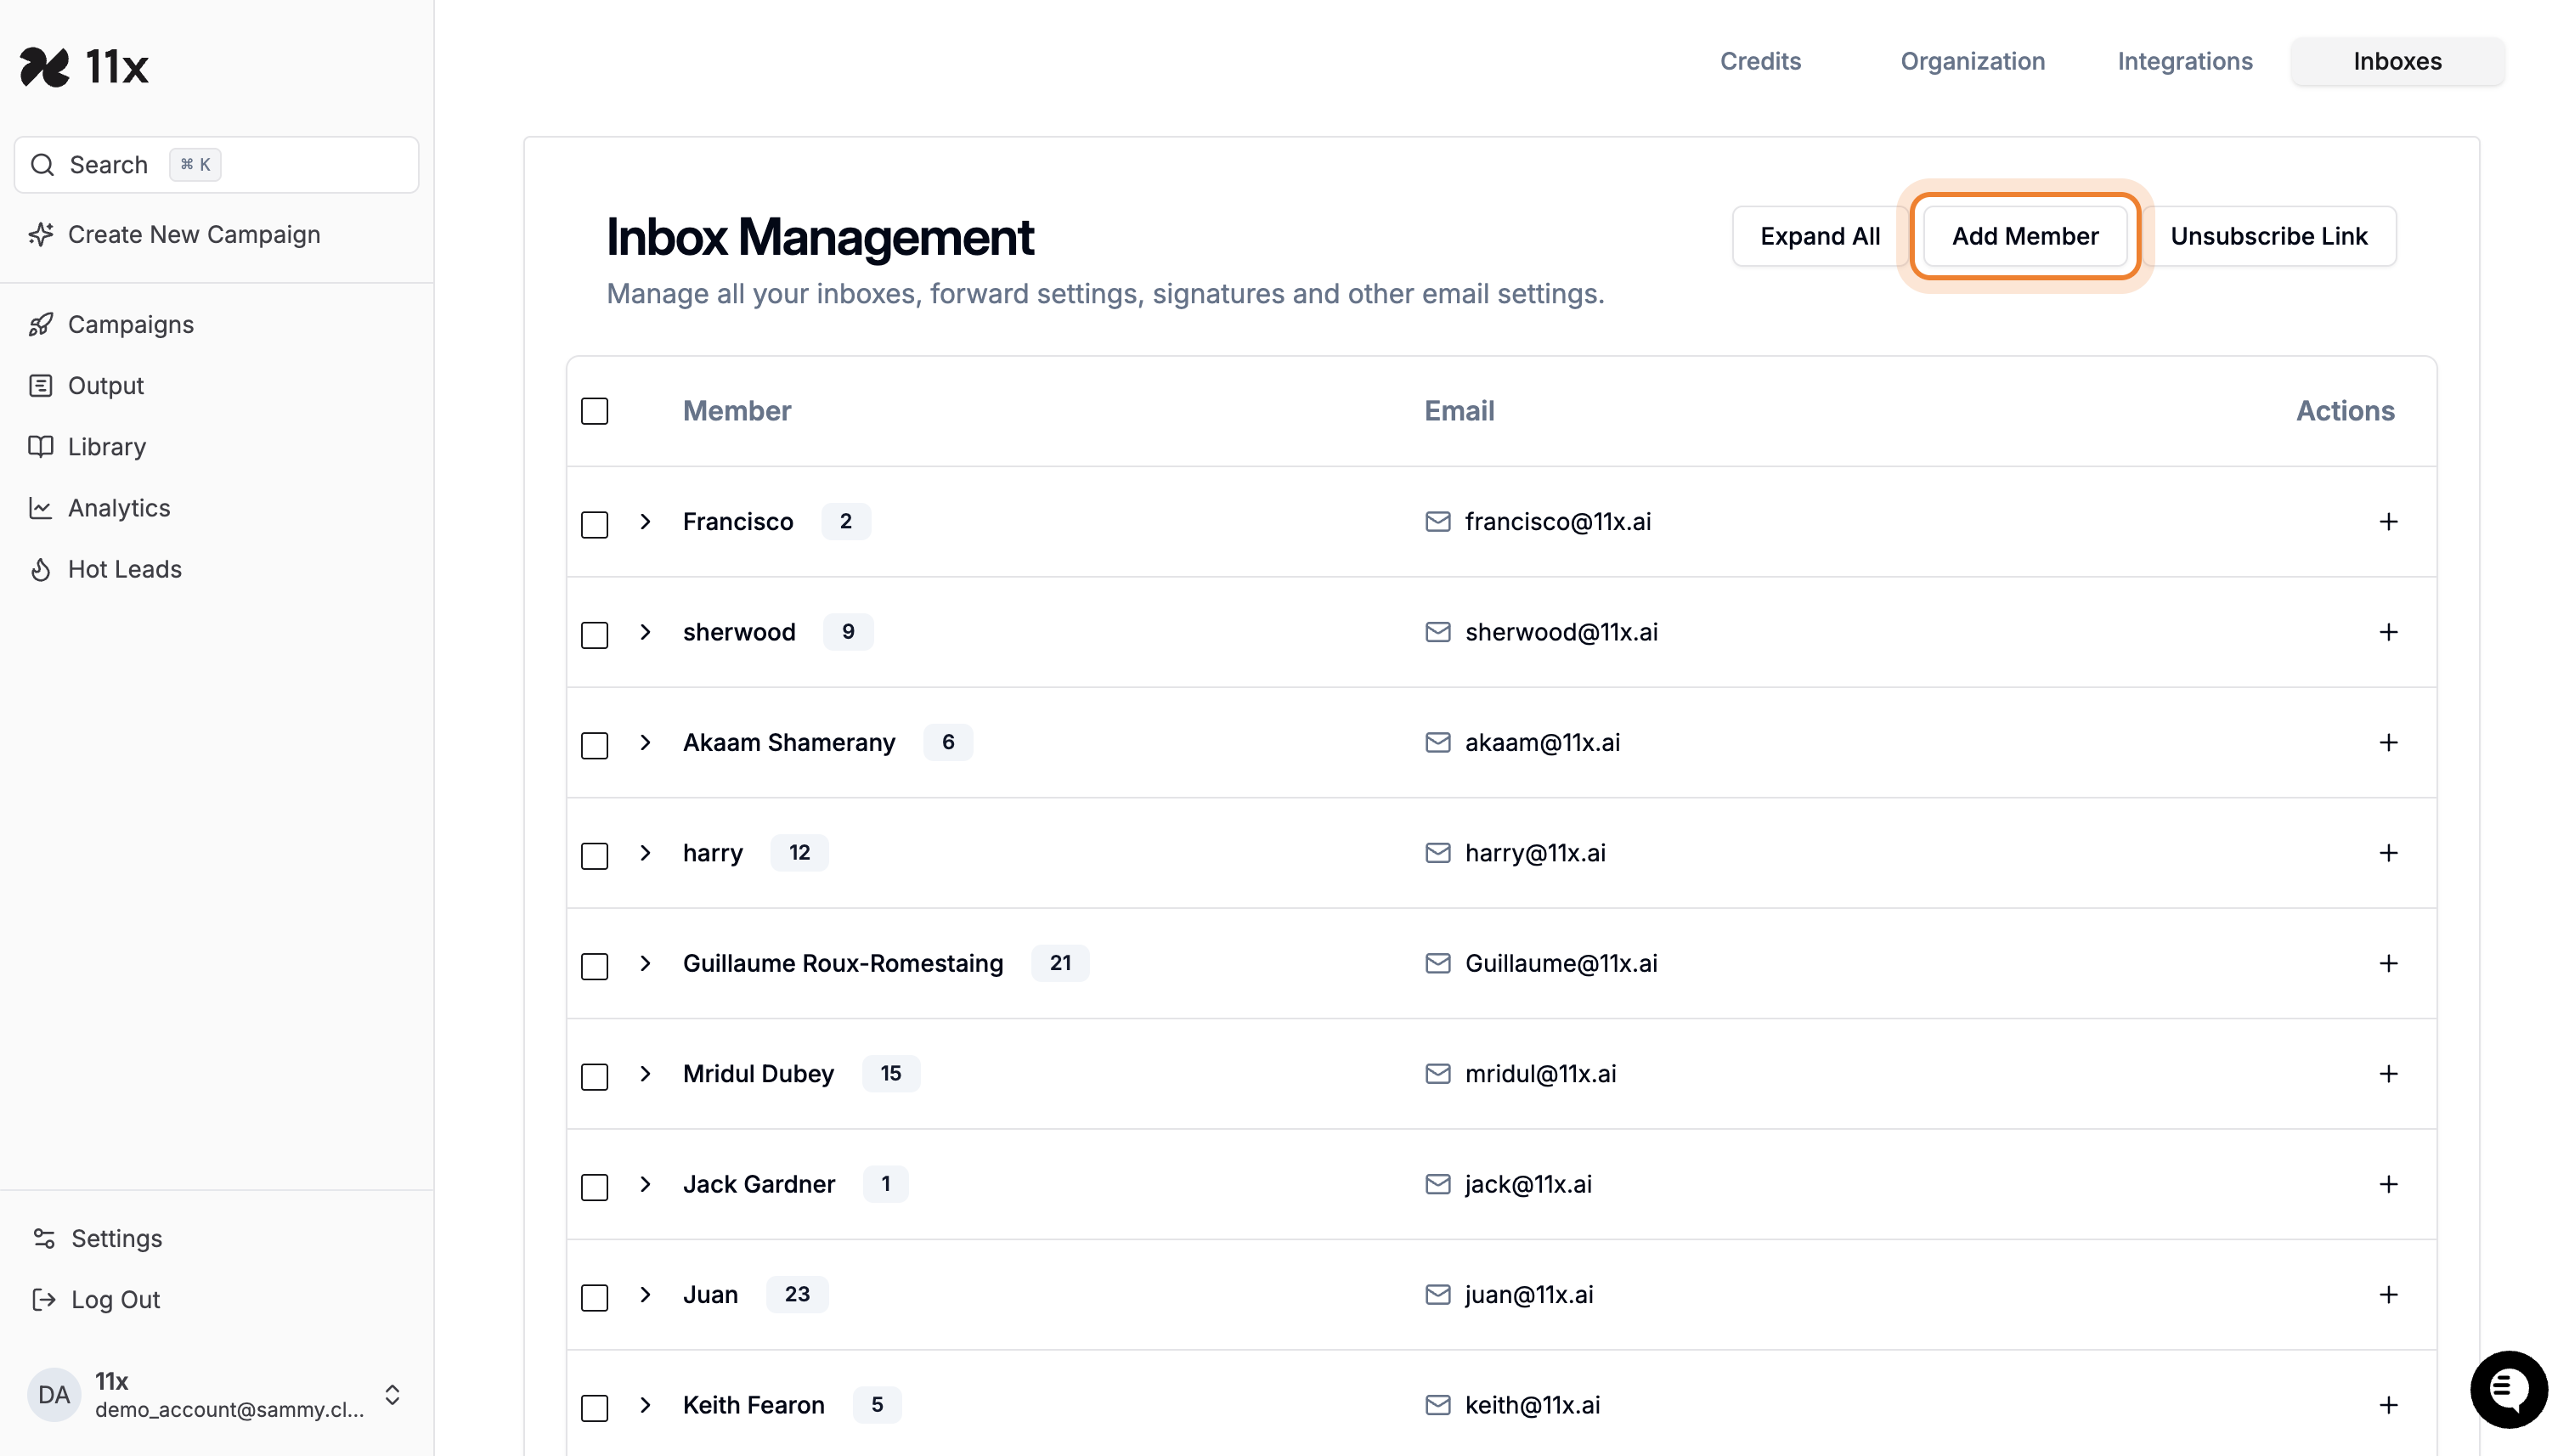
-
Enter or select an email address for the team member.
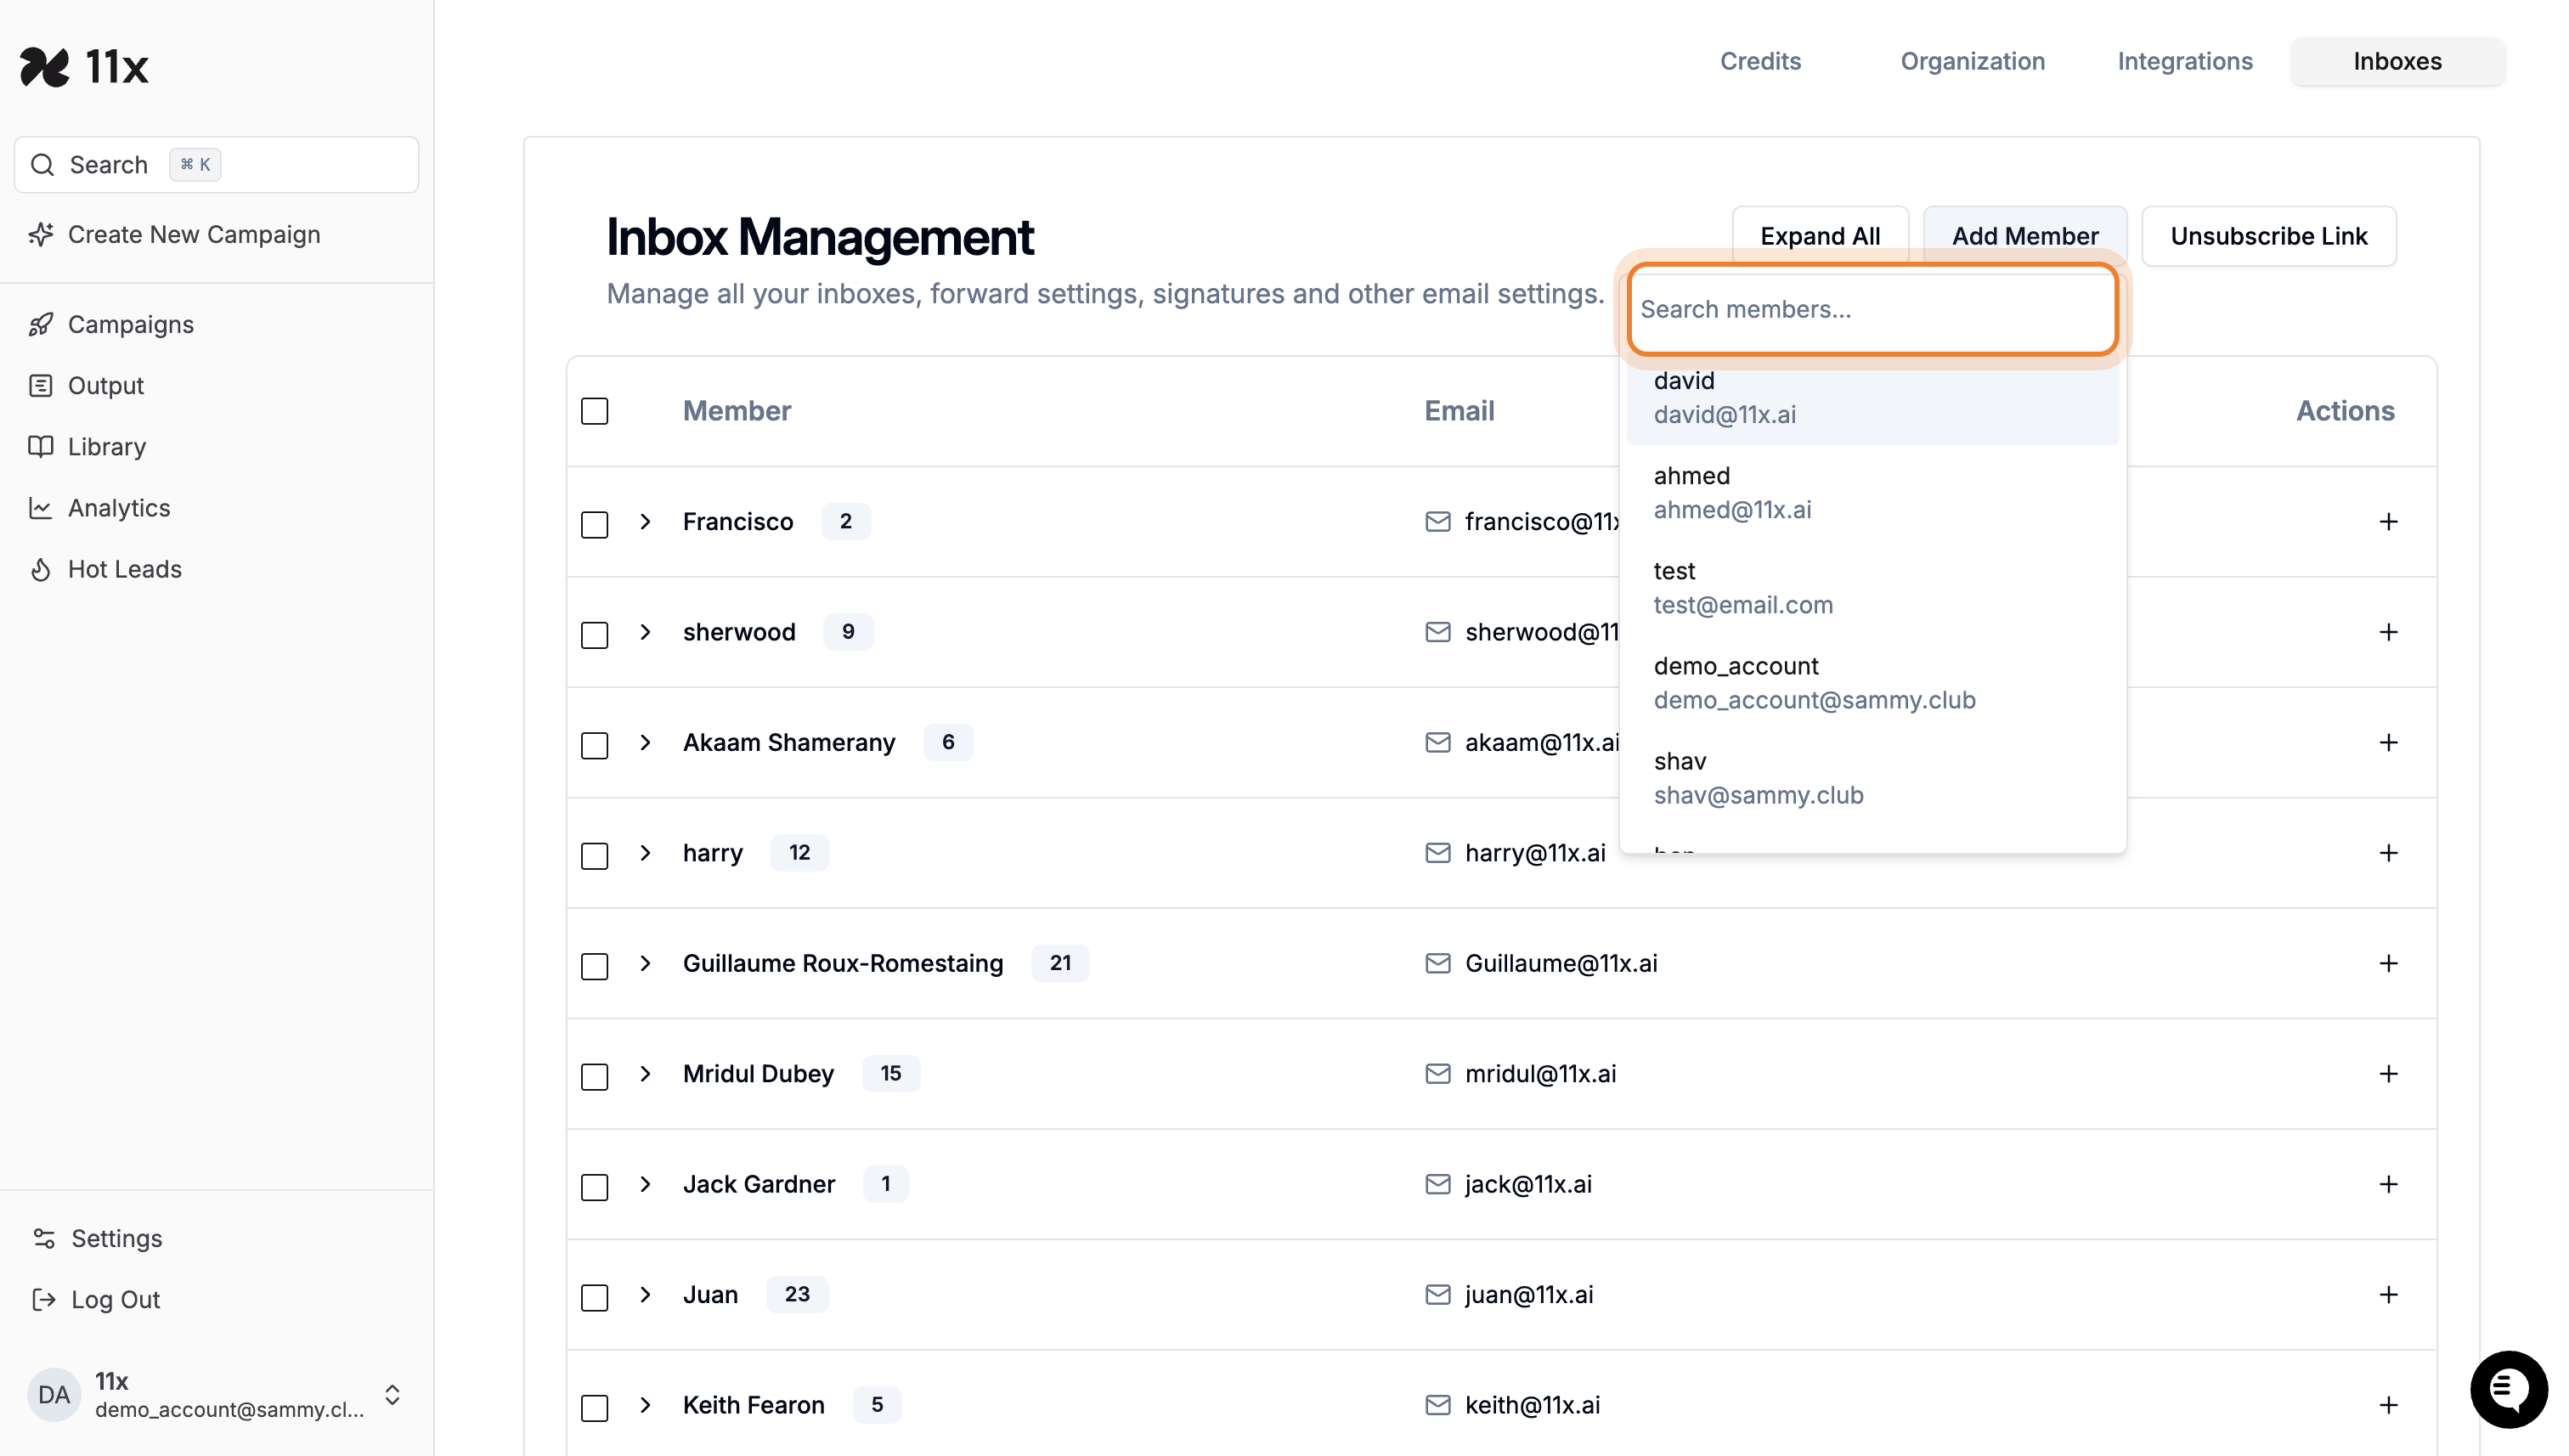
-
-
Select the email address from the suggestions.
2. Associate Email Accounts
- Search for the email address you want to associate.
- Select the email account to link it with the team member’s main inbox.
- After an email is successfully associated, the ‘Associated’ label will appear next to the email address.

3. Manage Inbox Settings
View the list of members and their associated email accounts in the Inbox Management section.
You can remove or edit email associations as needed.

How Email Forwarding Works
- Each team member has a main email address (their primary inbox).
- Additional “sender” email addresses can be linked to their main account.
- When an email is sent to a “sender” address (e.g.,
sales@11x.ai):- The system automatically forwards the email to the main account (e.g.,
Ruth@11x.ai). - This ensures all messages are consolidated into one inbox for easy access.
- The system automatically forwards the email to the main account (e.g.,
Need Help?
For further assistance, please contact your Customer Success Manager or use the support chat where we’ll be happy to help you.