Smart Calendar Integration Guide | Alice
Overview
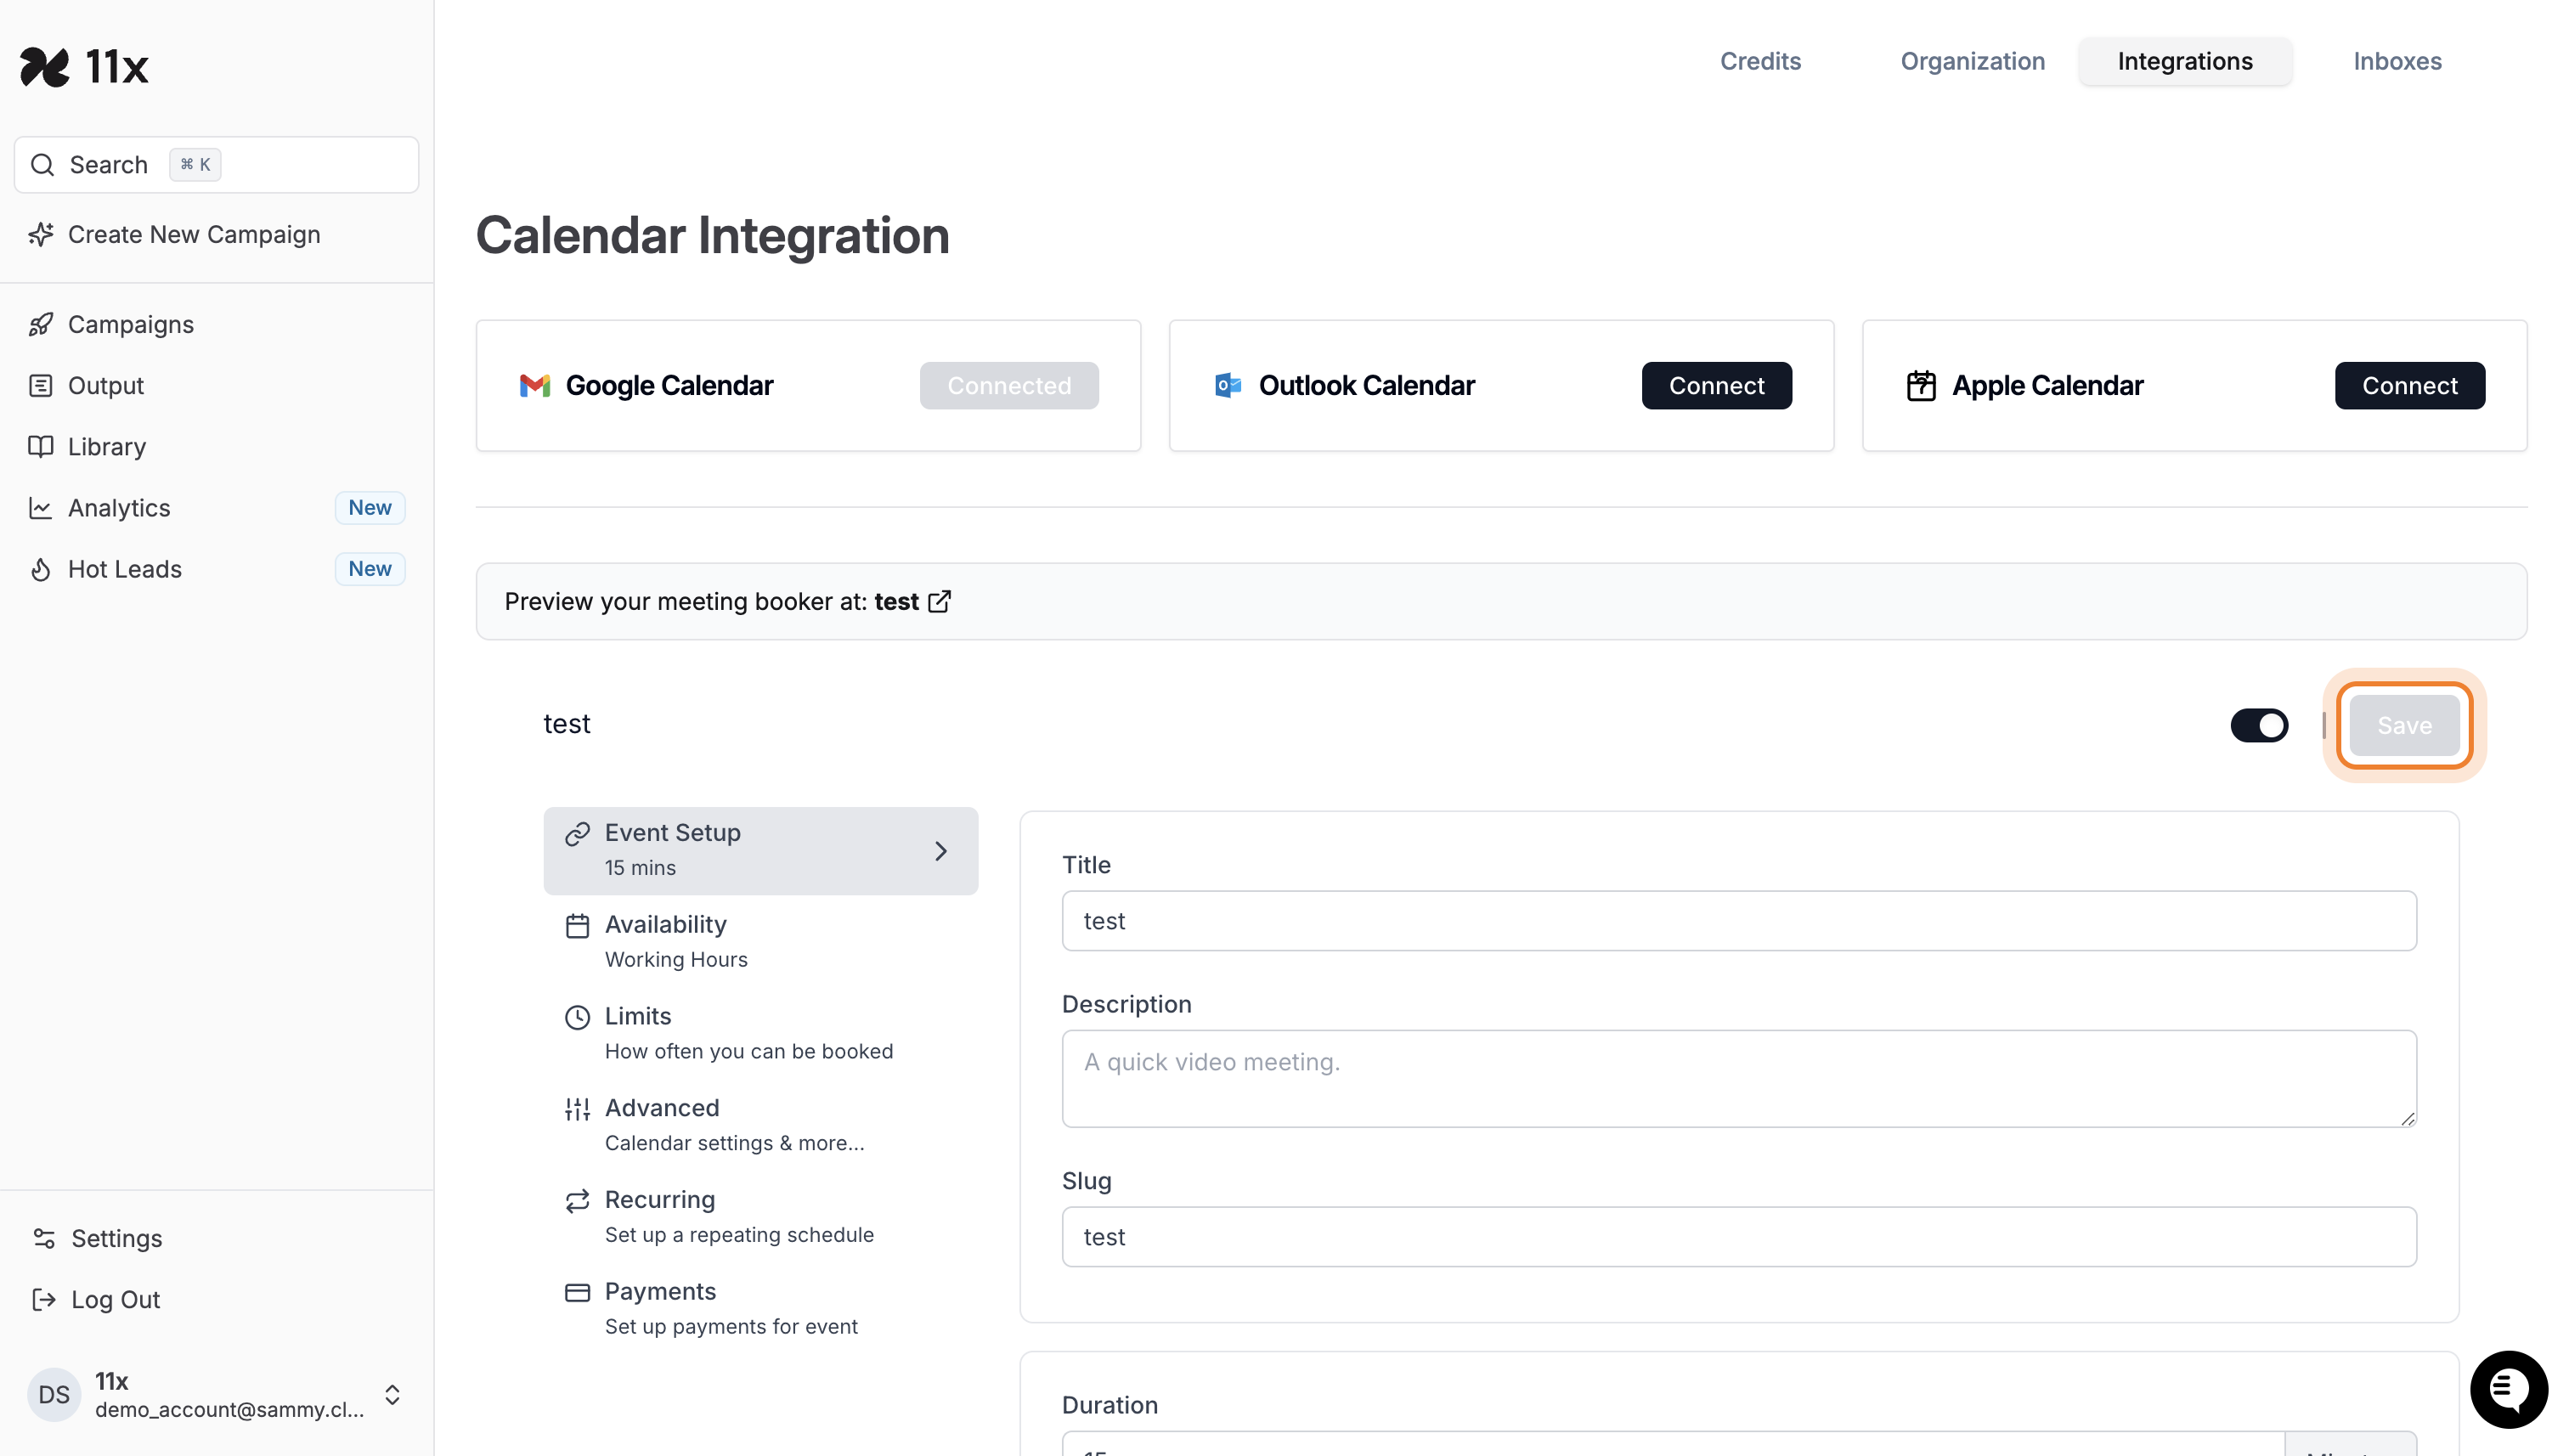
The Smart Calendar integration in Alice simplifies scheduling by syncing with your existing calendar to streamline meeting bookings and manage availability. This guide will walk you through connecting your preferred calendar and configuring event settings.
Step-by-Step Guide
1. Access Calendar Integration Settings
-
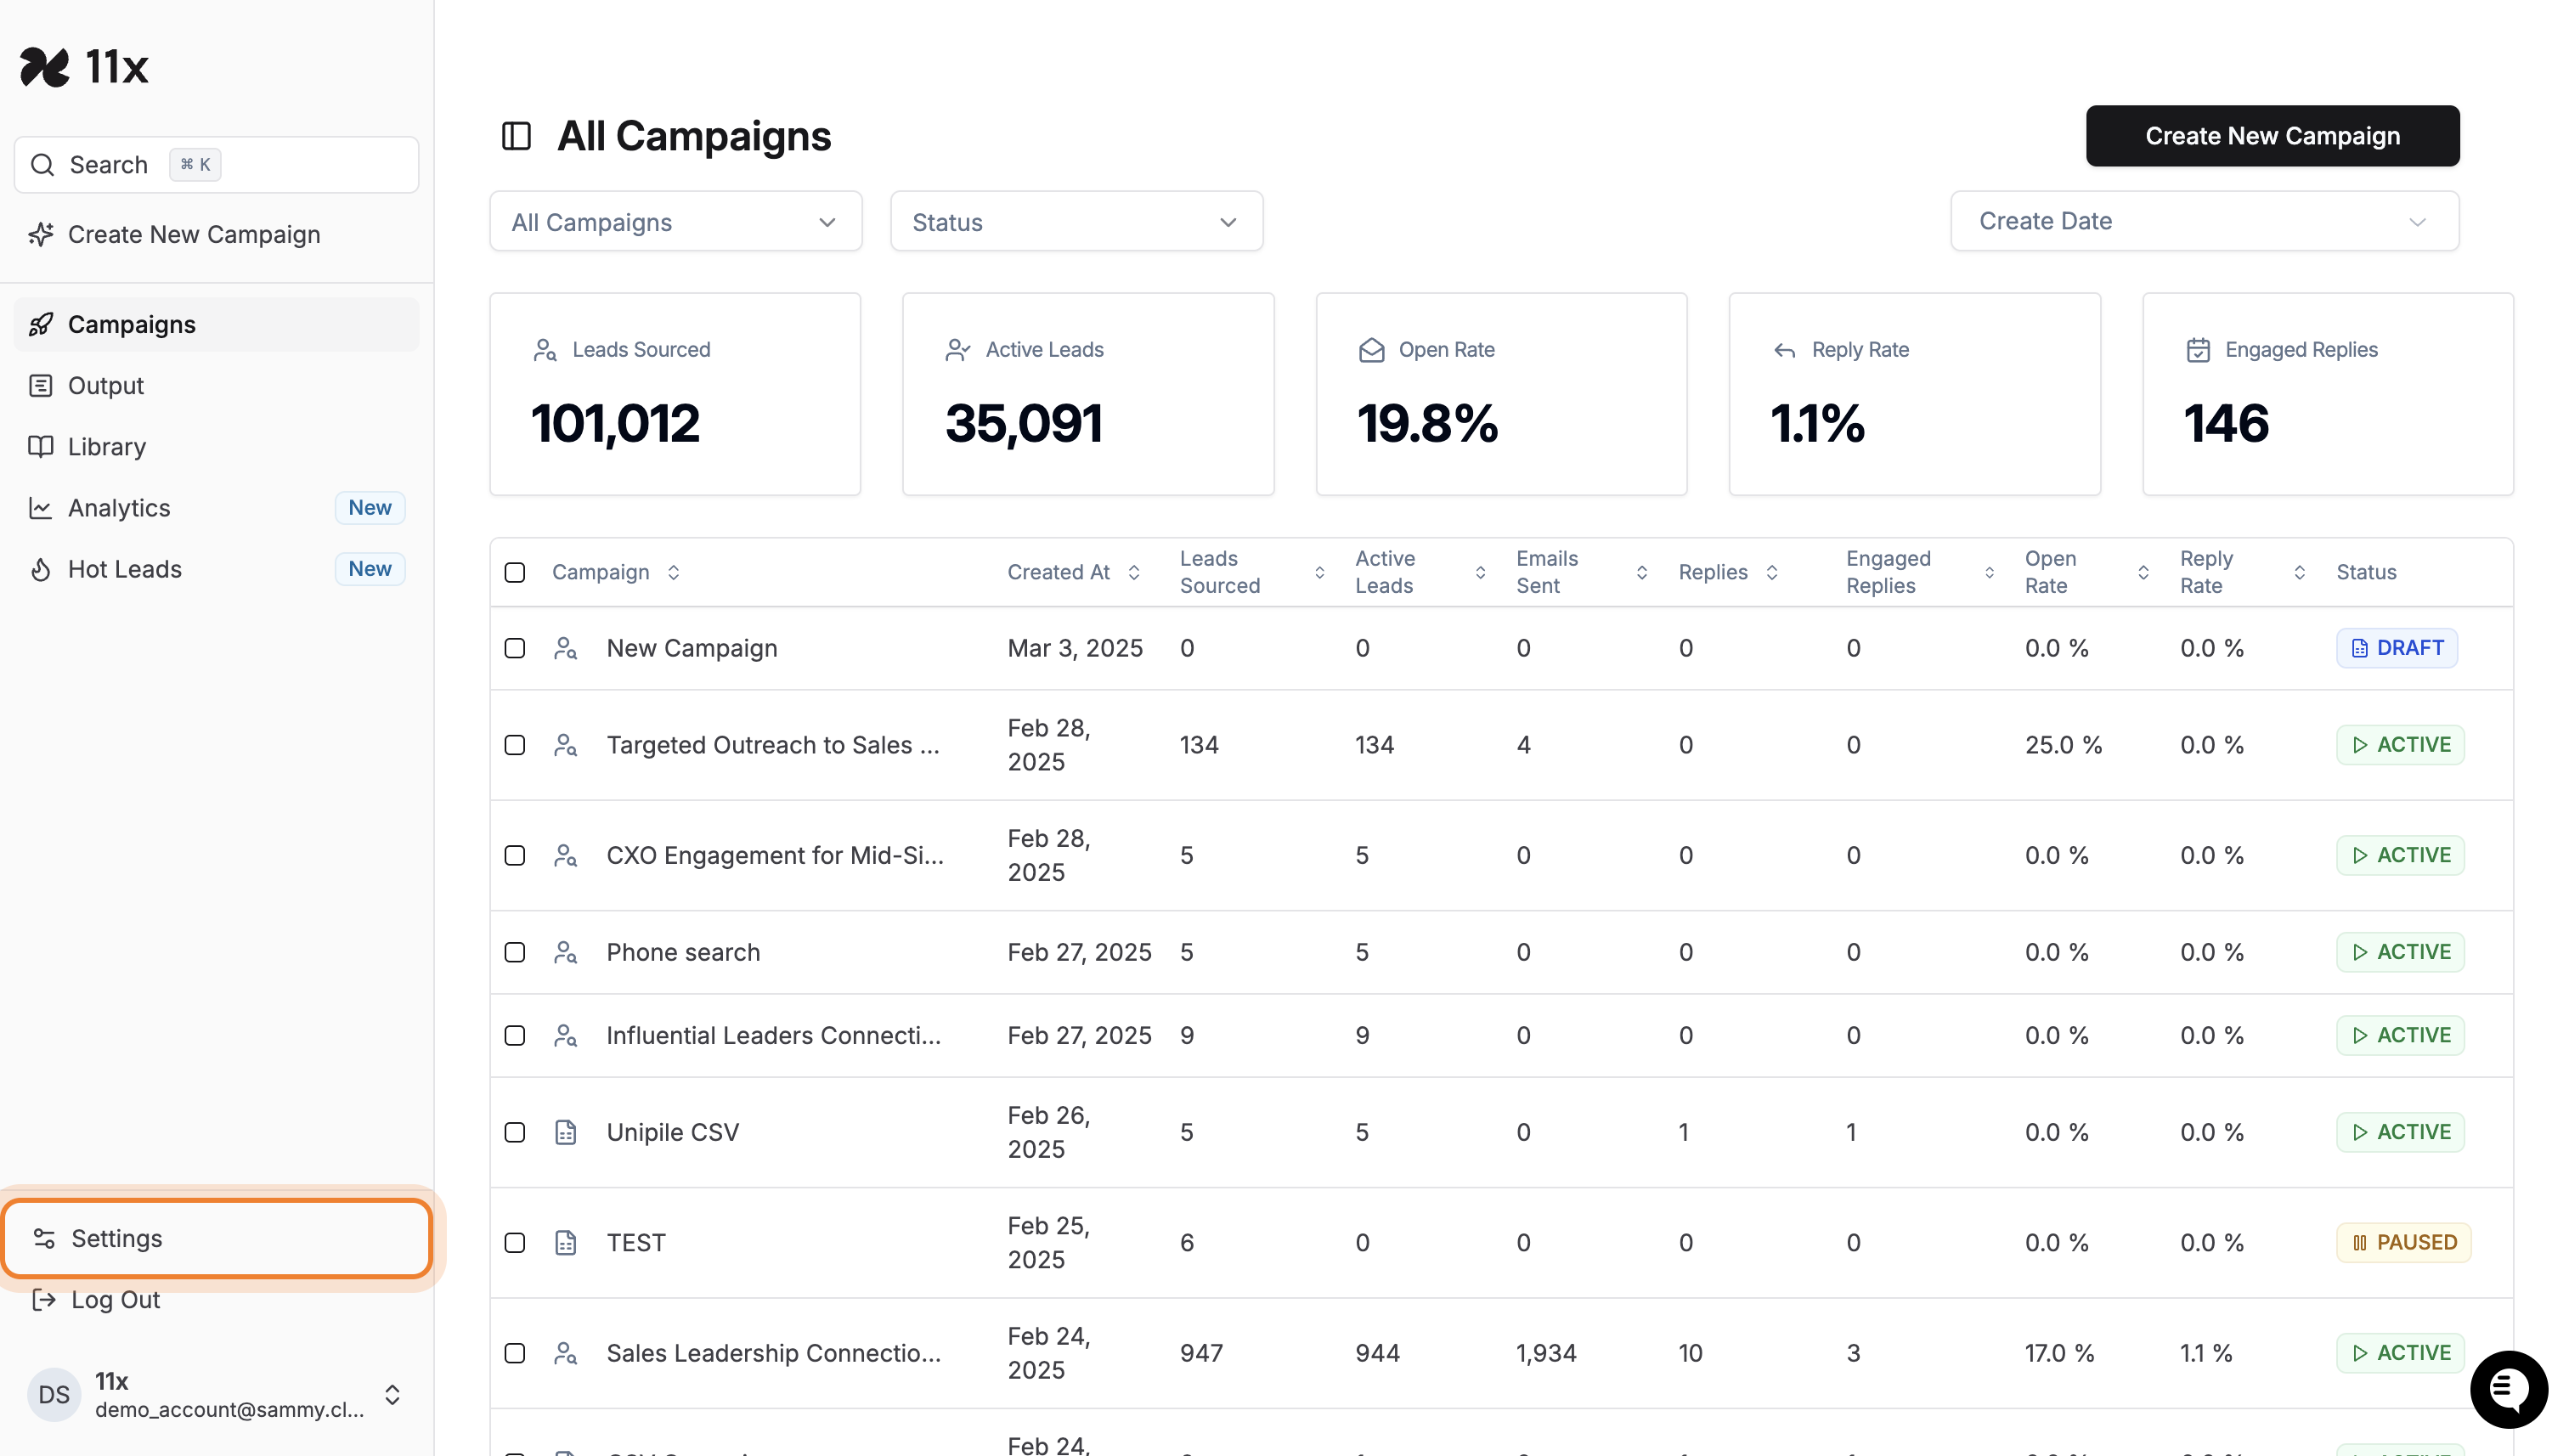
Log in to your Alice account.
-
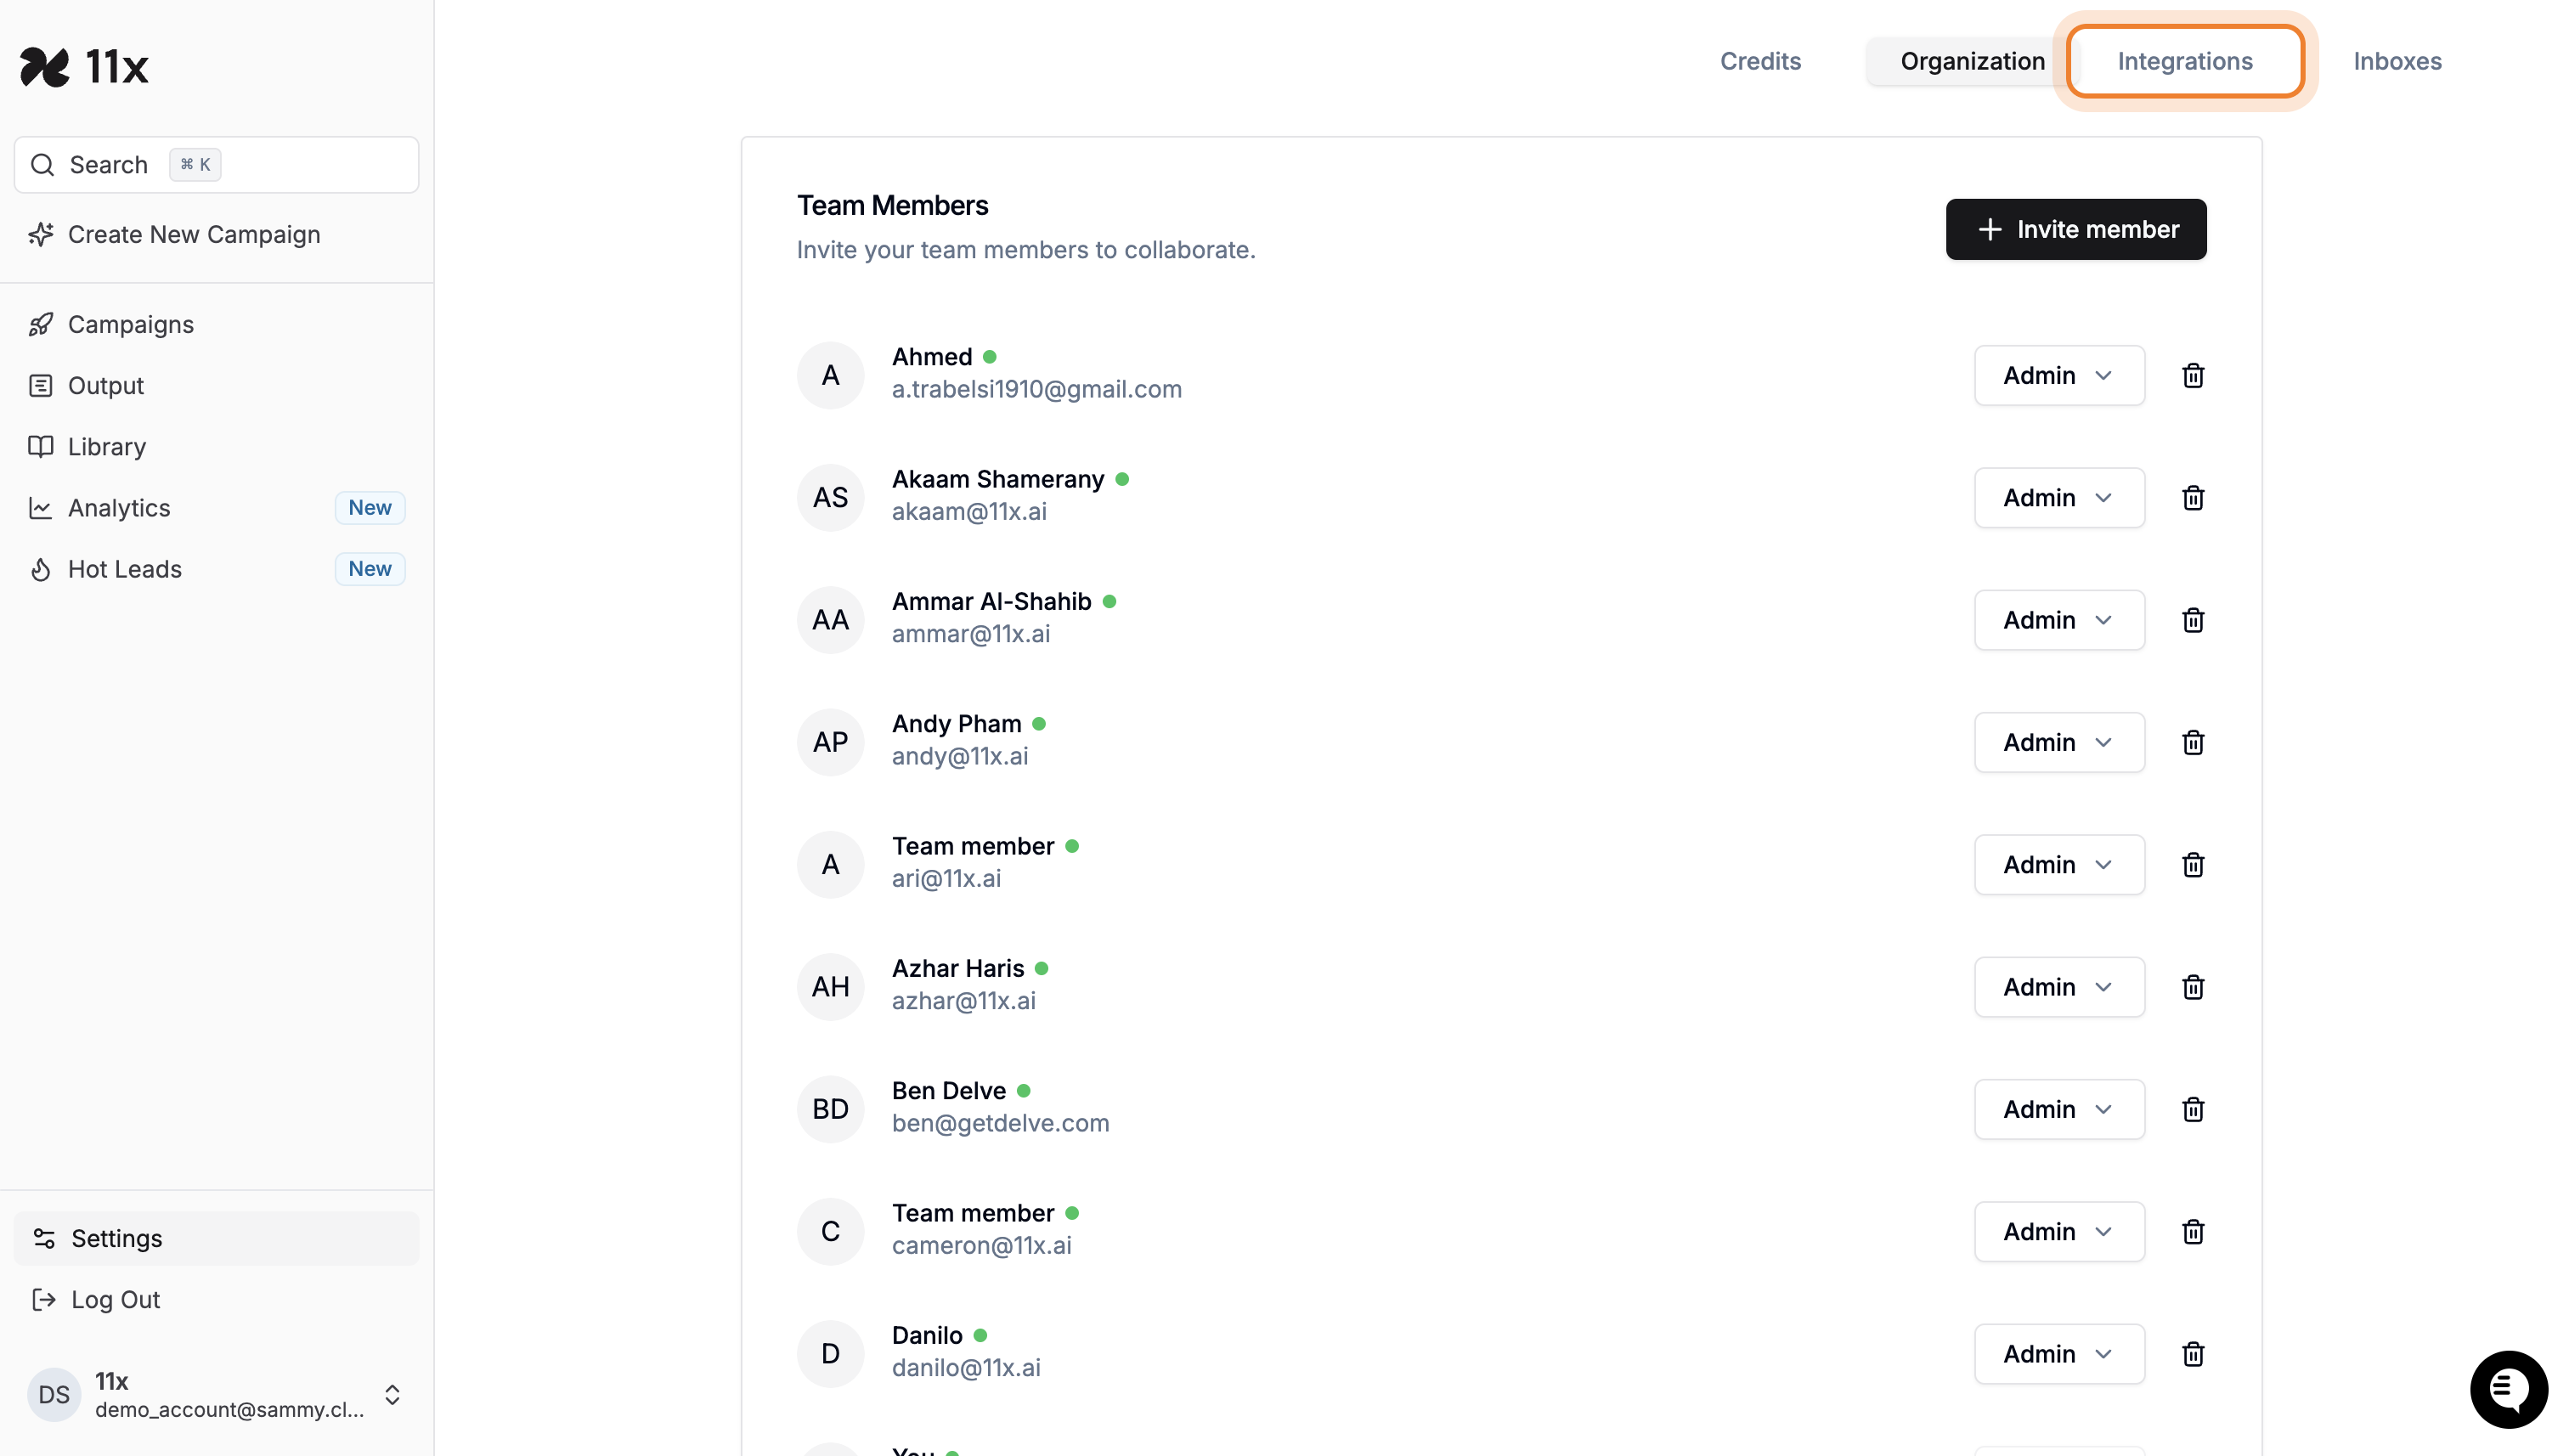
Navigate to Settings → Integrations.
2. Connect Your Calendar
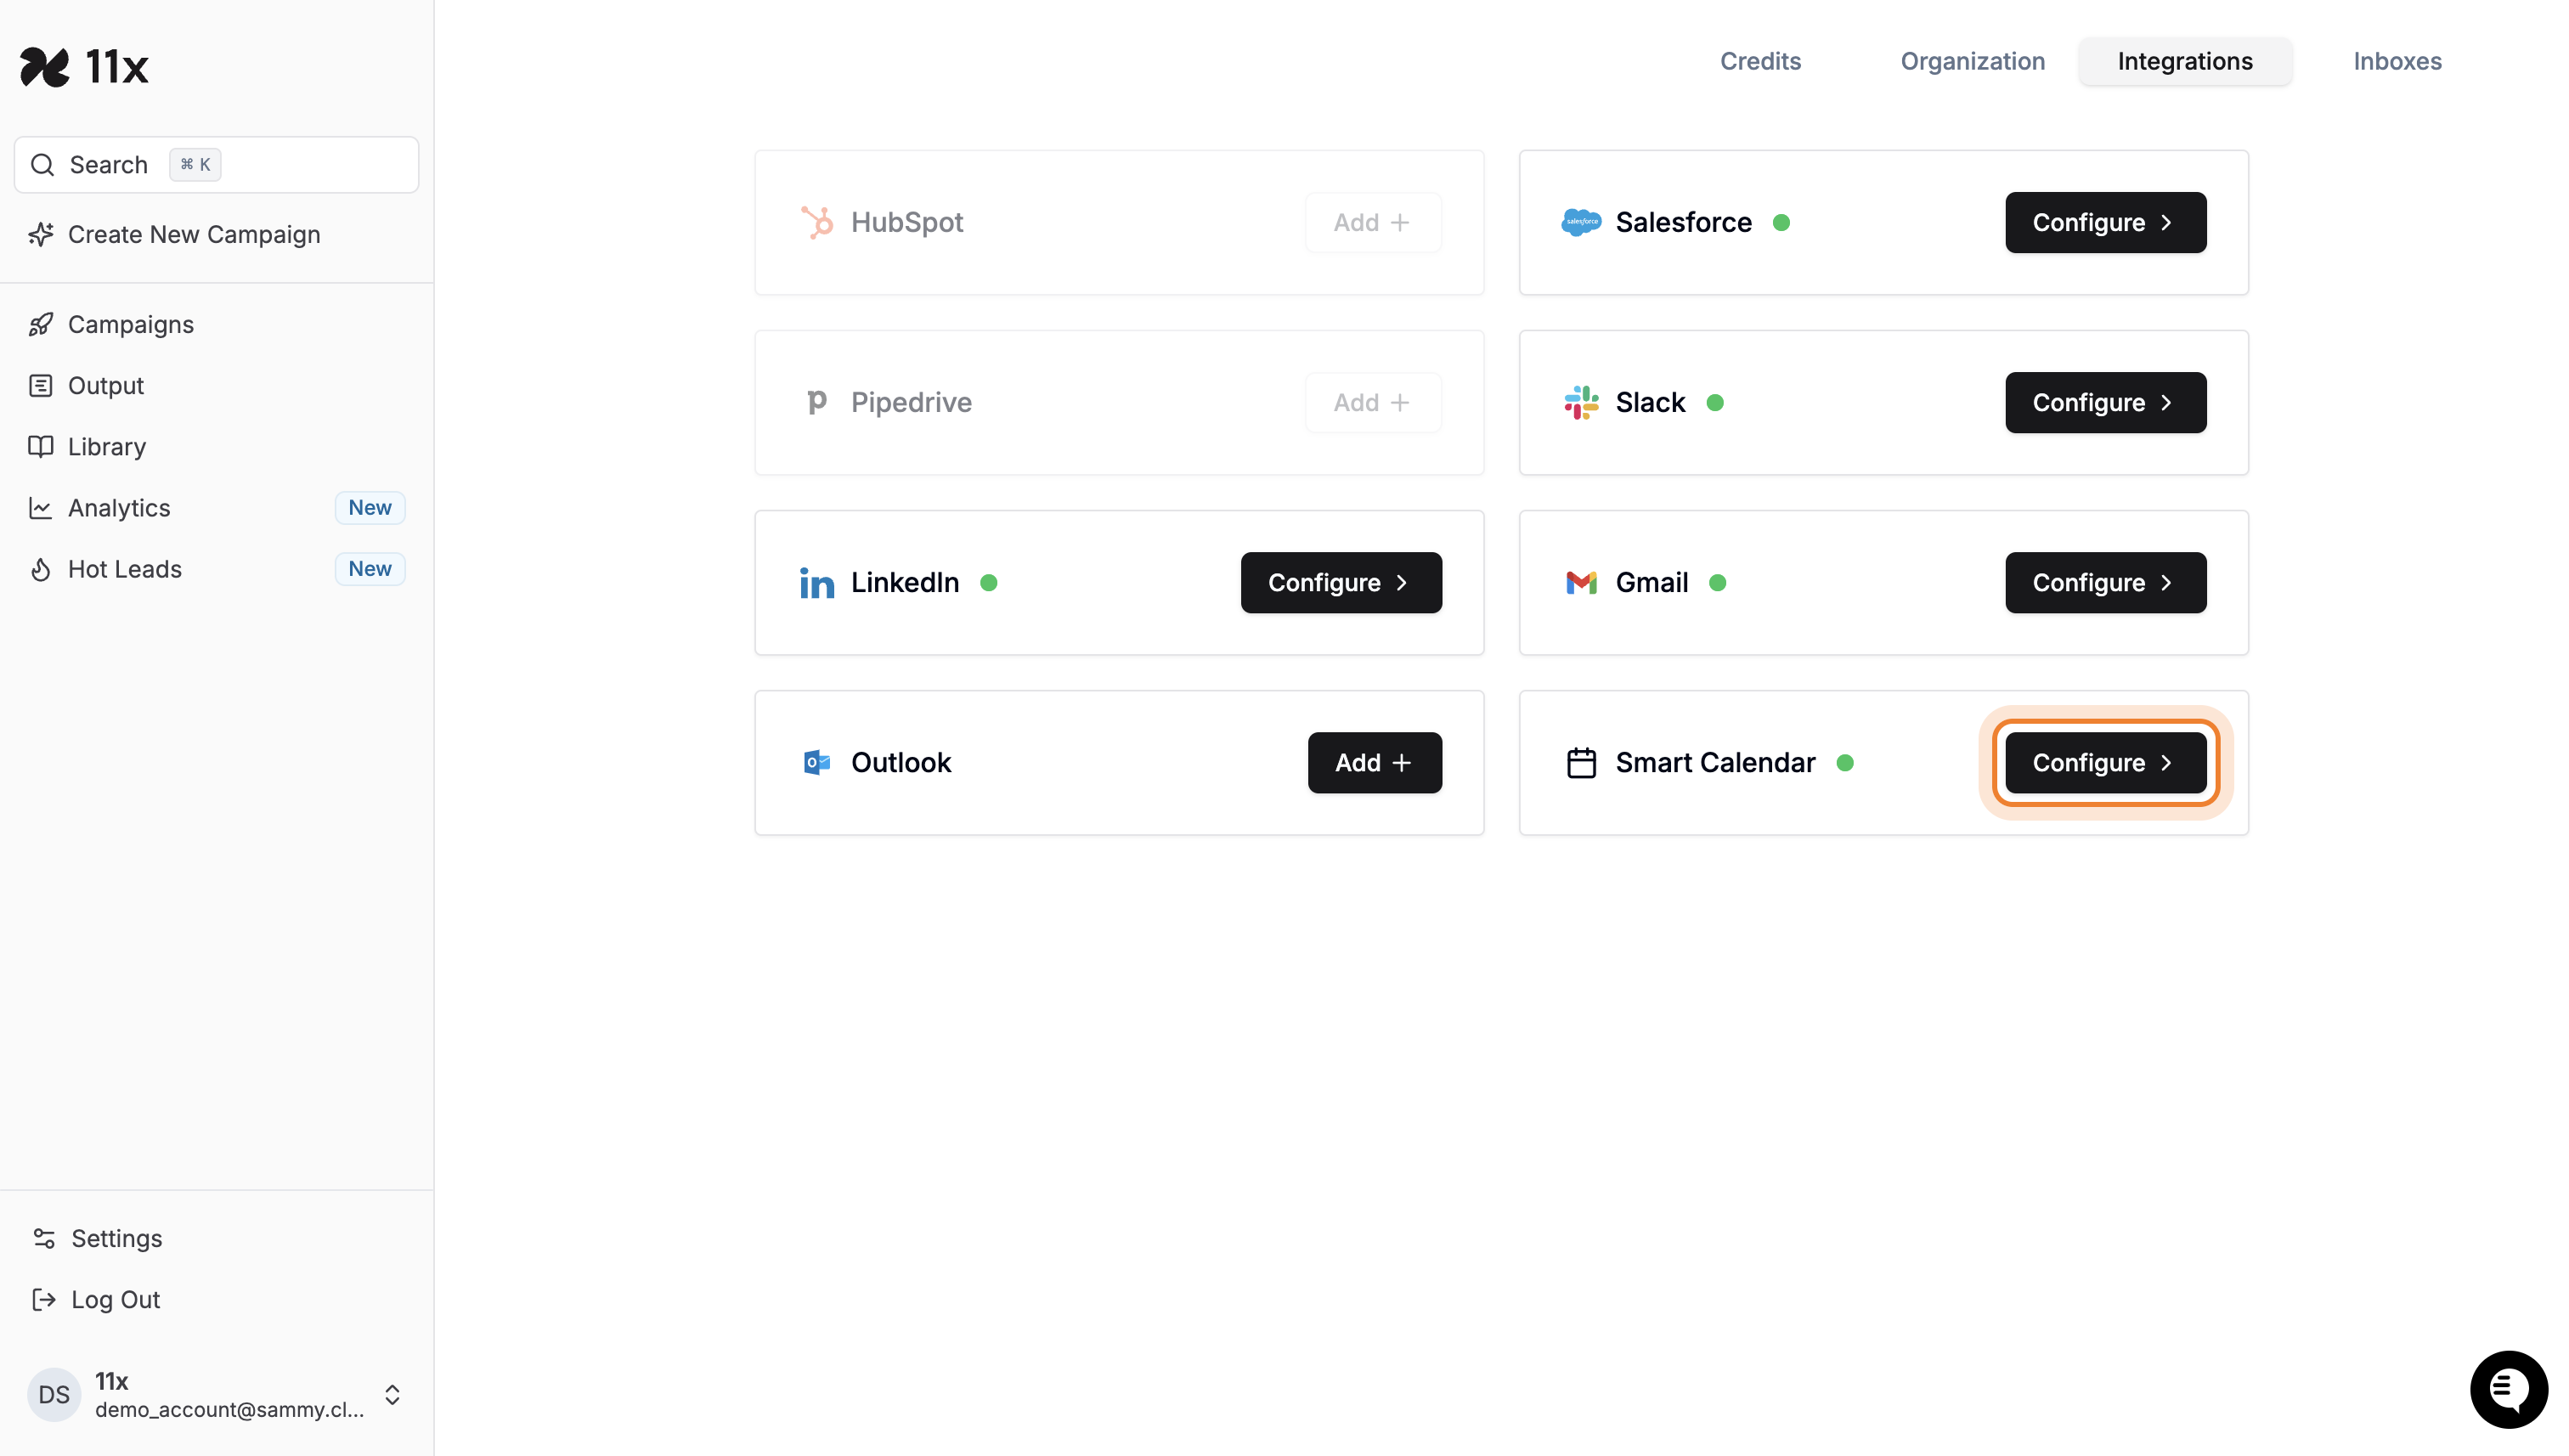
- Scroll to the Calendar Integration section and click on Configure under Smart Calendar.
3. Grant Permissions
- A permissions window will appear for your selected calendar provider.
- For Google Calendar, grant permissions for Alice to view, edit, and access events.
- For Outlook Calendar, sign in with your Microsoft account and follow the prompts to enable access.
- Click Continue to finalise permissions.

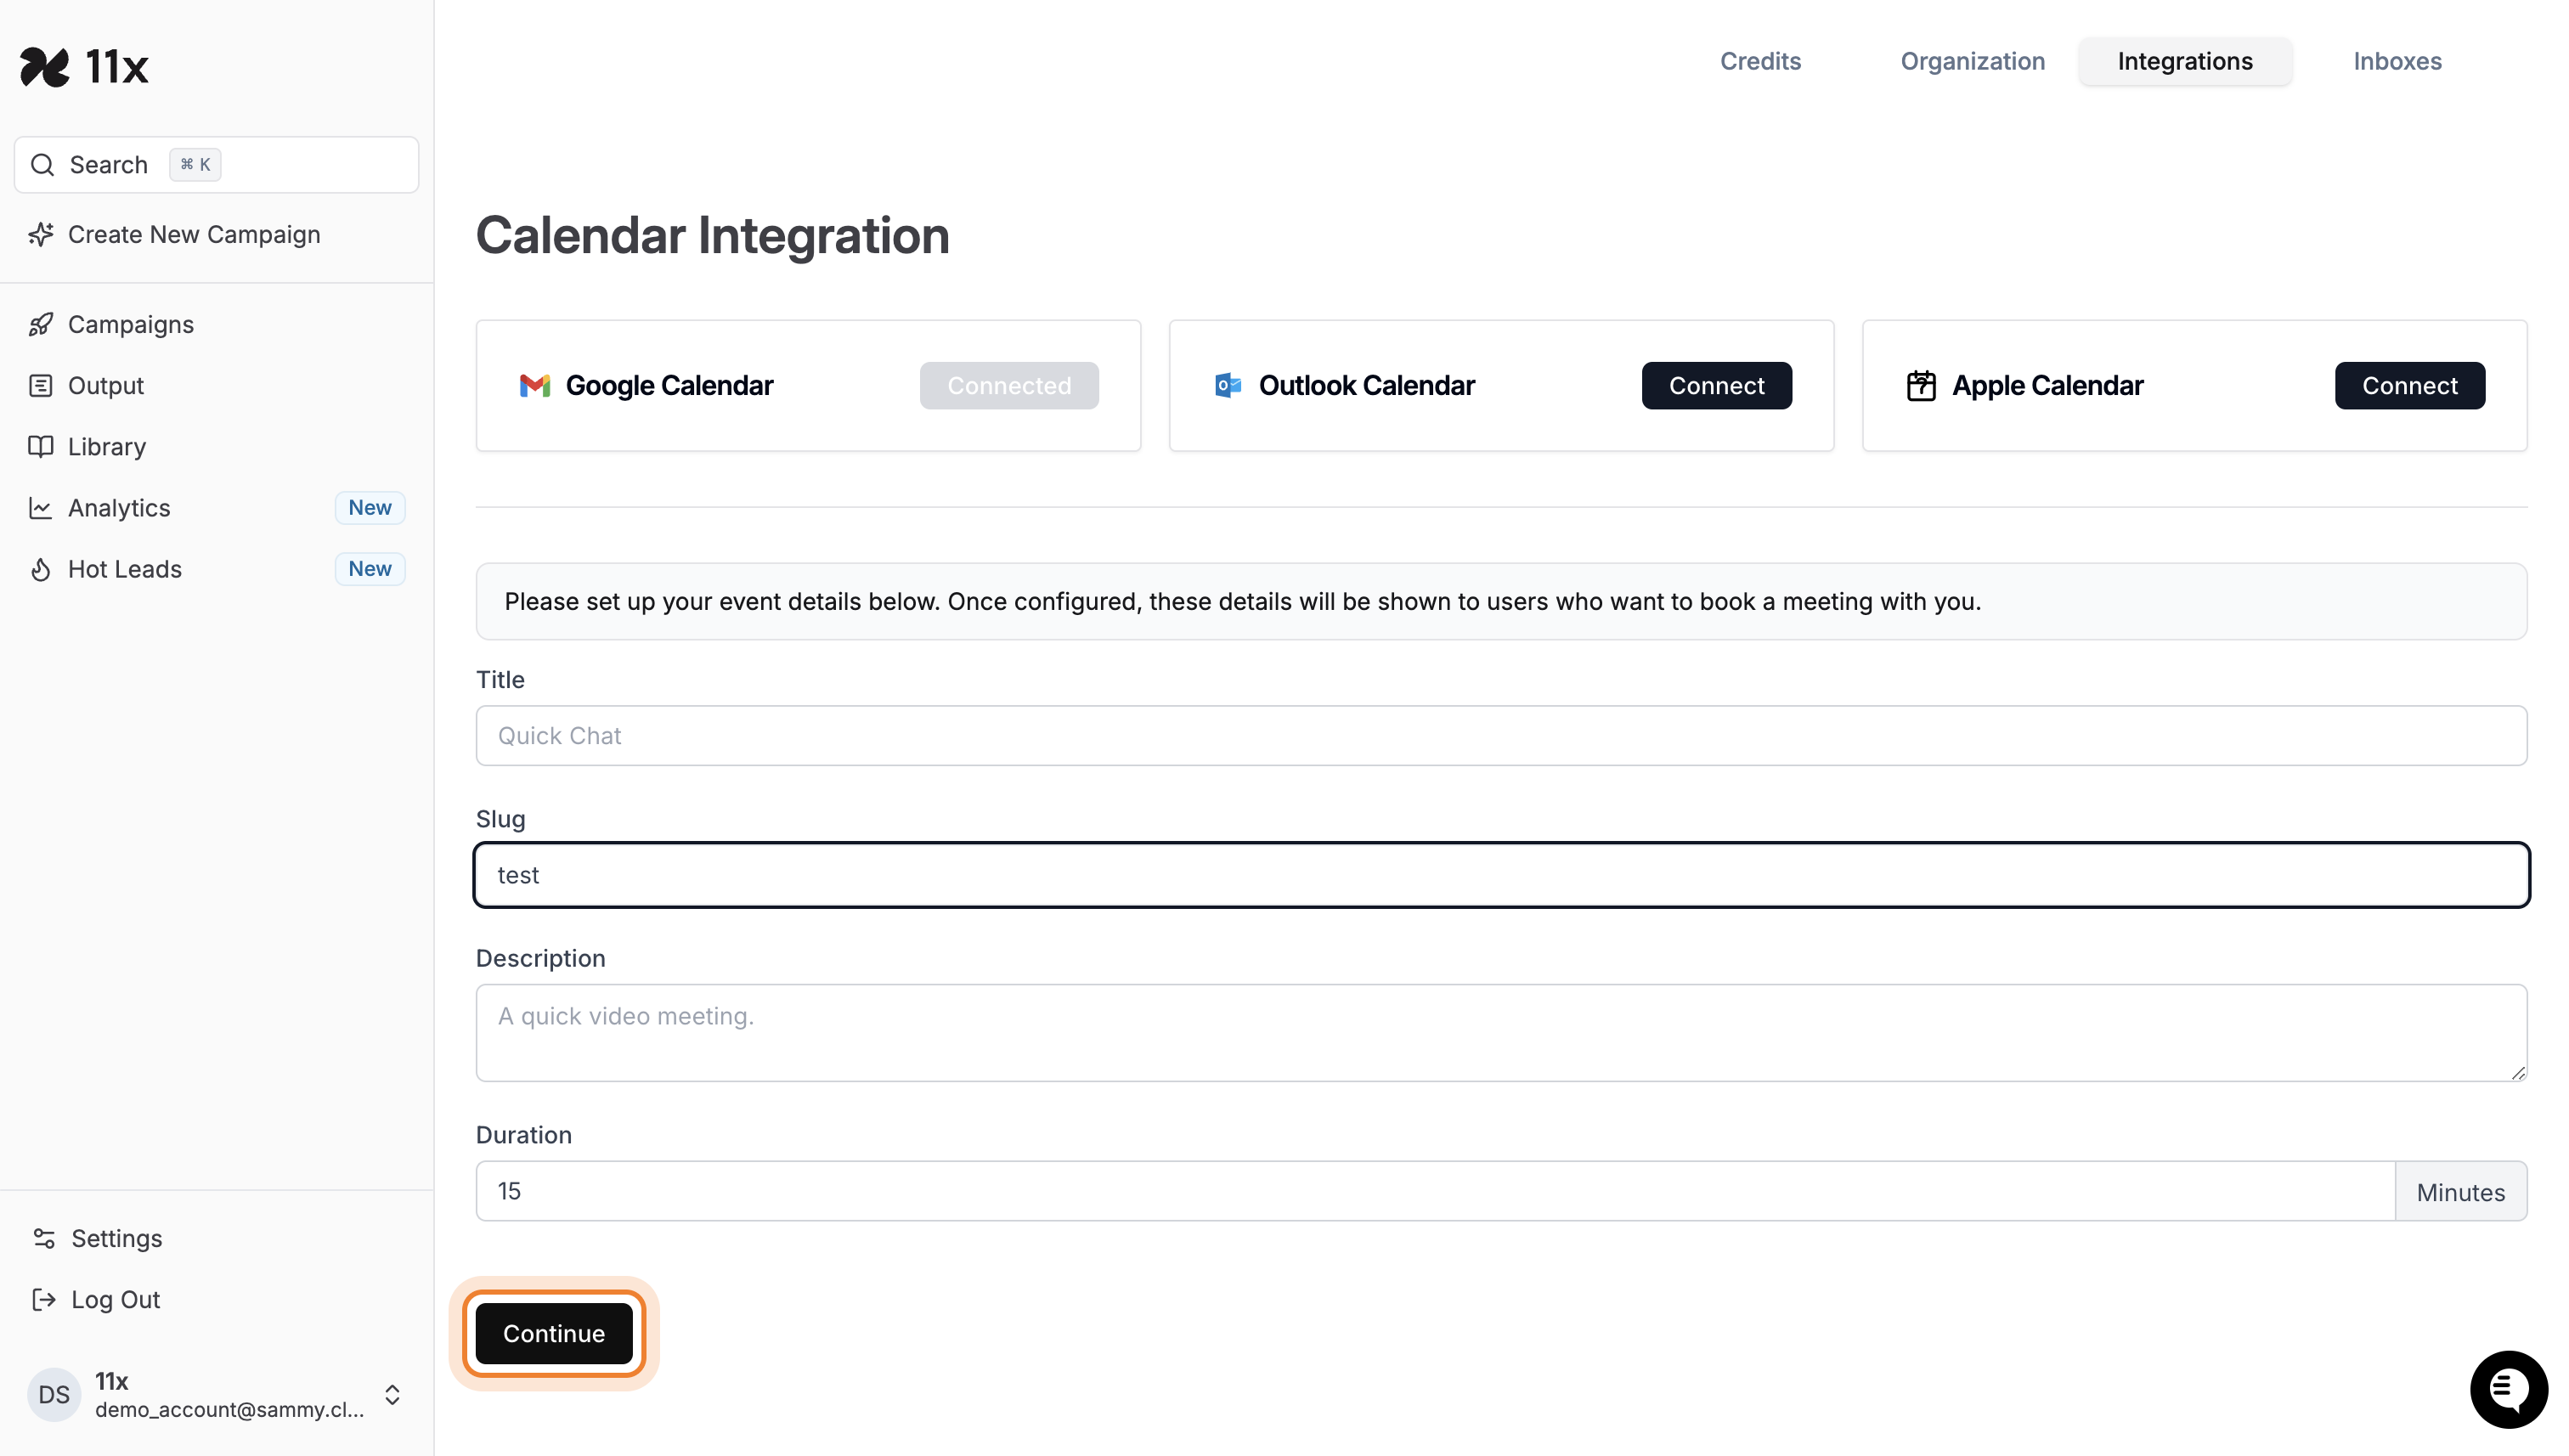
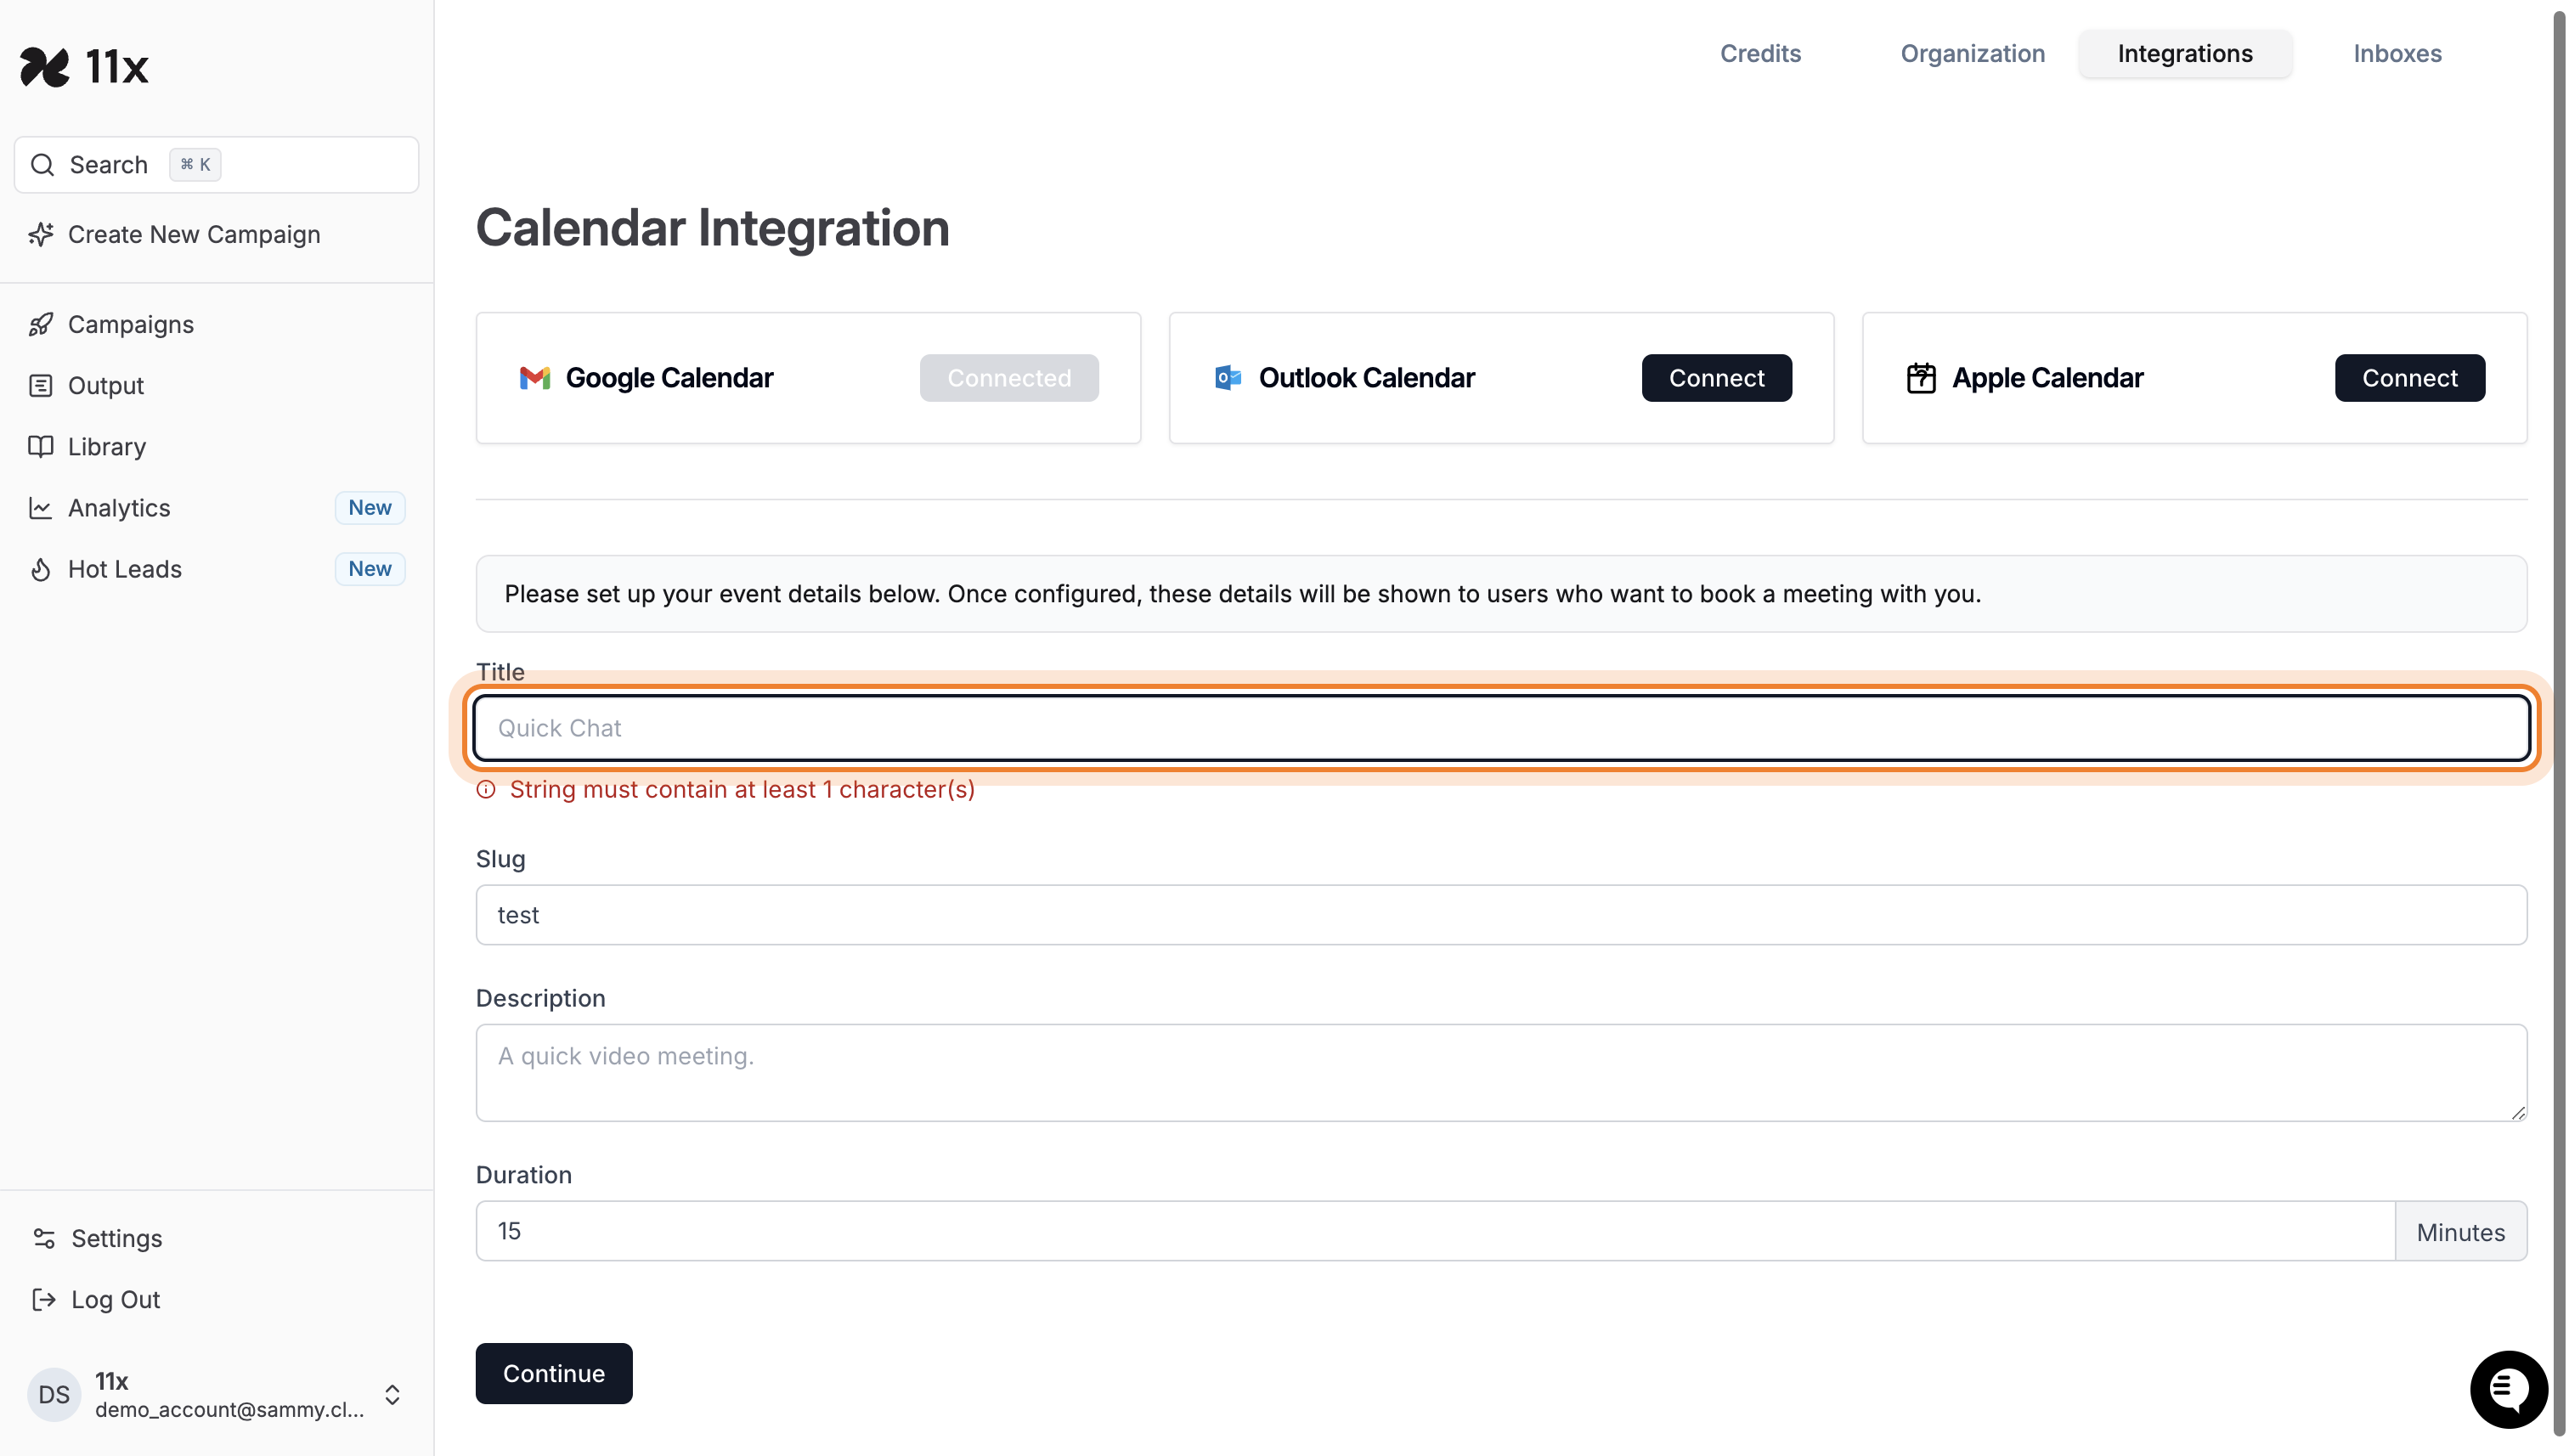
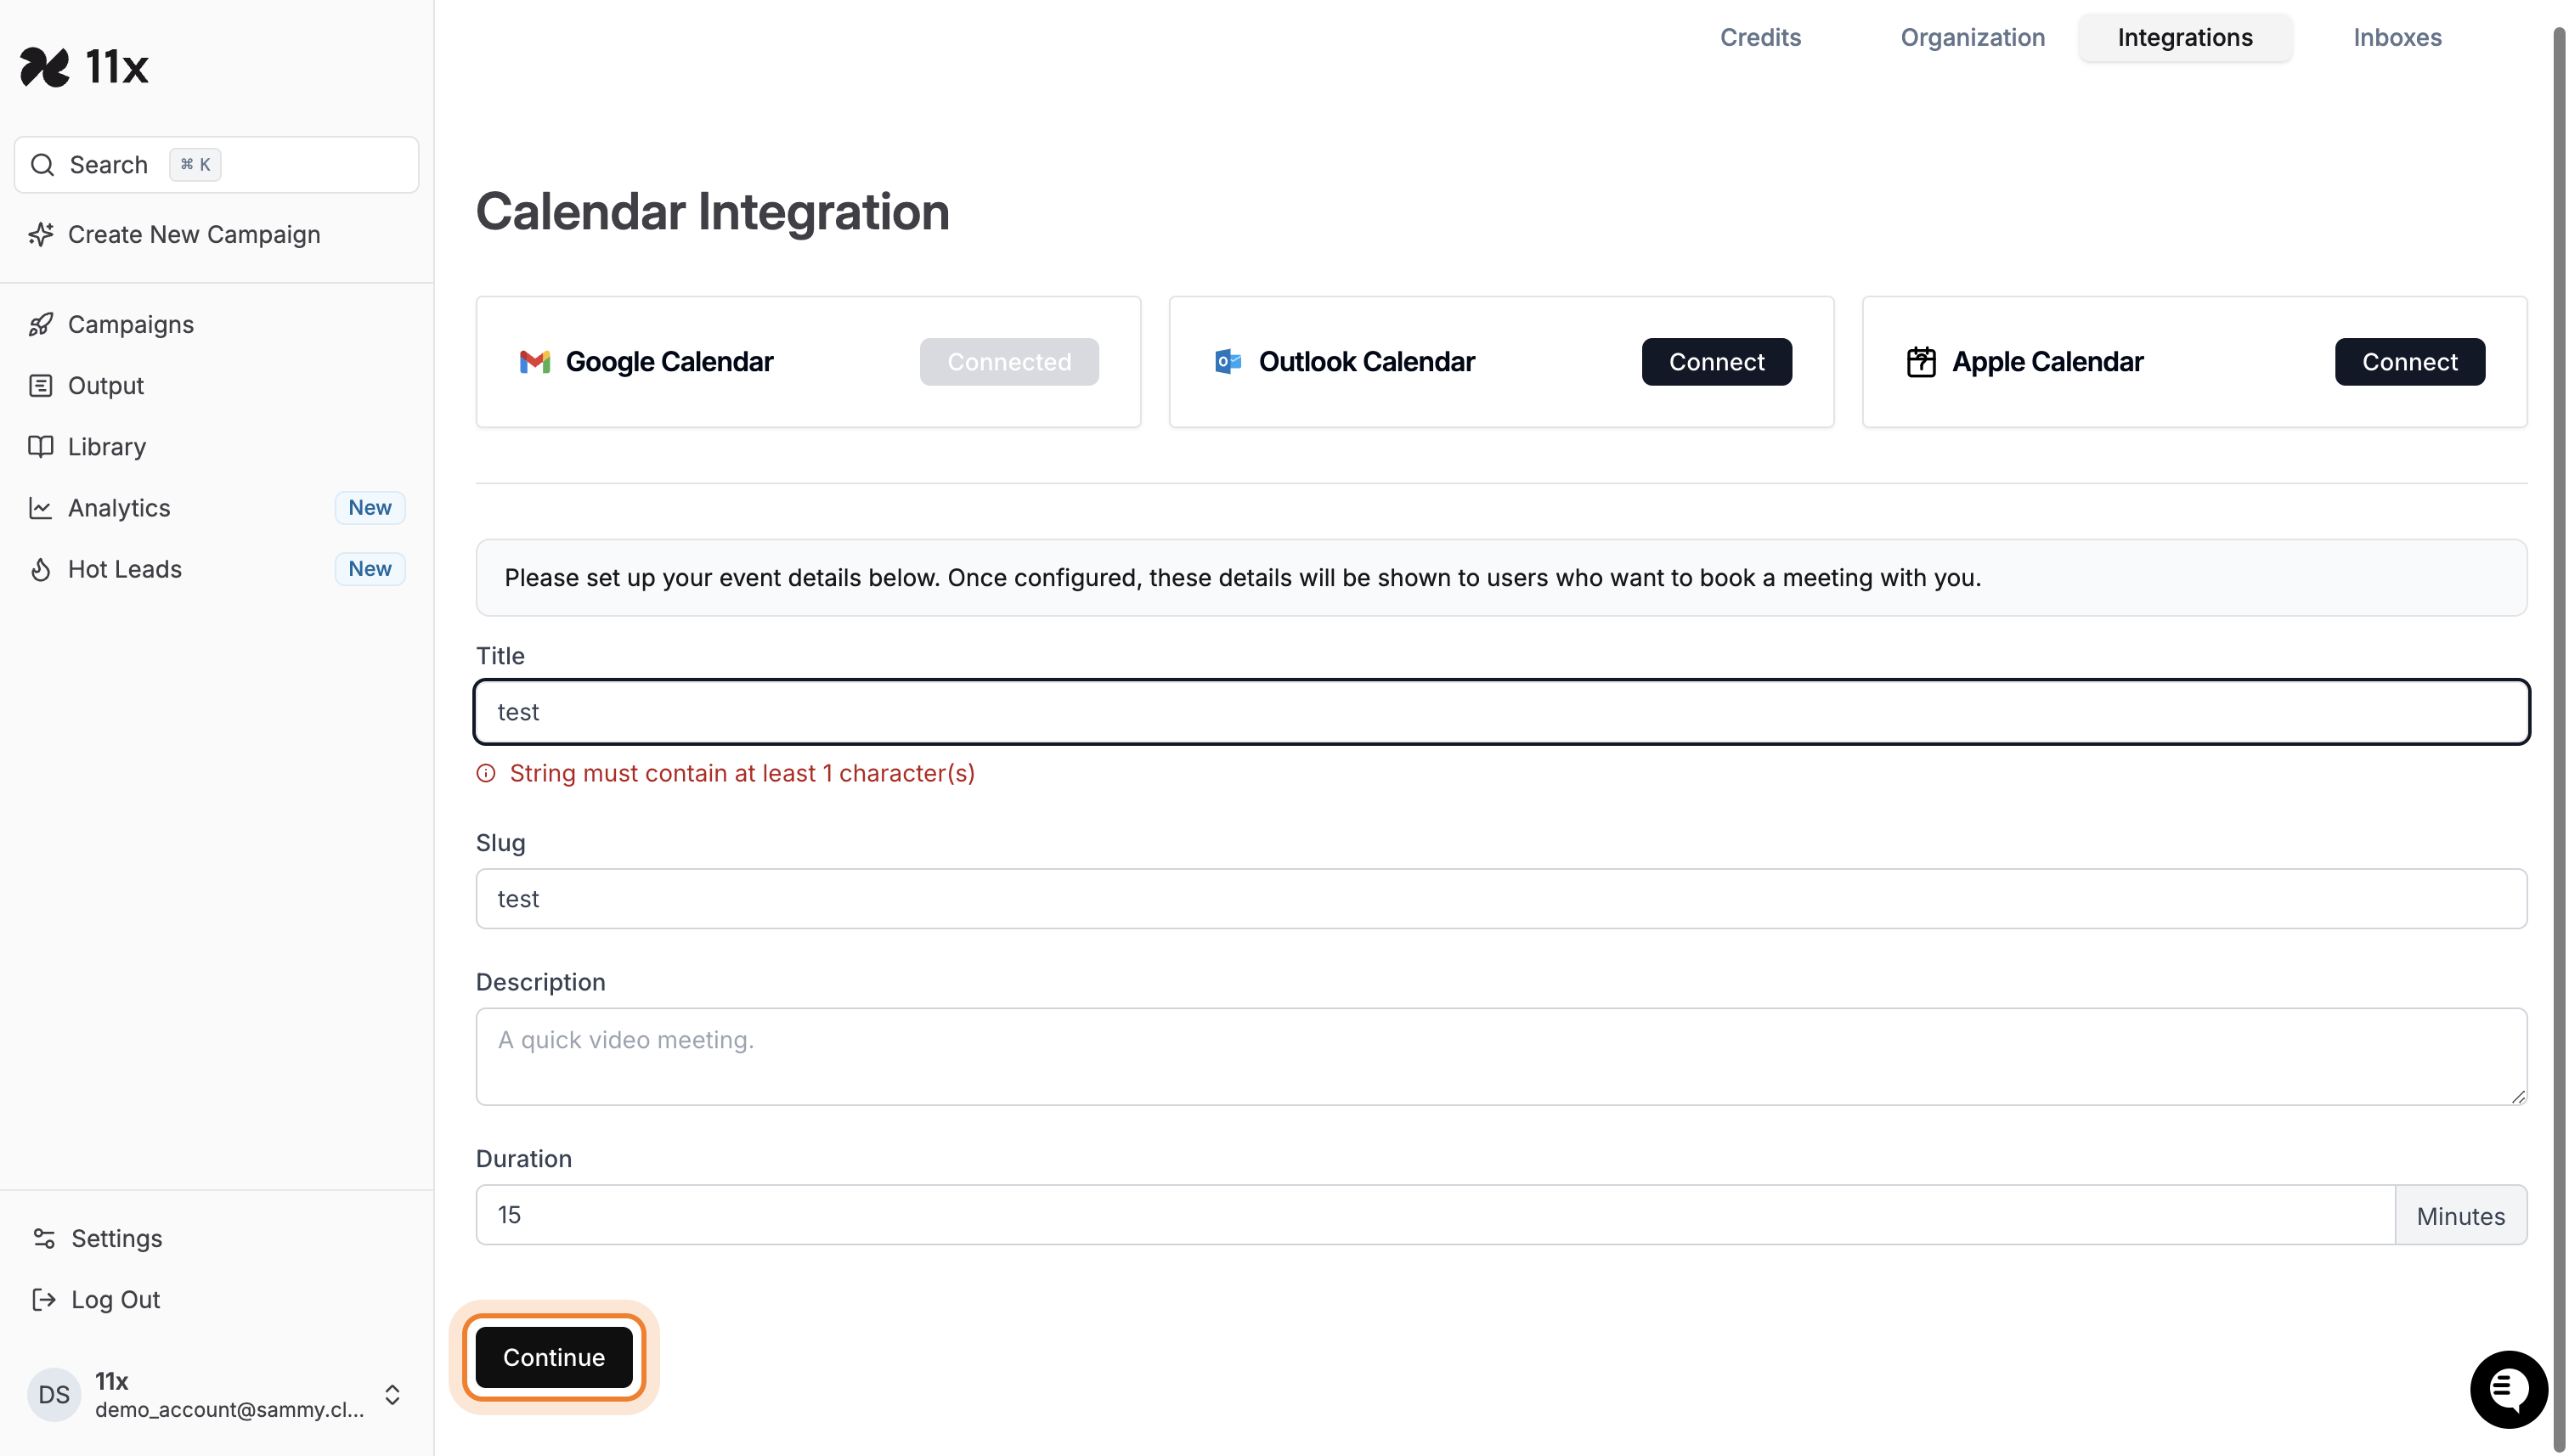
4. Configure Event Settings
- Set up the details for your calendar events, including:
- Title: The name of your event (e.g., “Quick Chat”).
- Slug: A custom URL slug for event booking.
- Description: Add details about the meeting (e.g., “A quick video meeting”).
- Duration: Set the duration of the event (e.g., 15 minutes).
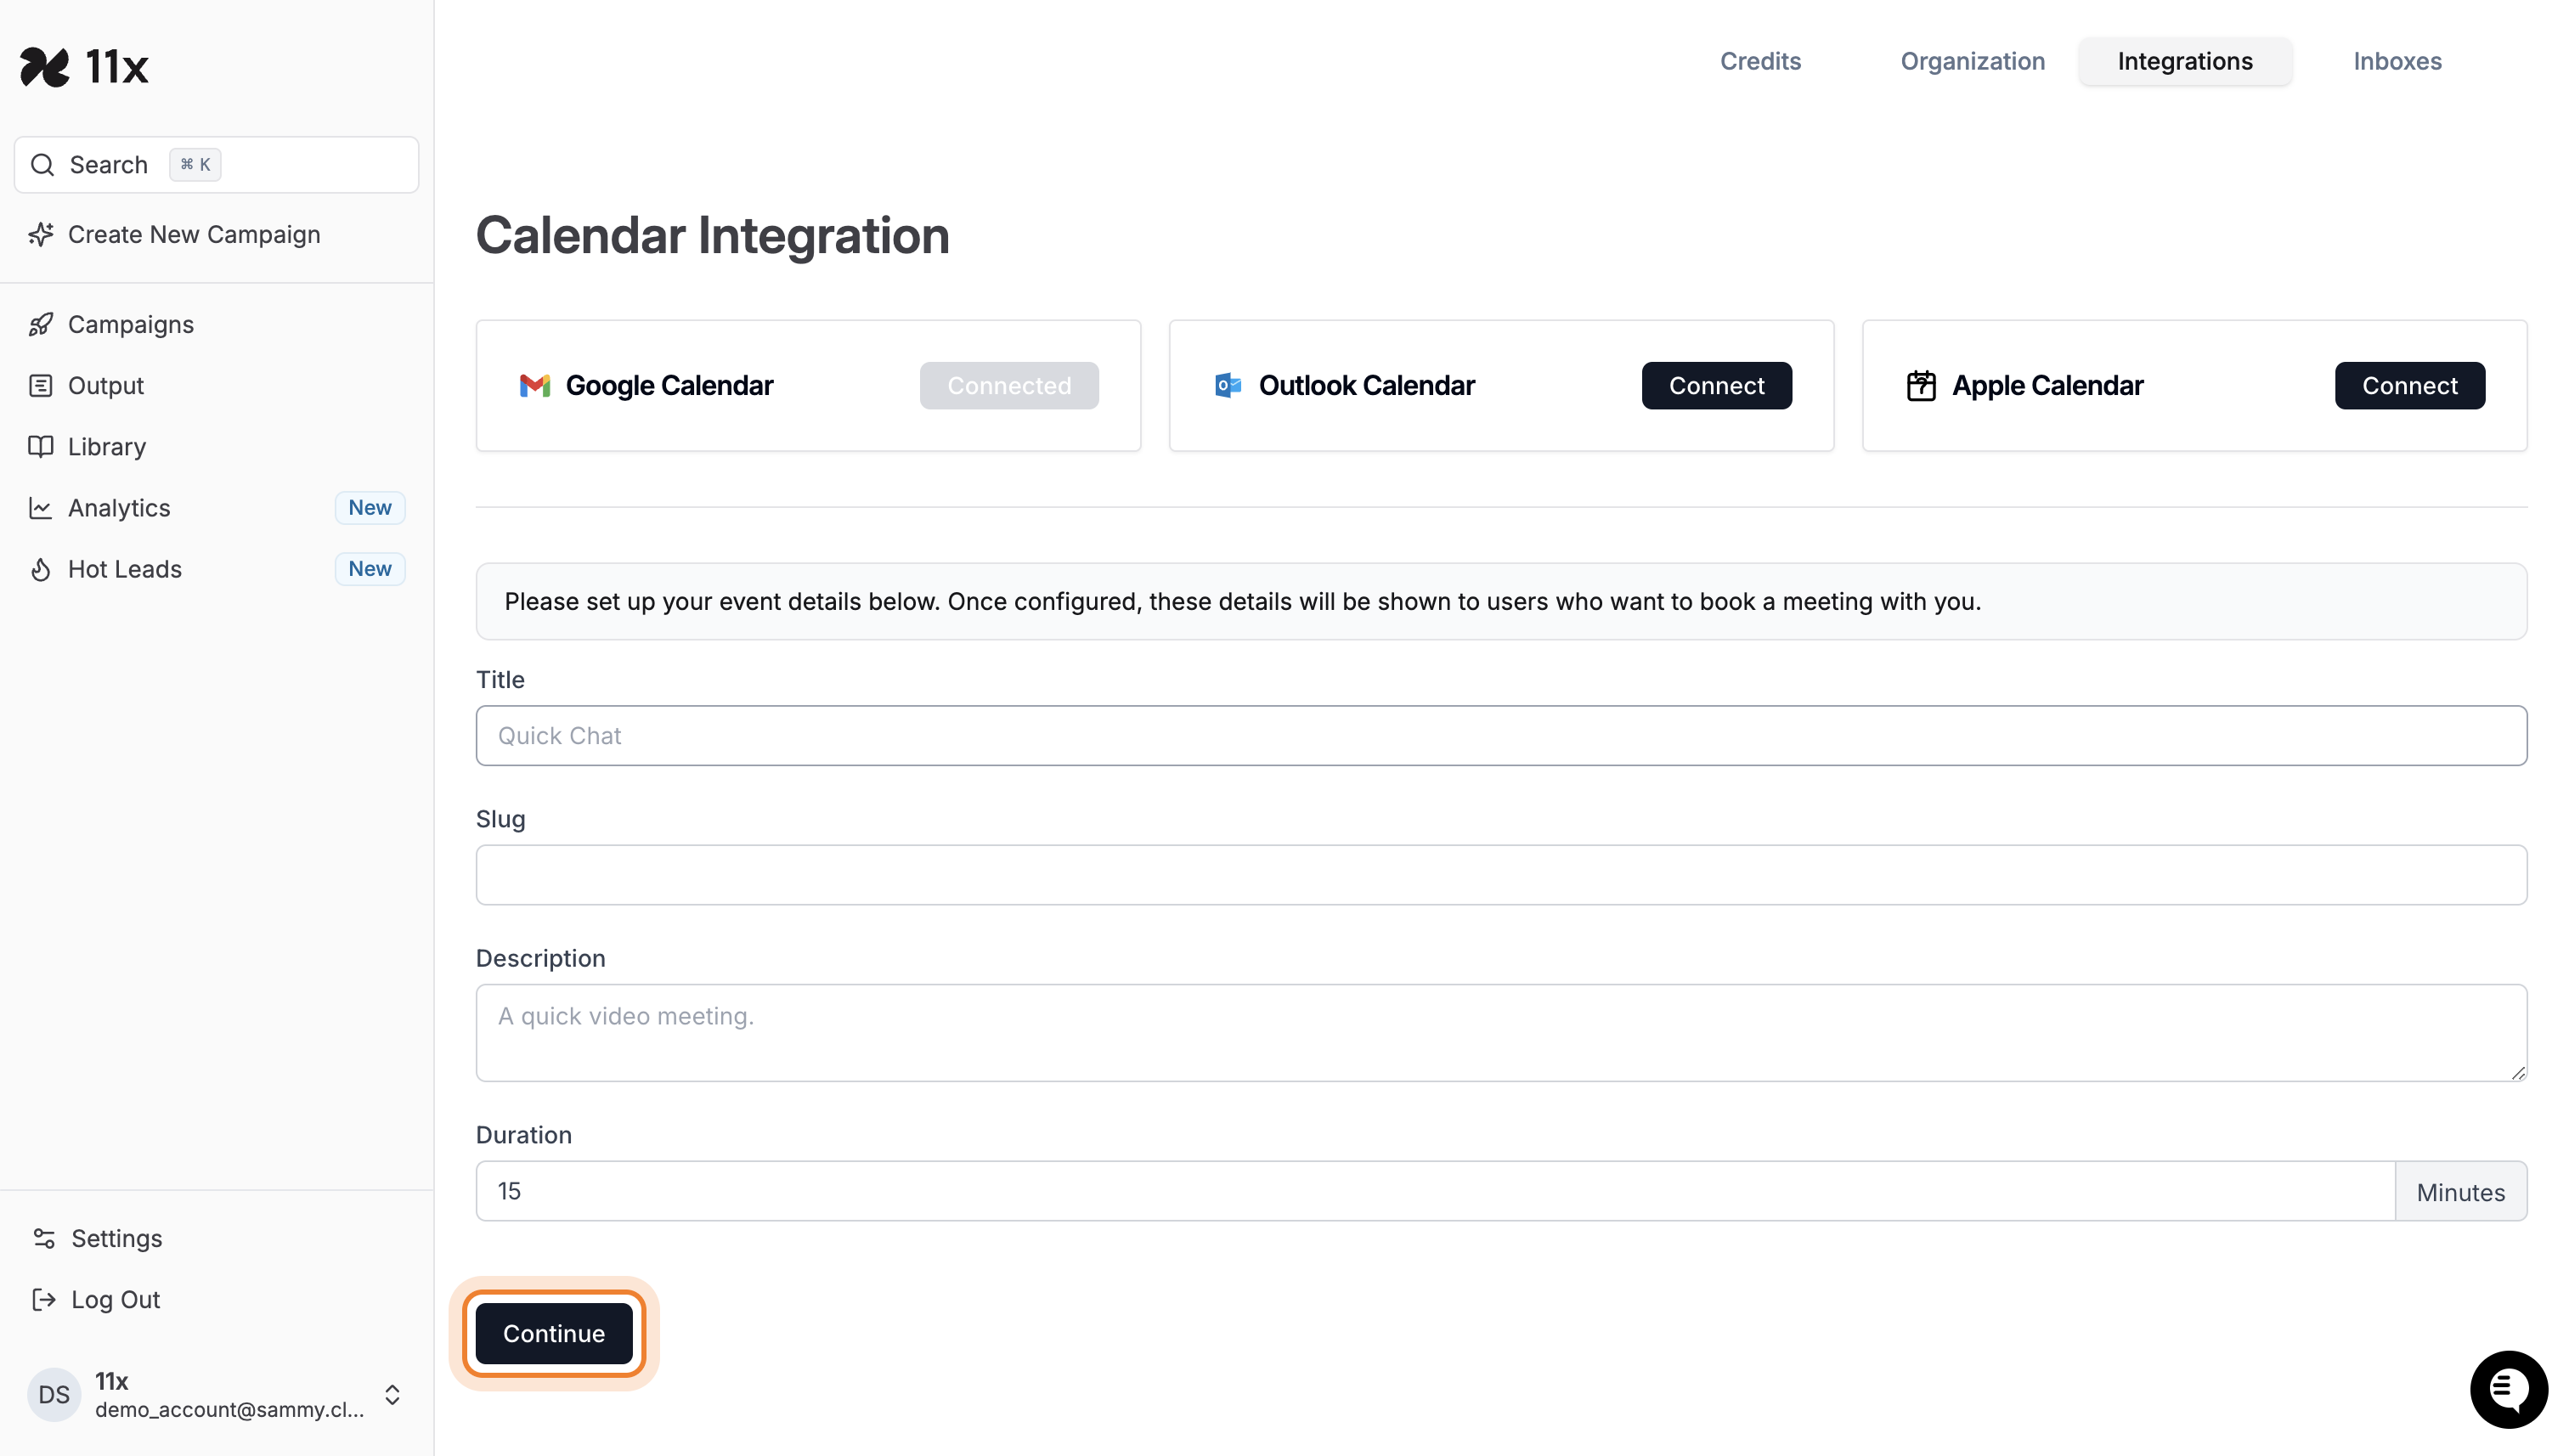
- Click Continue to save your event settings.
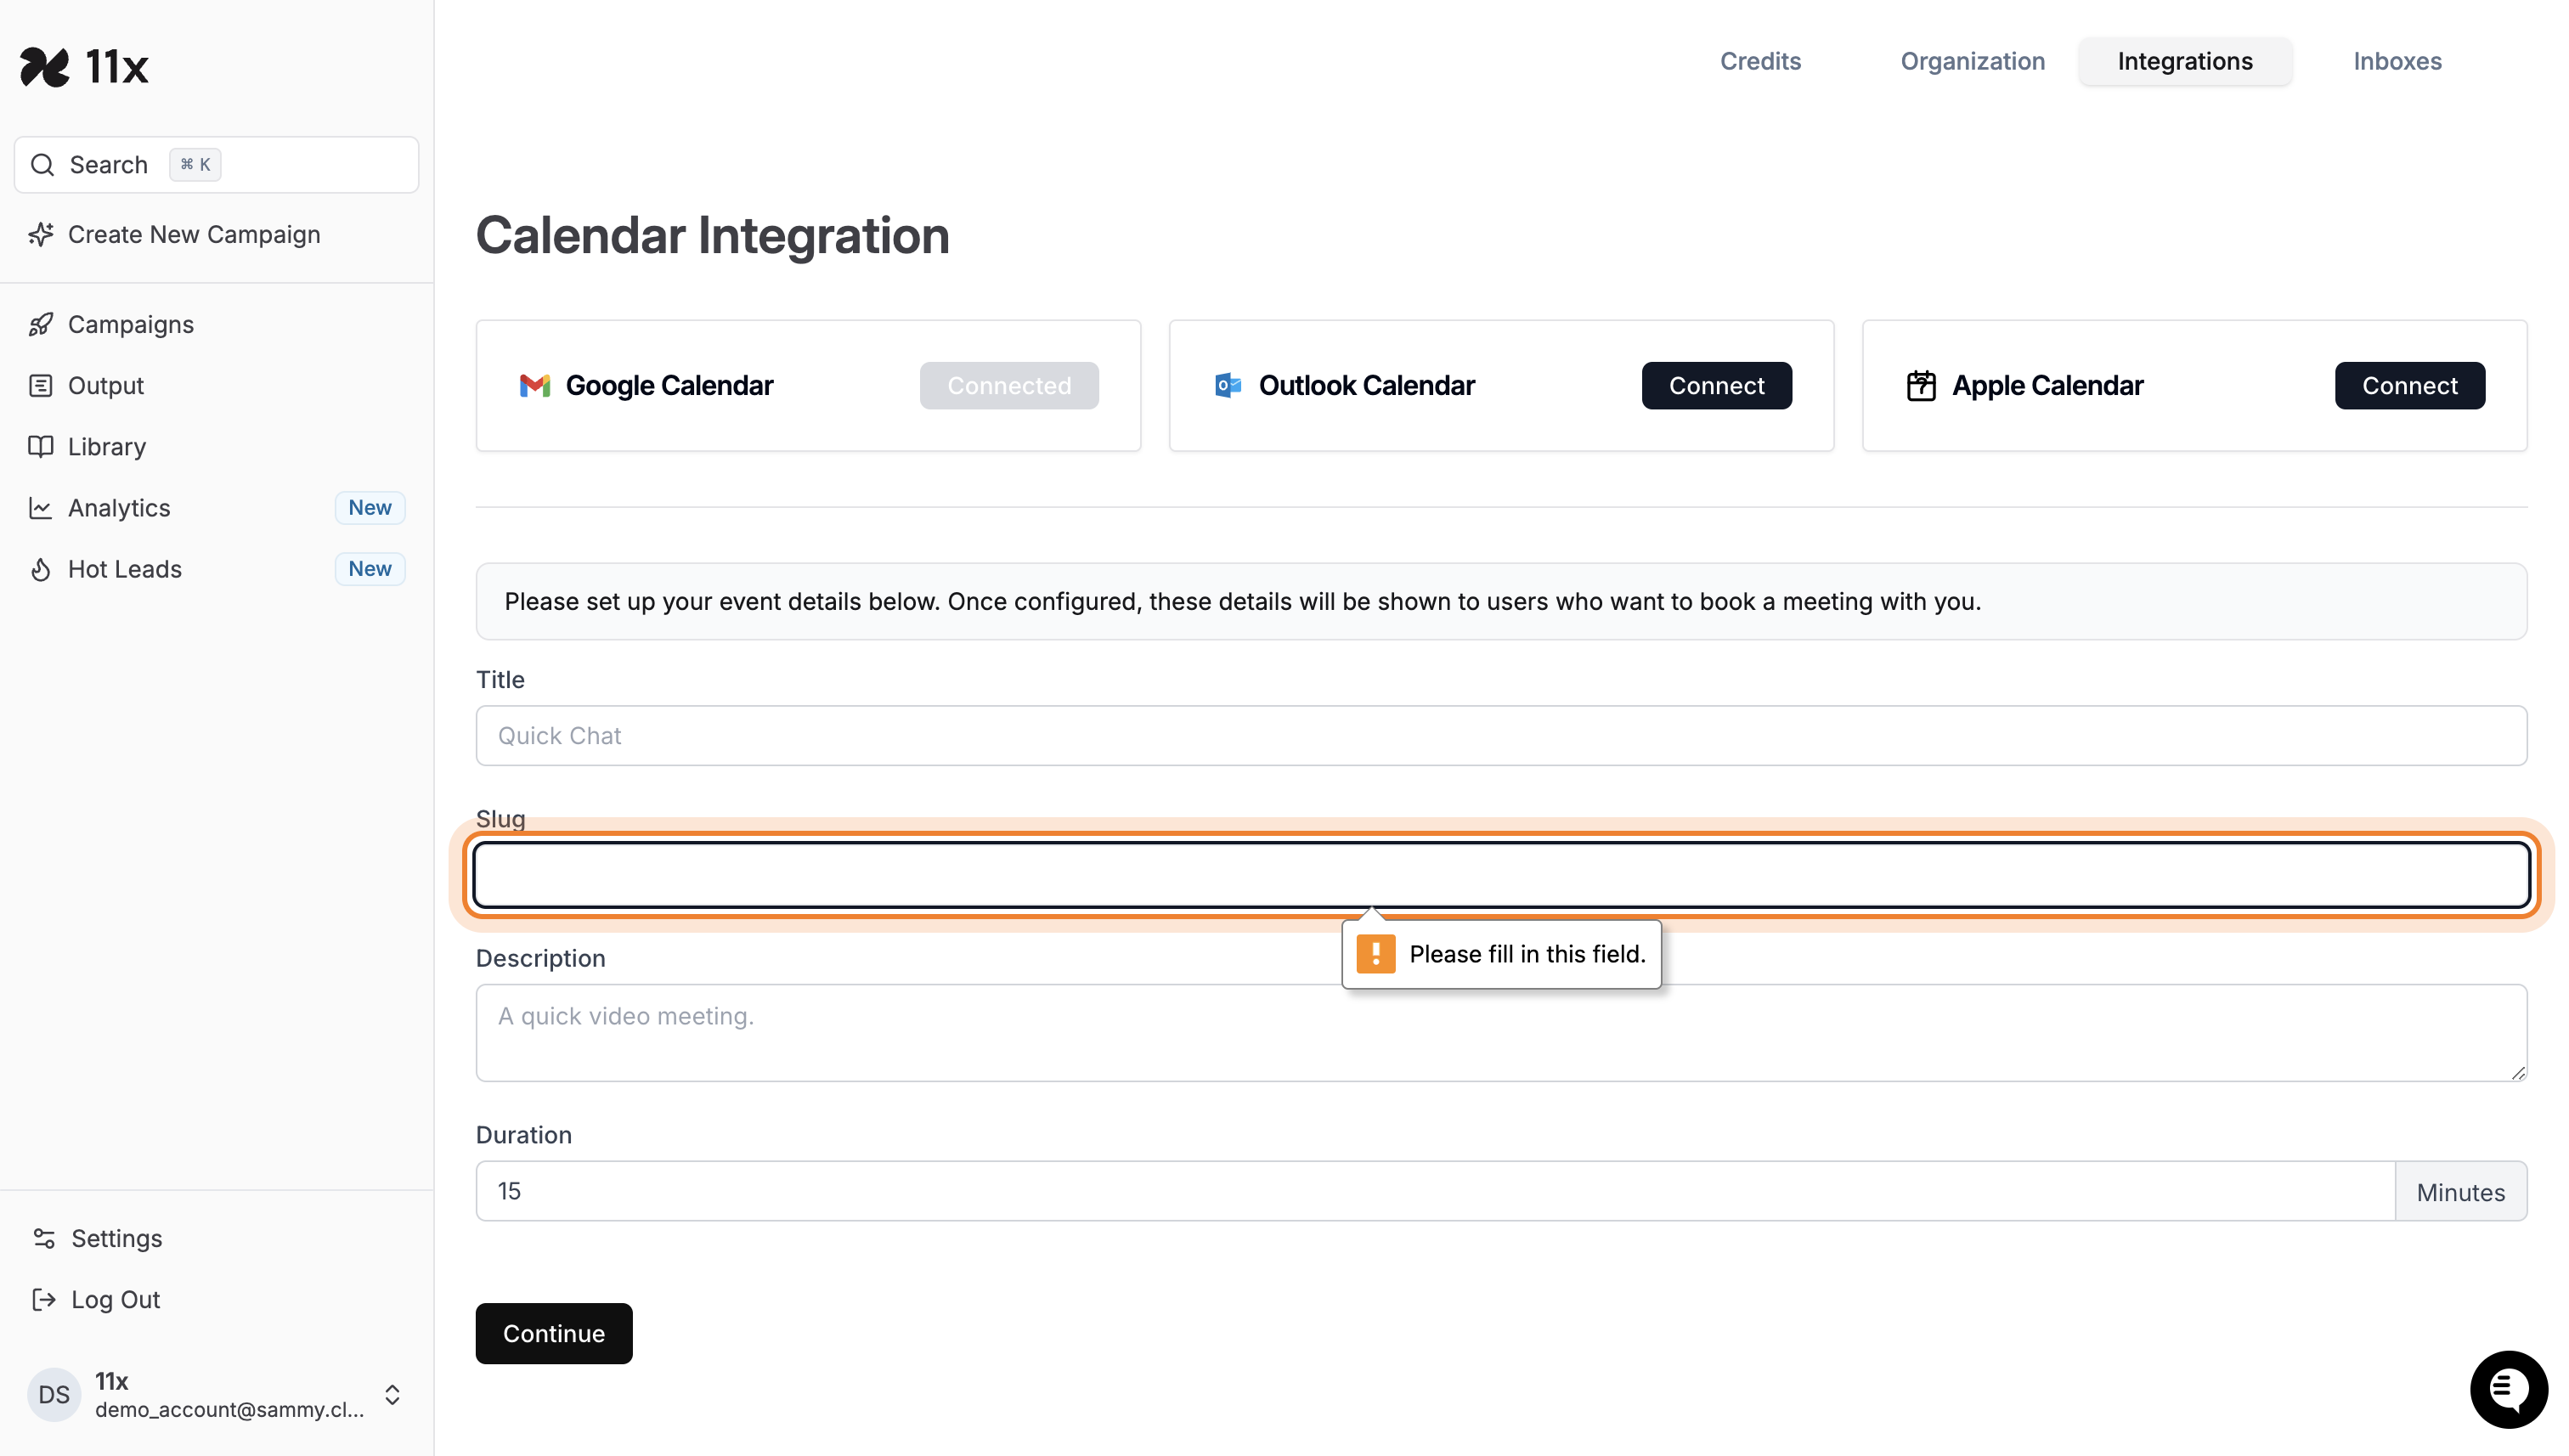
- A prompt will appear to enter the title, if the title is not entered, the integration will not proceed.
5. Save the details
- Click on the Save button to save the details entered.
6. Verify Integration
- Once connected, your calendar will sync with Alice, and bookings will automatically appear on your calendar.
Troubleshooting Tips
- Integration Not Working? Double-check that permissions were granted during the connection process.
- Missing Bookings? Ensure your calendar has been synced successfully by refreshing the Integrations page.
Need Further Help?
For further assistance, please contact your Customer Success Manager or use the support chat where we’ll be happy to help you.