Setting Up Pre- and Post-Event Outreach Campaigns on 11x.ai
Overview
This guide provides step-by-step instructions for setting up pre-event and post-event outreach campaigns on the 11x.ai platform. You will learn how to start a new campaign, upload an attendee list, and prepare your campaign for personalized outreach before and after an event.
Video
Prerequisites
-
Access to the 11x.ai platform with permissions to create campaigns
-
An attendee list in CSV format (if using the upload method)
Step-by-Step Instructions
1. Start a New Campaign
-
Navigate to the main dashboard of the 11x.ai platform.
-
Click the Create New Campaign button located on the left sidebar.
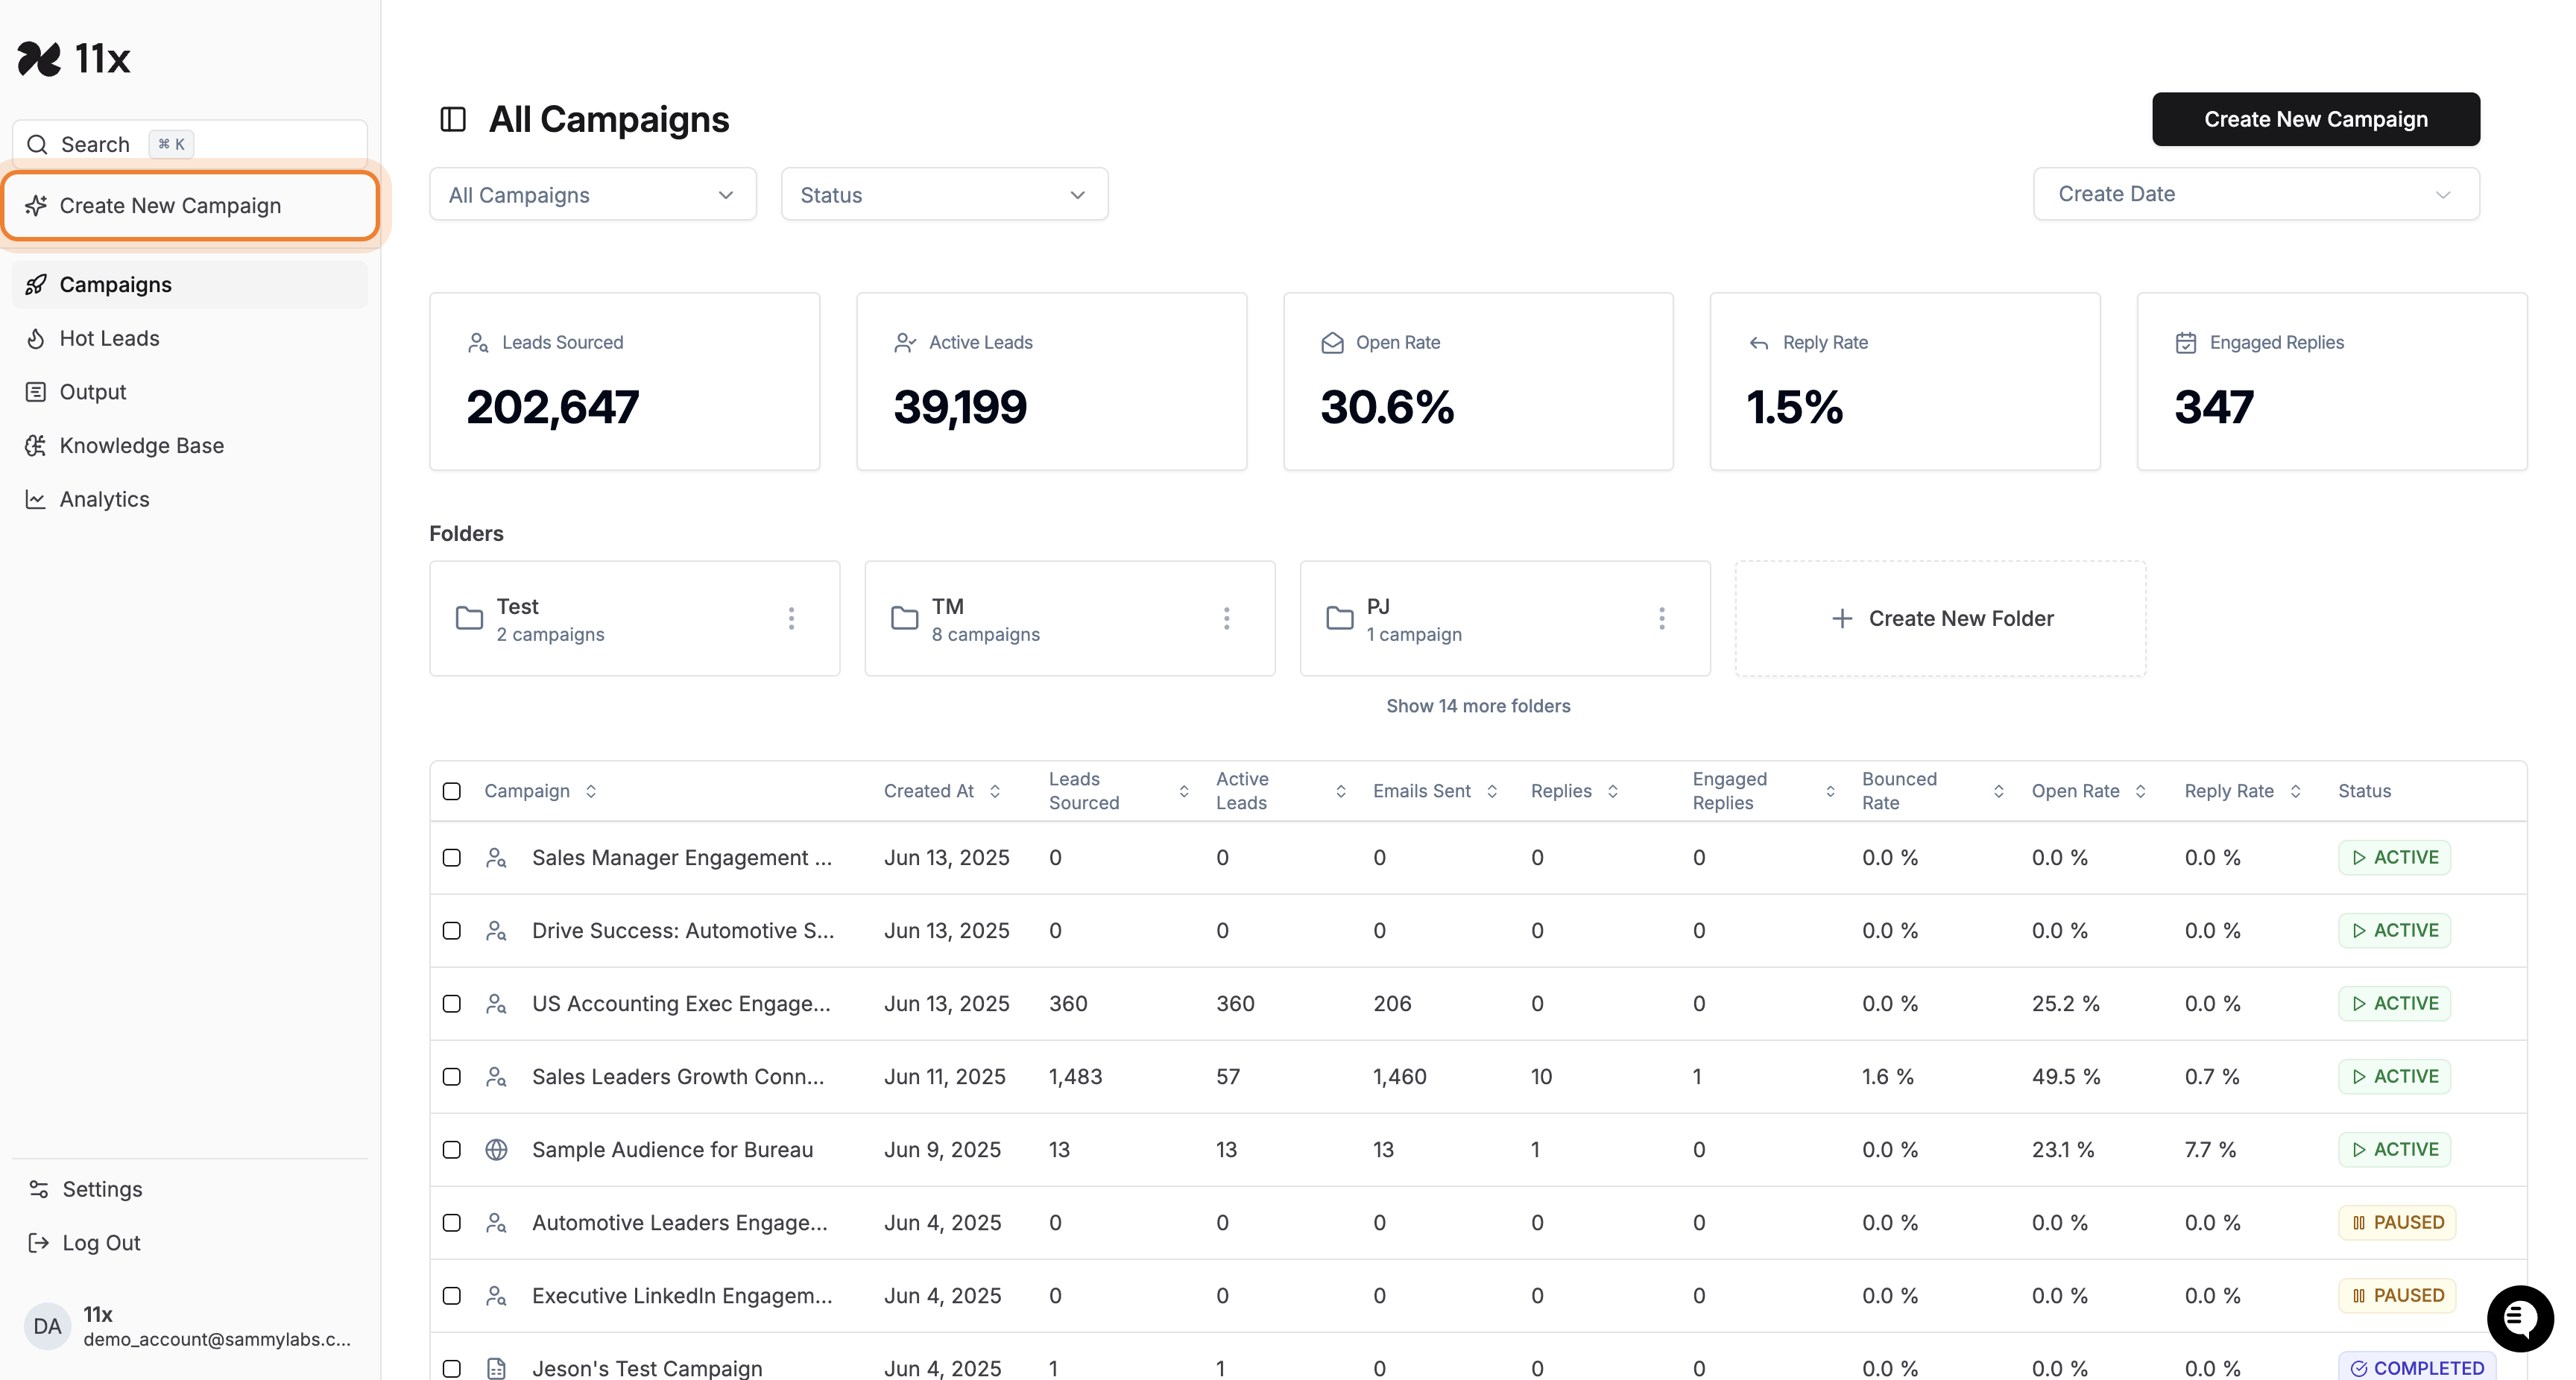
- This action opens the campaign creation workflow.
2. Select Audience Source
-
On the New Campaign page, you will see several tabs for selecting your audience source at the top:
-
Find Leads
-
Upload CSV
-
Triggers
-
Website Visitors
-
CRM List
-
-
Click the Upload CSV tab to prepare for uploading your attendee list.
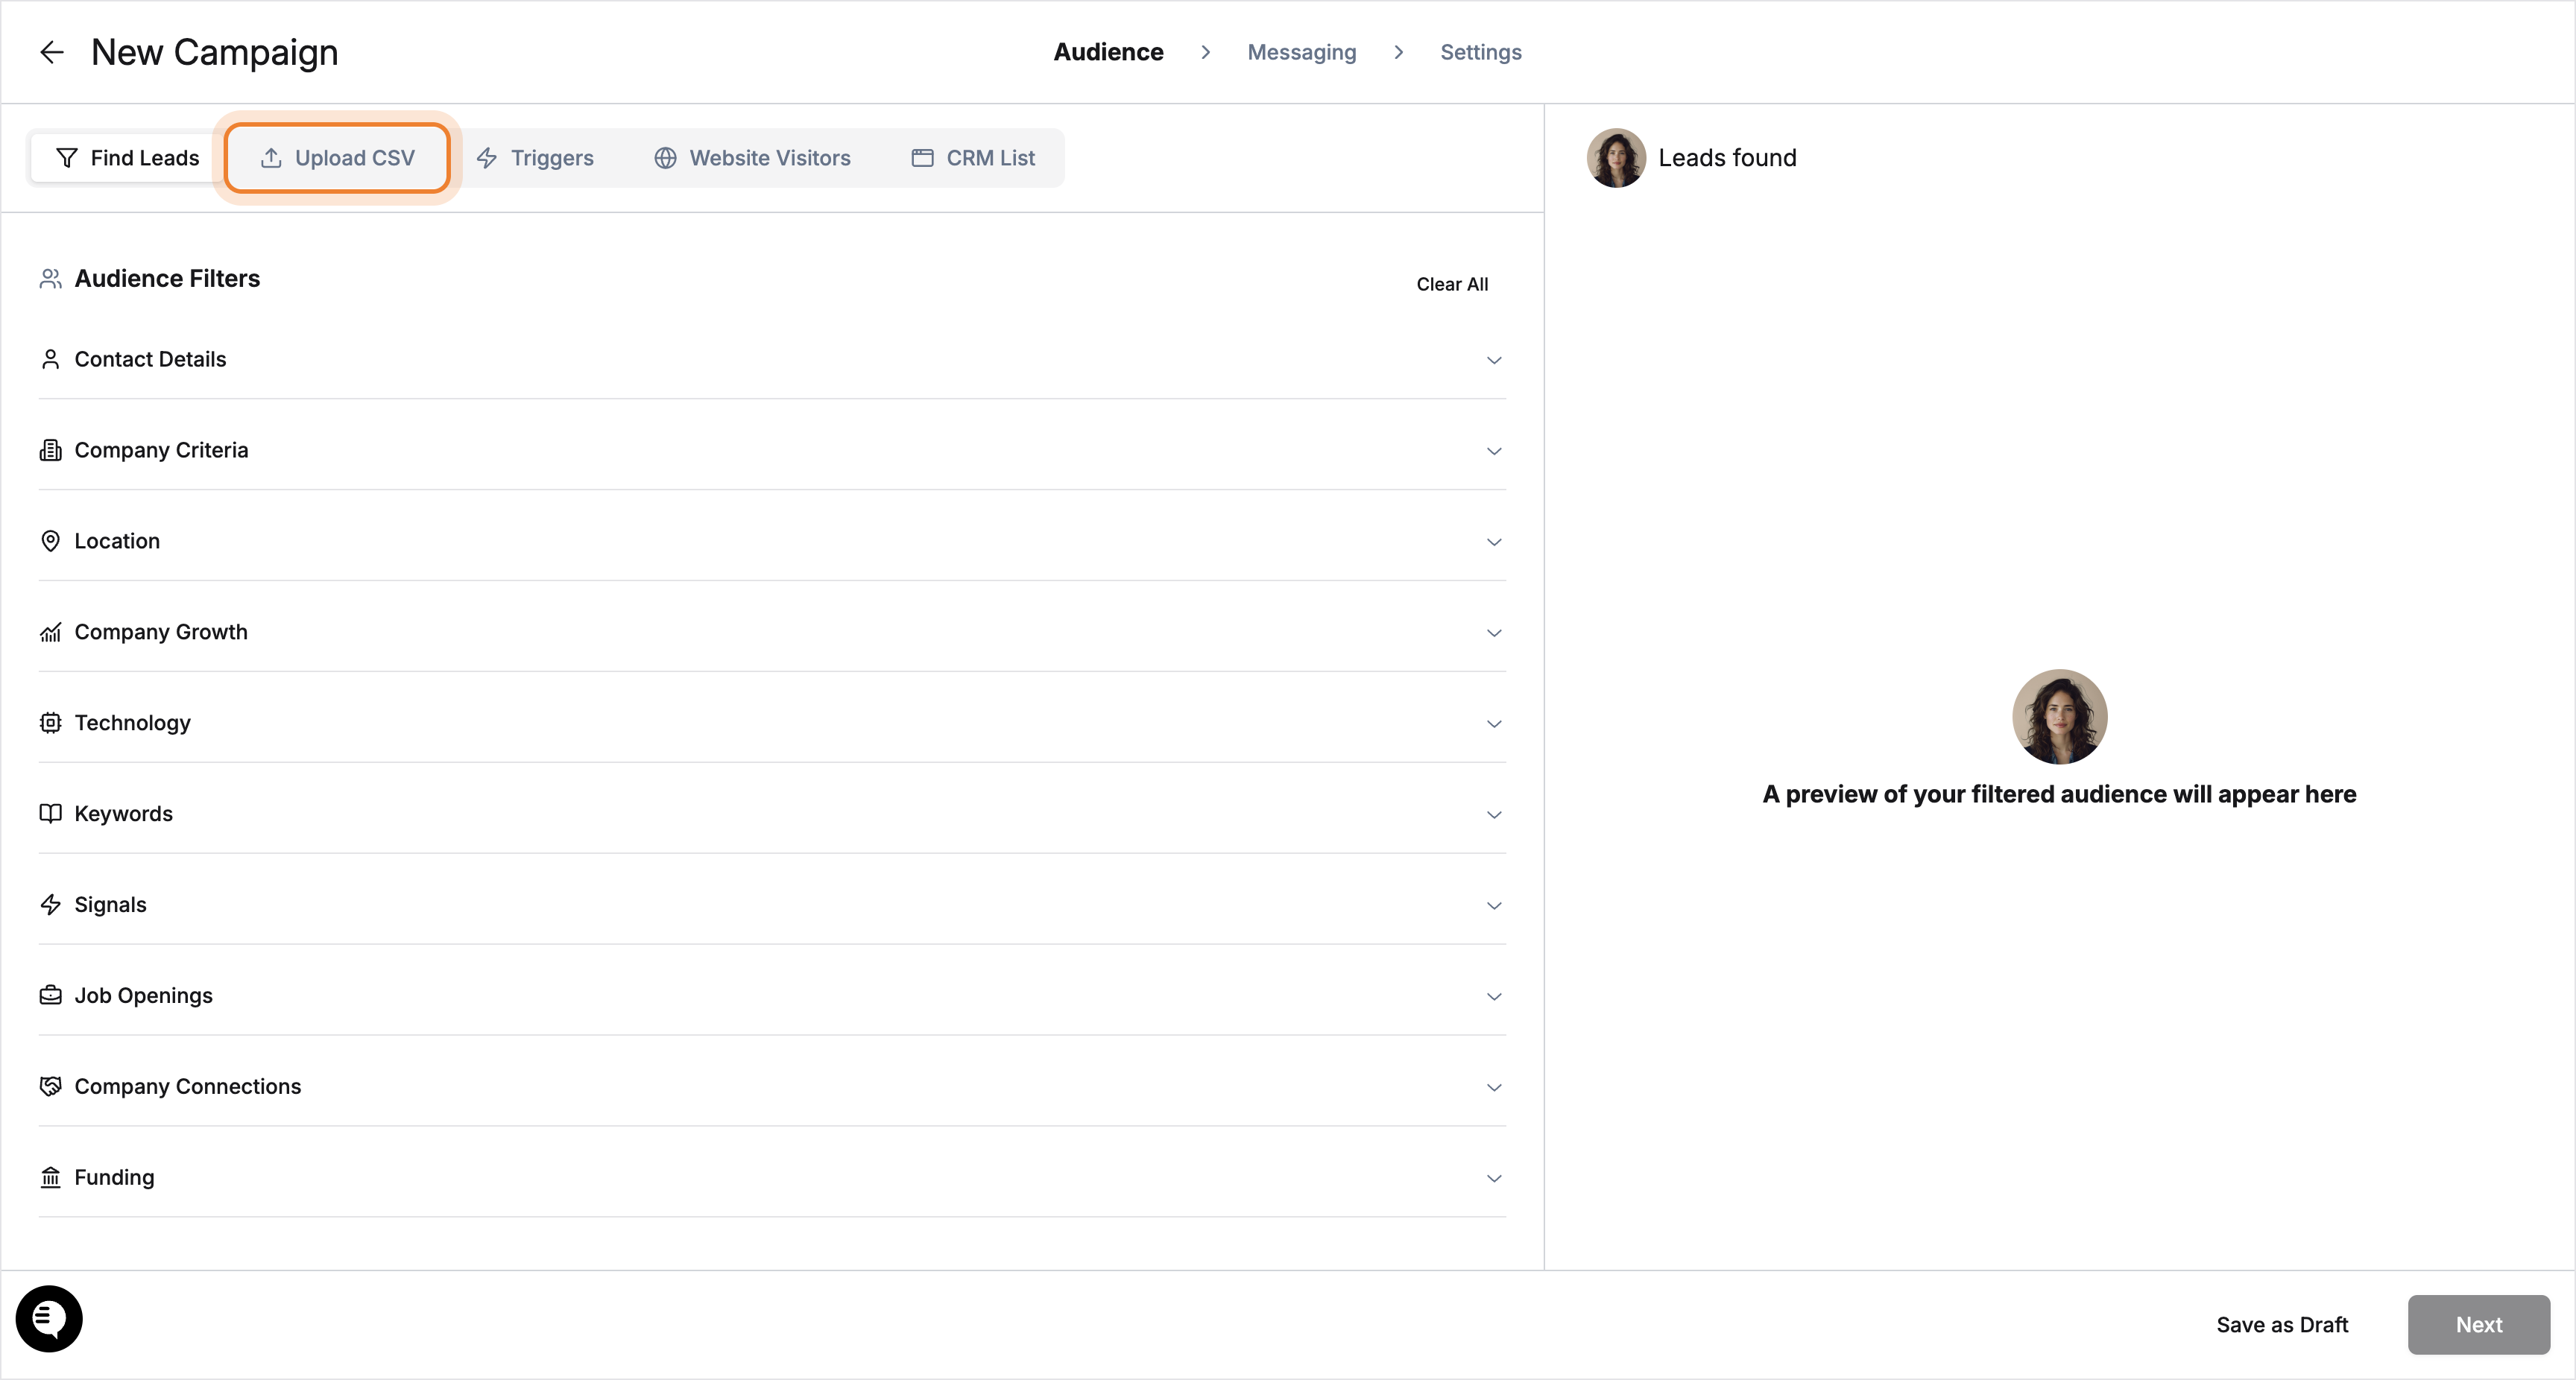
- The page will update to show the CSV upload area and instructions.
3. Prepare and Upload Your Attendee List
-
Review the required and recommended columns for your CSV file:
-
Required Columns:
-
First Name
-
Email or LinkedIn Profile URL
-
-
Recommended Columns:
-
Job Title
-
Company
-
Industry
-
Notes or other relevant information for improved personalization
-
-
-
Click the Upload CSV File area to select your file, or drag and drop your CSV file into the upload box.
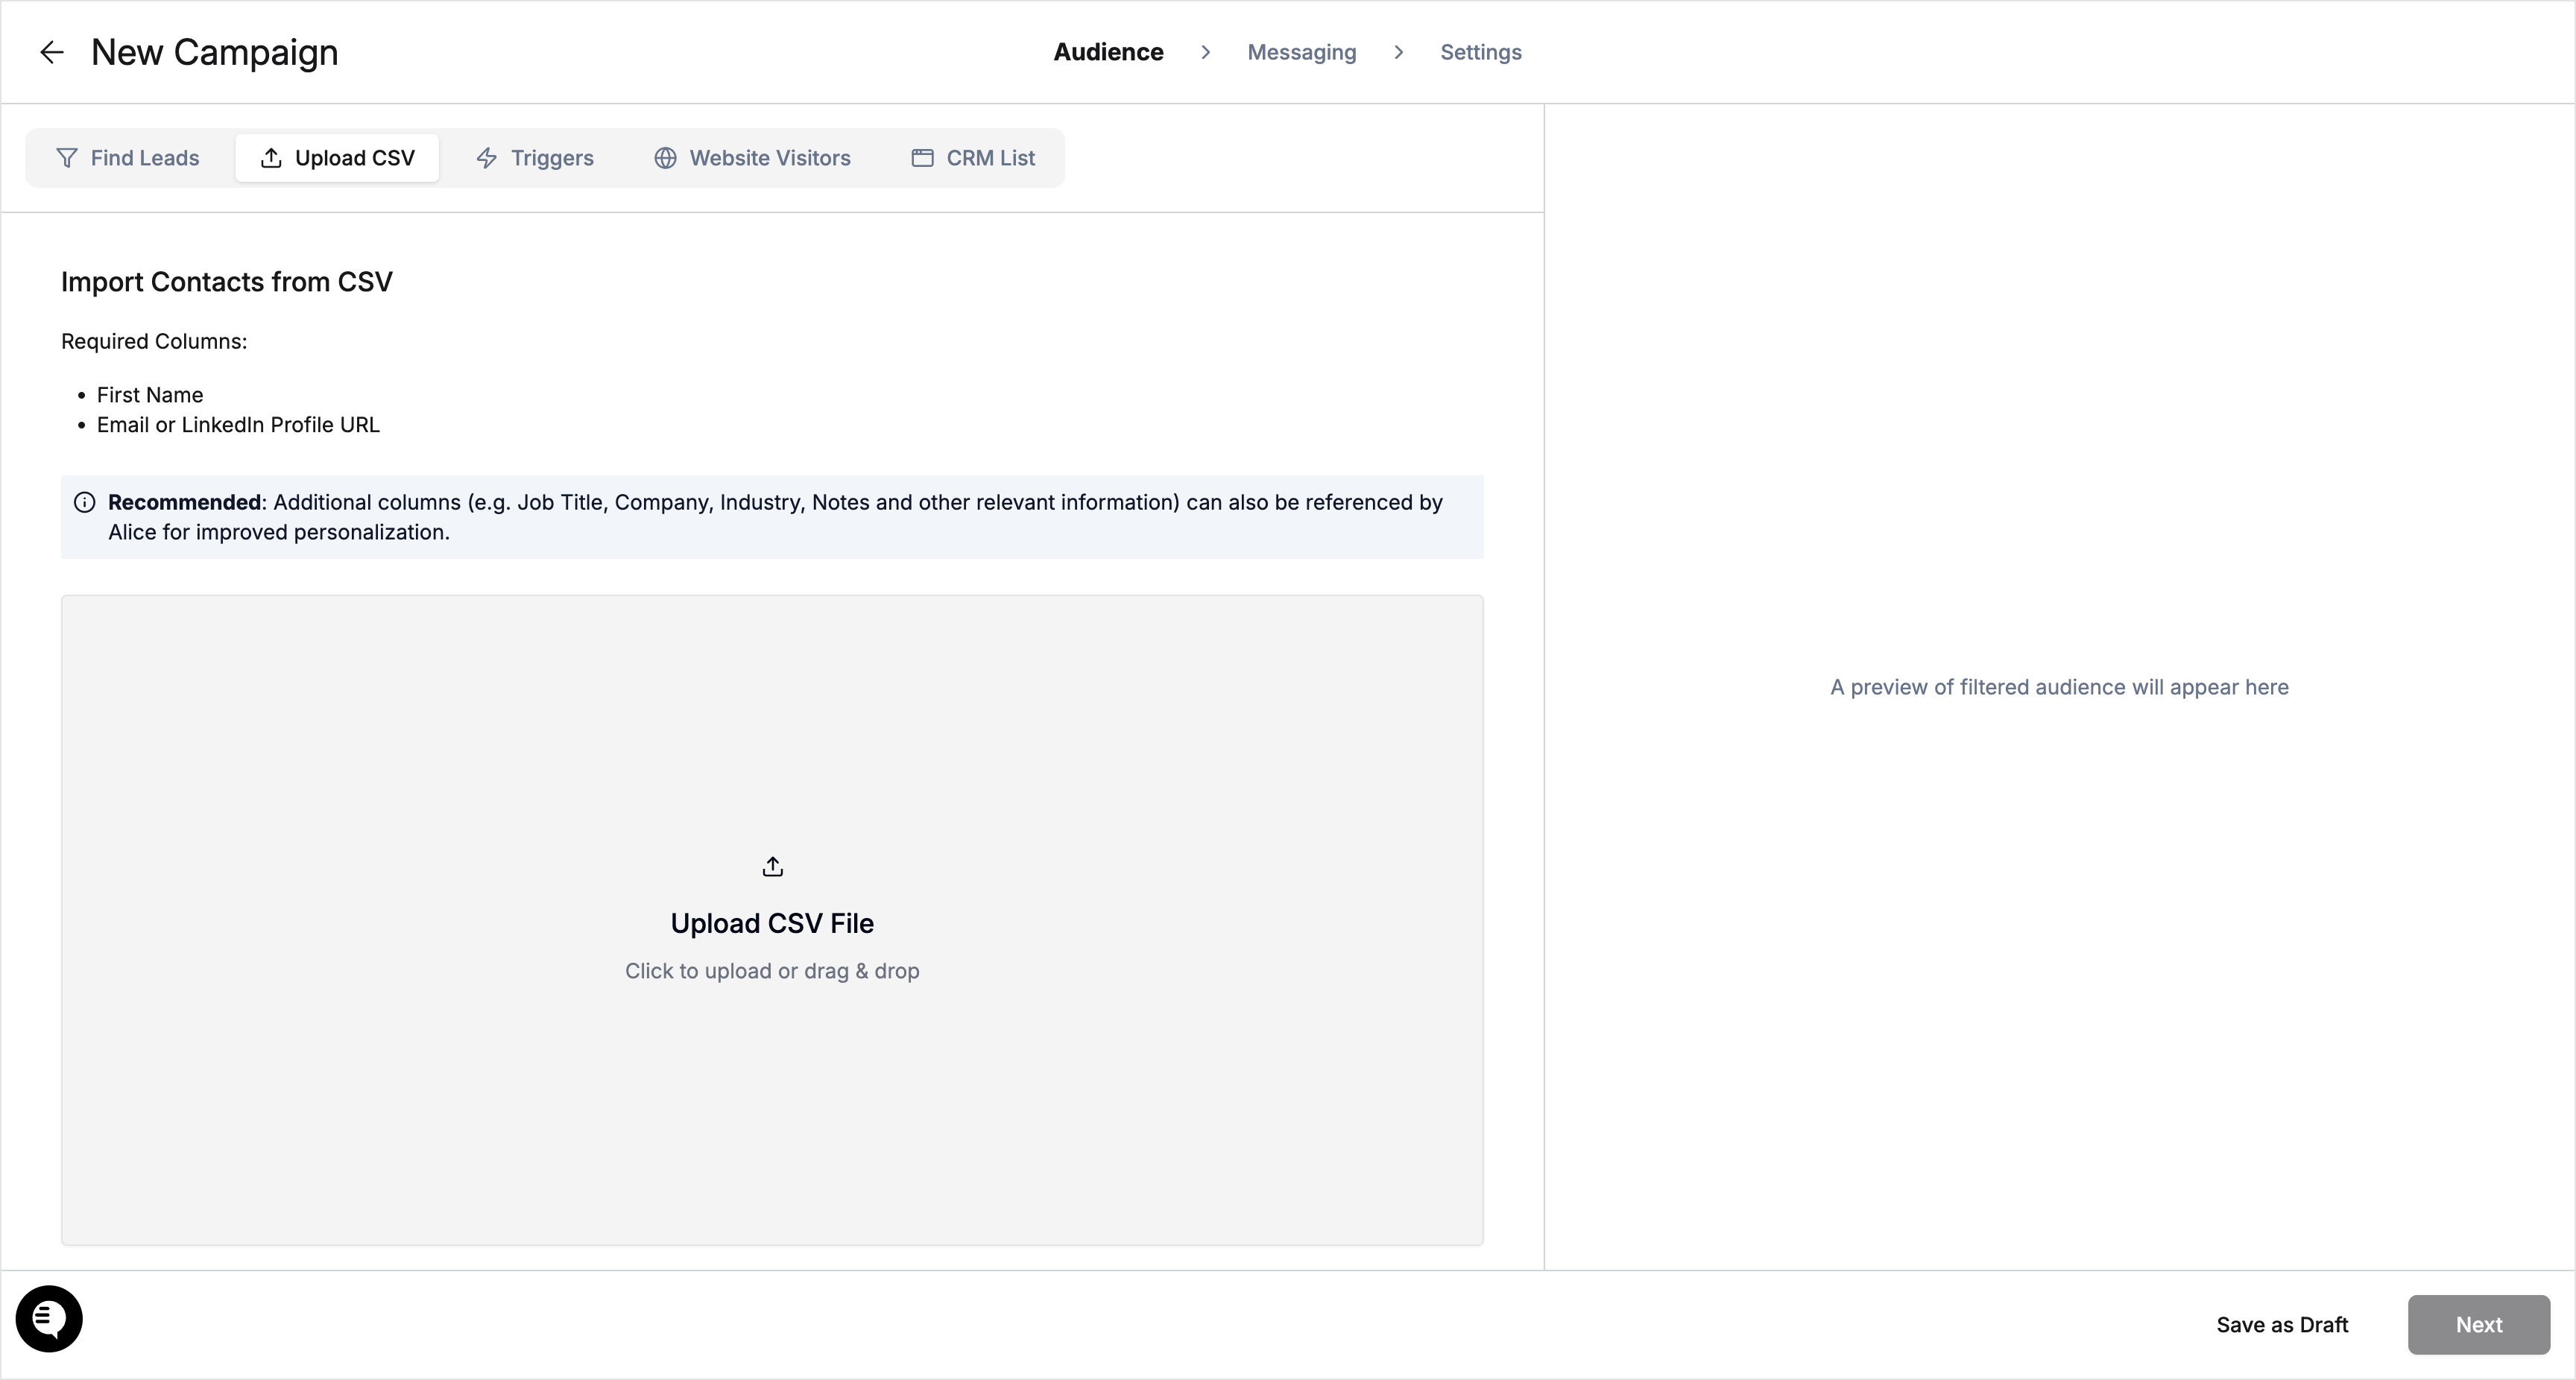
- A preview of your filtered audience will appear on the right after a successful upload.
Tips for Success
-
Ensure your CSV file includes all required columns to avoid upload errors.
-
Add as much relevant information as possible for better message personalization.
Alternative Approach
- If you do not have a CSV file, you can use the CRM tab to upload leads that might be stored in your CRM/MAP
4. Next Steps (After Upload)
-
Once your attendee list is uploaded, proceed to the Messaging tab to create 2–3 short, personalized pre-event emails inviting attendees to meet at the event.
-
After the event, set up a post-event follow-up campaign referencing specific sessions or discussions.
-
Qualify leads and book meetings promptly after the event.
Troubleshooting
-
Missing Required Columns: If your CSV is missing required columns (First Name, Email or LinkedIn Profile URL), the upload will fail. Add the missing columns and try again.
-
File Format Issues: Ensure your file is saved in CSV format. Other formats (e.g., XLSX) are not supported.
-
No Attendee List: Use the Find Leads tab to build your audience if you do not have a CSV file.
Success Criteria and Verification
-
The attendee list uploads successfully and appears in the audience preview.
-
You are able to proceed to the Messaging step to create your outreach emails.
-
The campaign is ready for both pre-event and post-event outreach workflows.