Setting up Contact/Lead Filters
Editing Fields for a New Campaign: Contact Details
Overview
This guide explains how to access and configure the Contact Details audience-filter section while creating a new campaign in Alice. By the end, you will have the Contact Details panel open and be ready to fine-tune filters such as Job Title, Department, Seniority Level, and more.
Expected outcome: Contact Details section is expanded, all filter fields are visible and editable.
Estimated time to complete: 1-2 minutes
Prerequisites
-
Access to the Alice platform and the Campaigns dashboard
-
Permission to create and modify campaigns
-
Stable internet connection (needed for panel expansion and field rendering)
Step-by-Step Instructions
-
Navigate to the Campaigns Dashboard
From the left-hand navigation, click Campaigns and ensure you are on the main Campaigns page.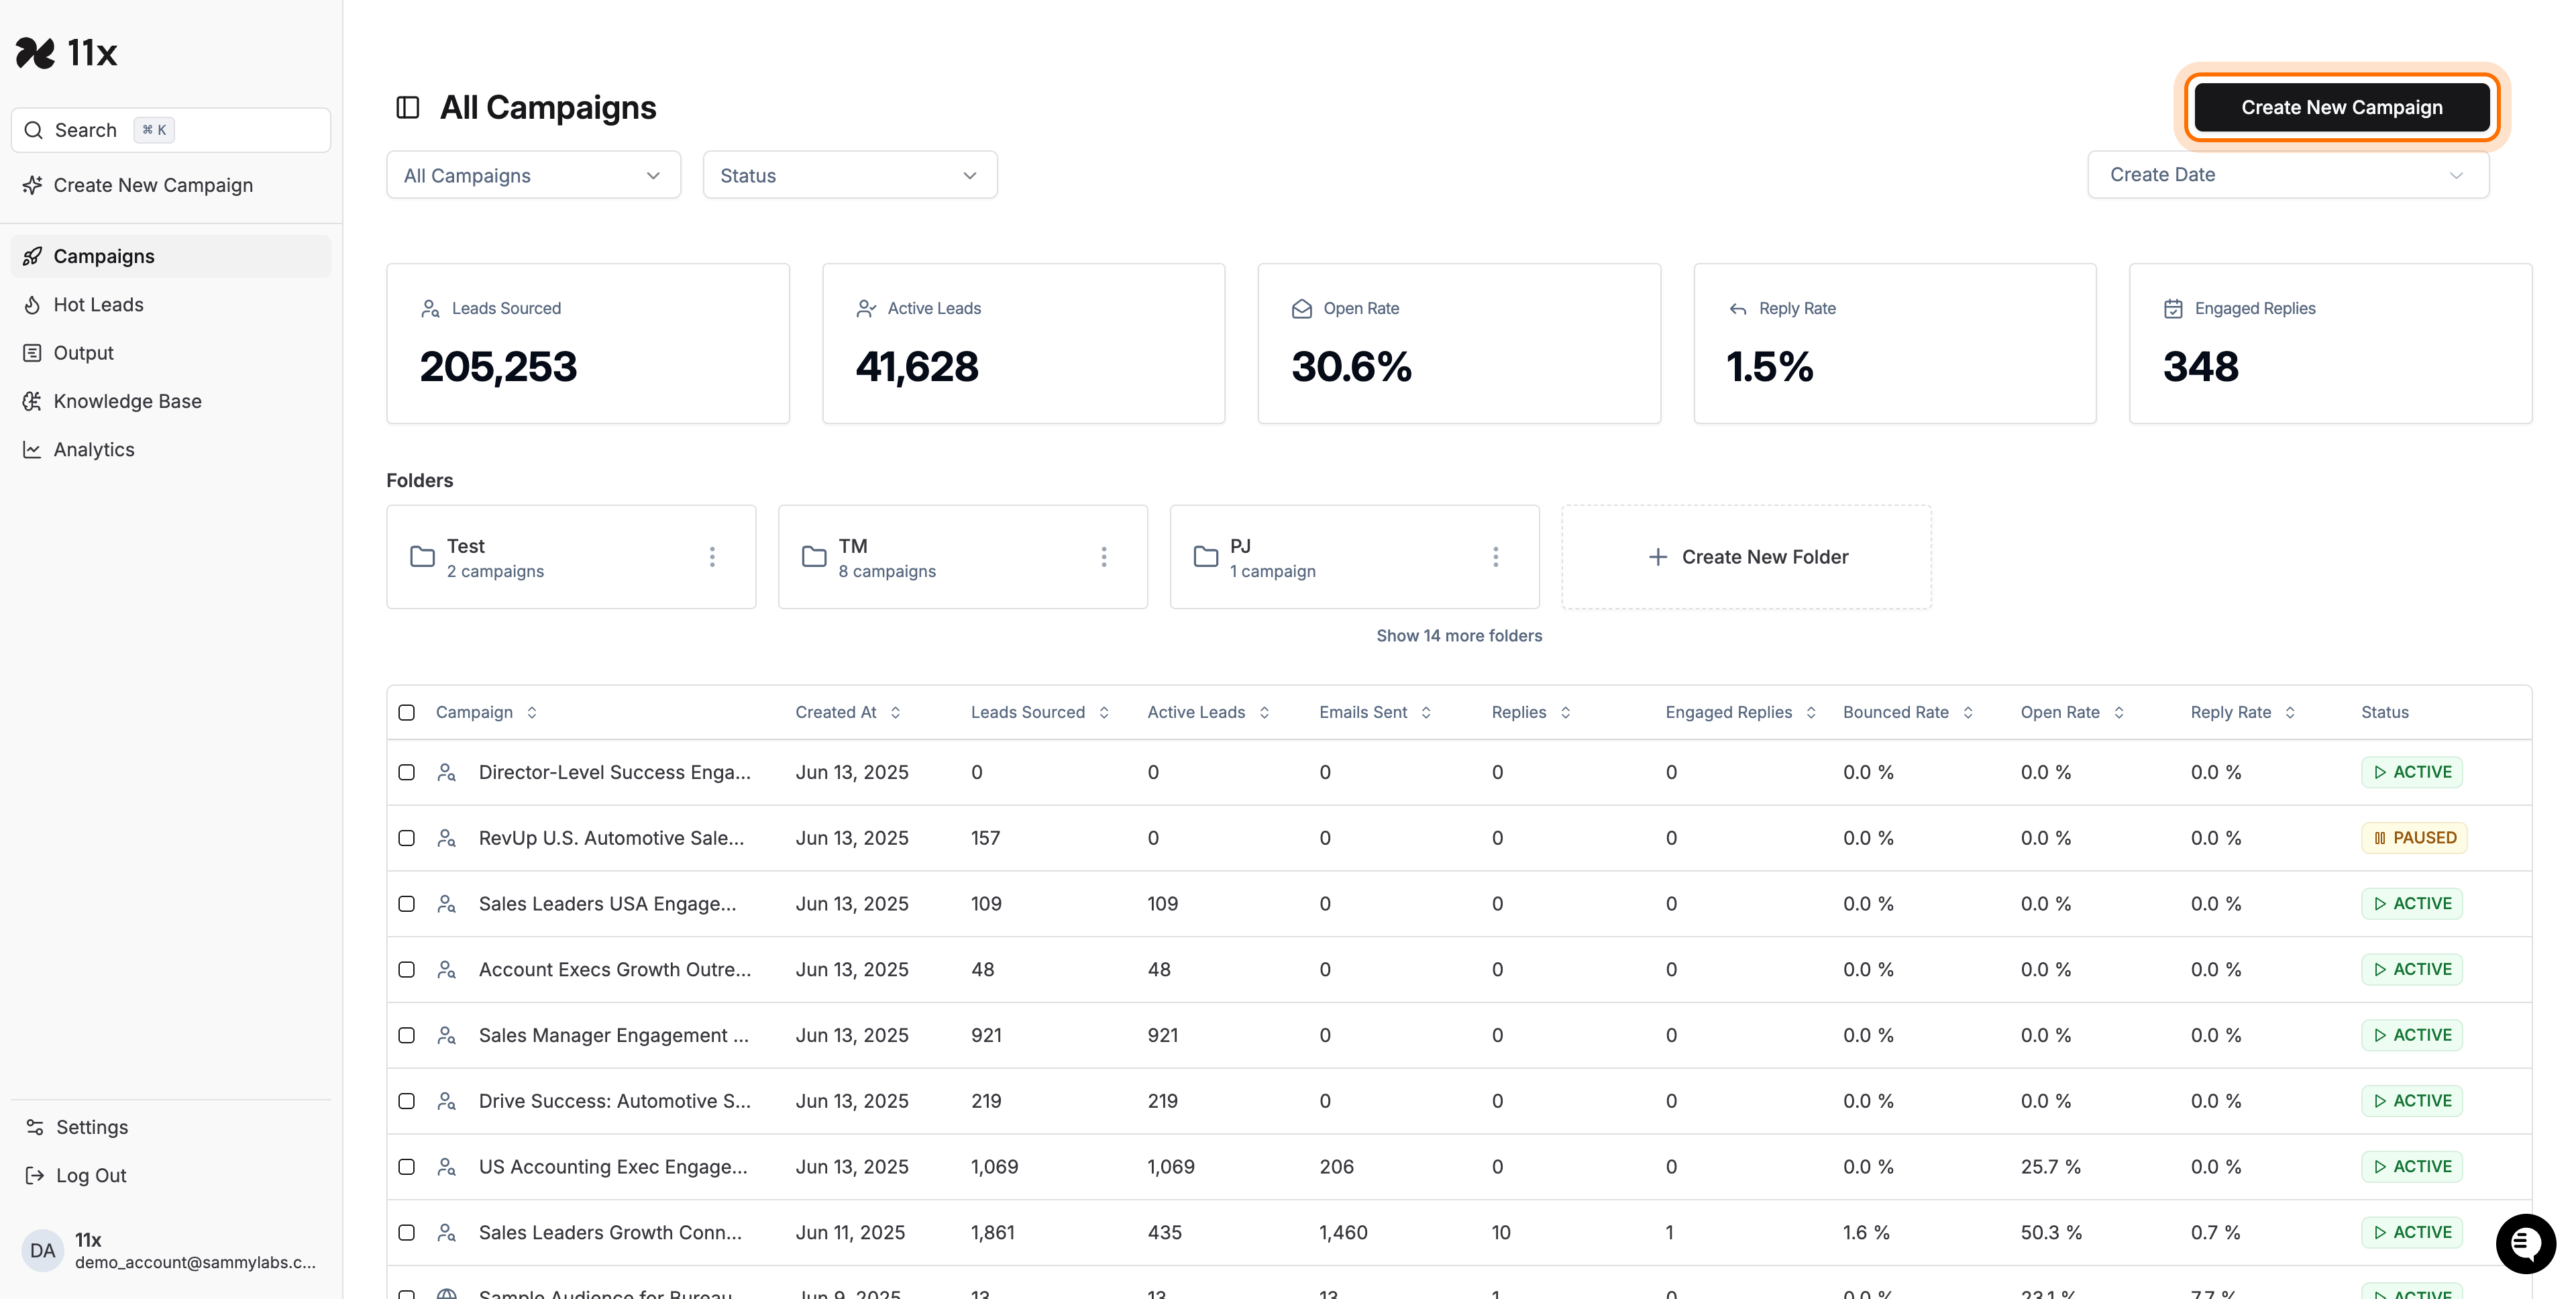
-
Start a New Campaign
Click Create New Campaign in the top-right corner. You will be redirected to the New Campaign setup screen. -
Expand the Contact Details Section
In the Audience Filters sidebar, locate Contact Details and click it once. The section expands to reveal all available filters.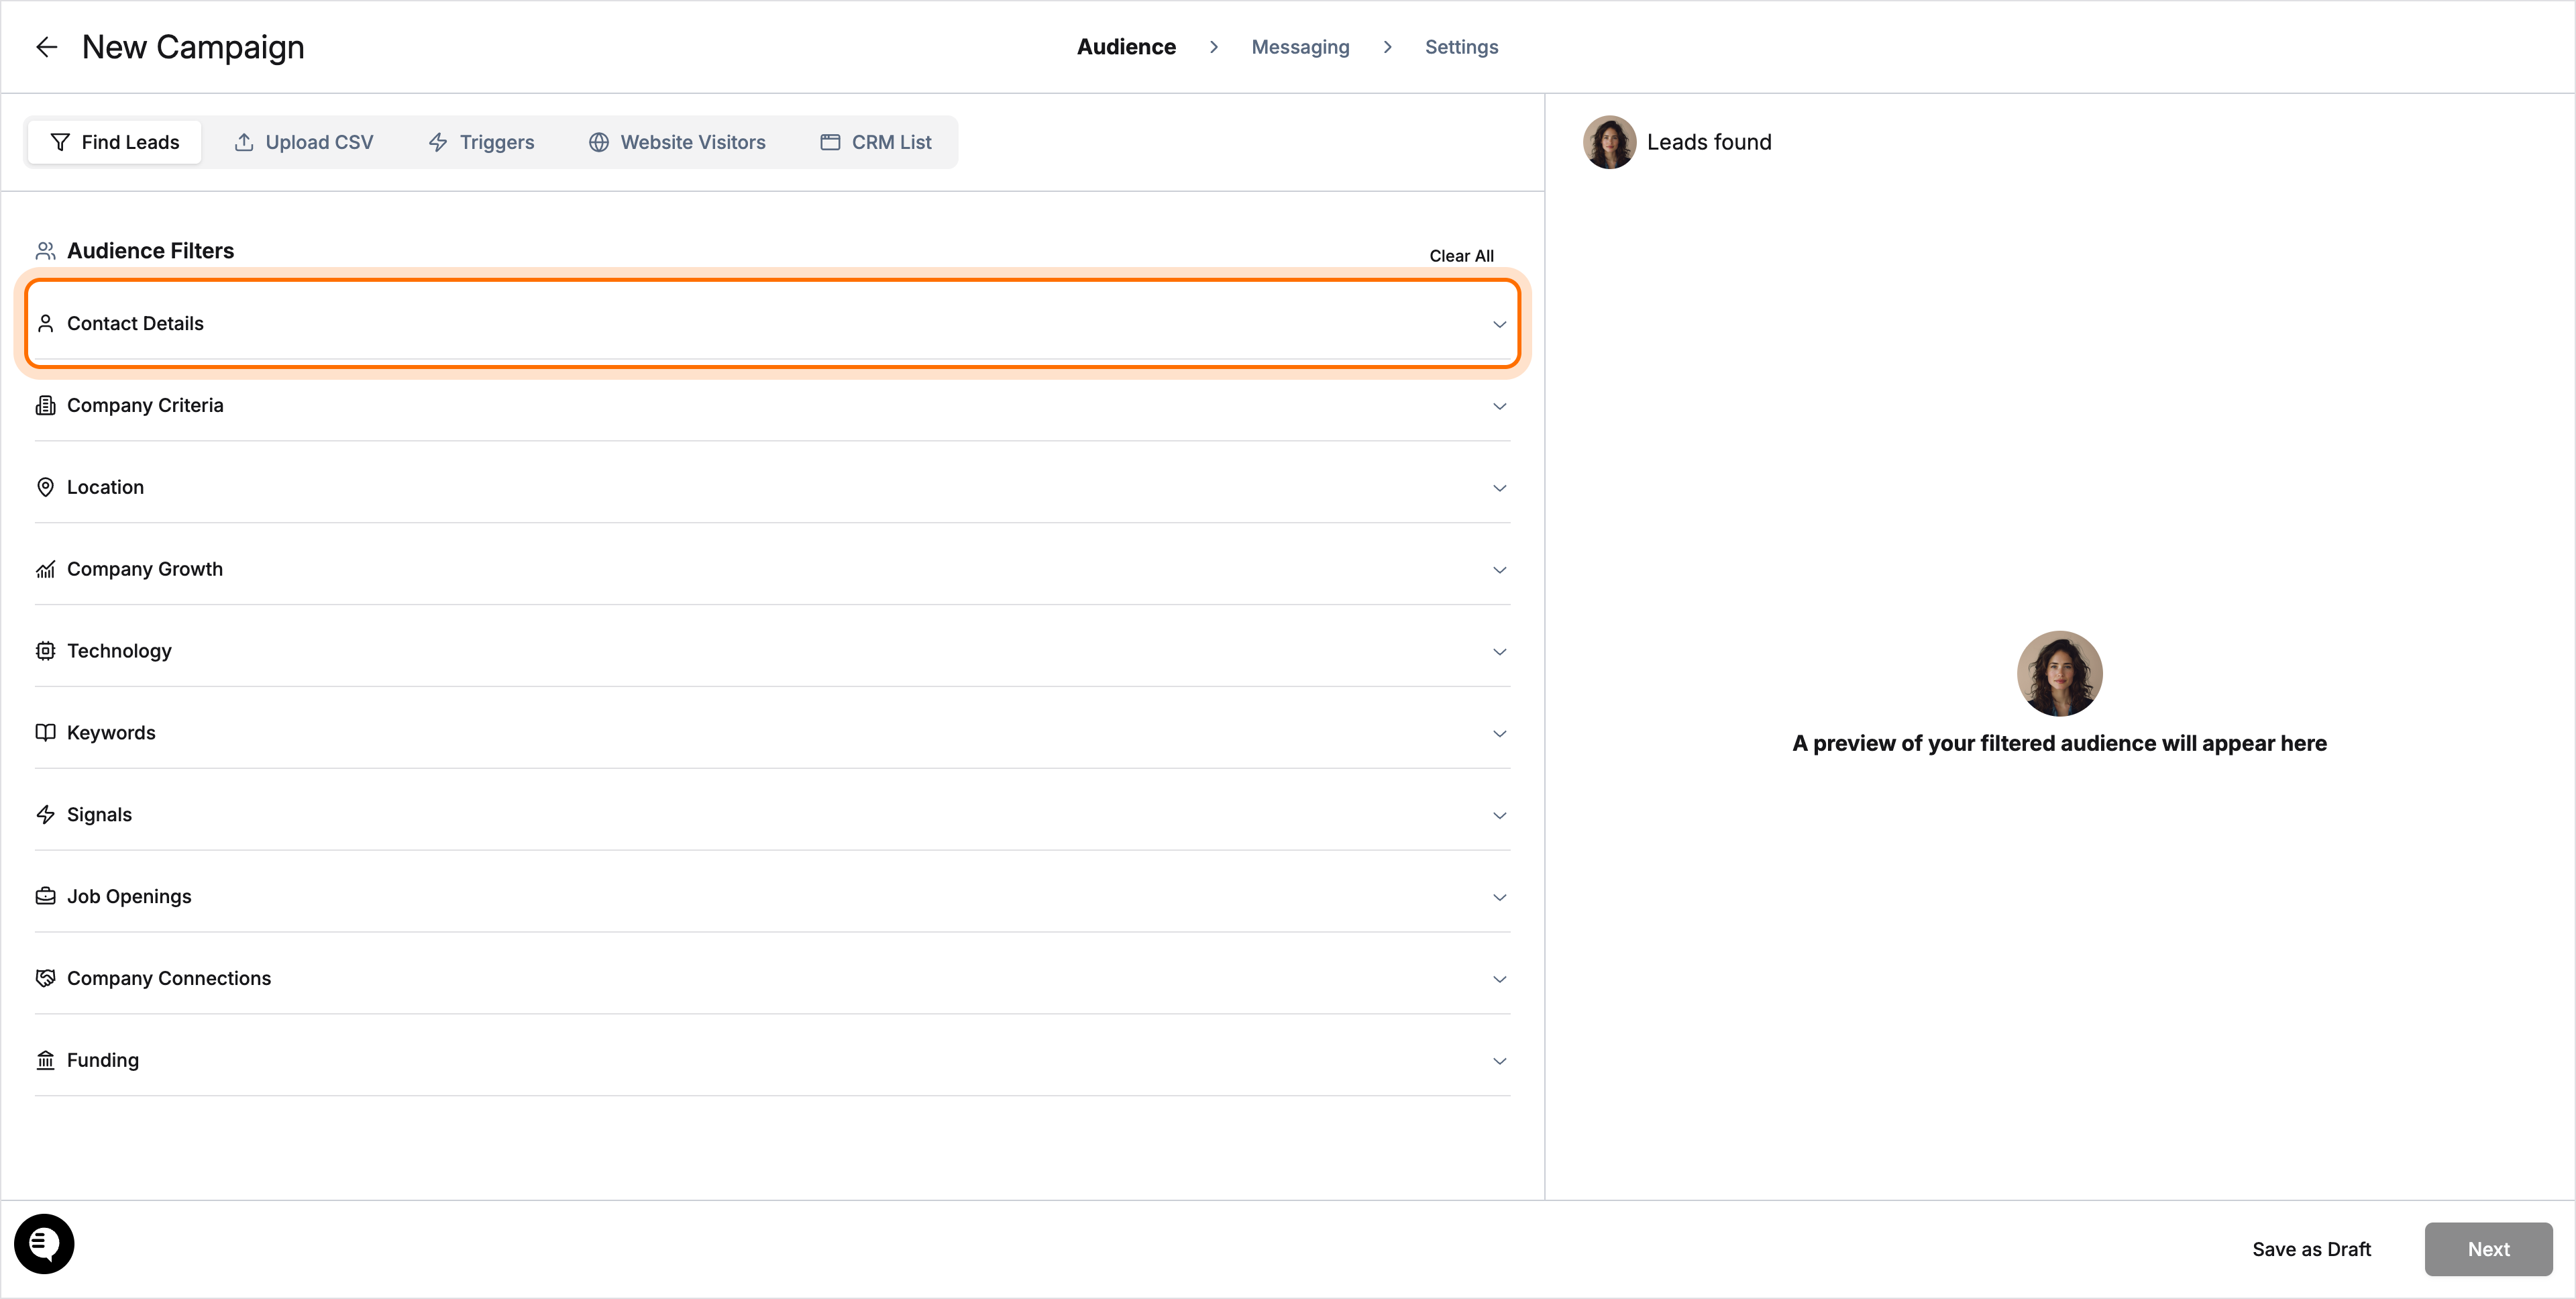
-
Review and Edit Contact Detail Fields
Configure any of the following filters as needed for your campaign:-
Job Title / Exclude Job Title
Enter titles or keywords to include or remove. -
Department
Select one or more departments. -
Seniority Level
Choose the seniority range (e.g., Manager, Director, VP). -
Job Change
Filter contacts who changed jobs in the last 30, 60, or 90 days. -
University Name
Specify universities for alumni targeting.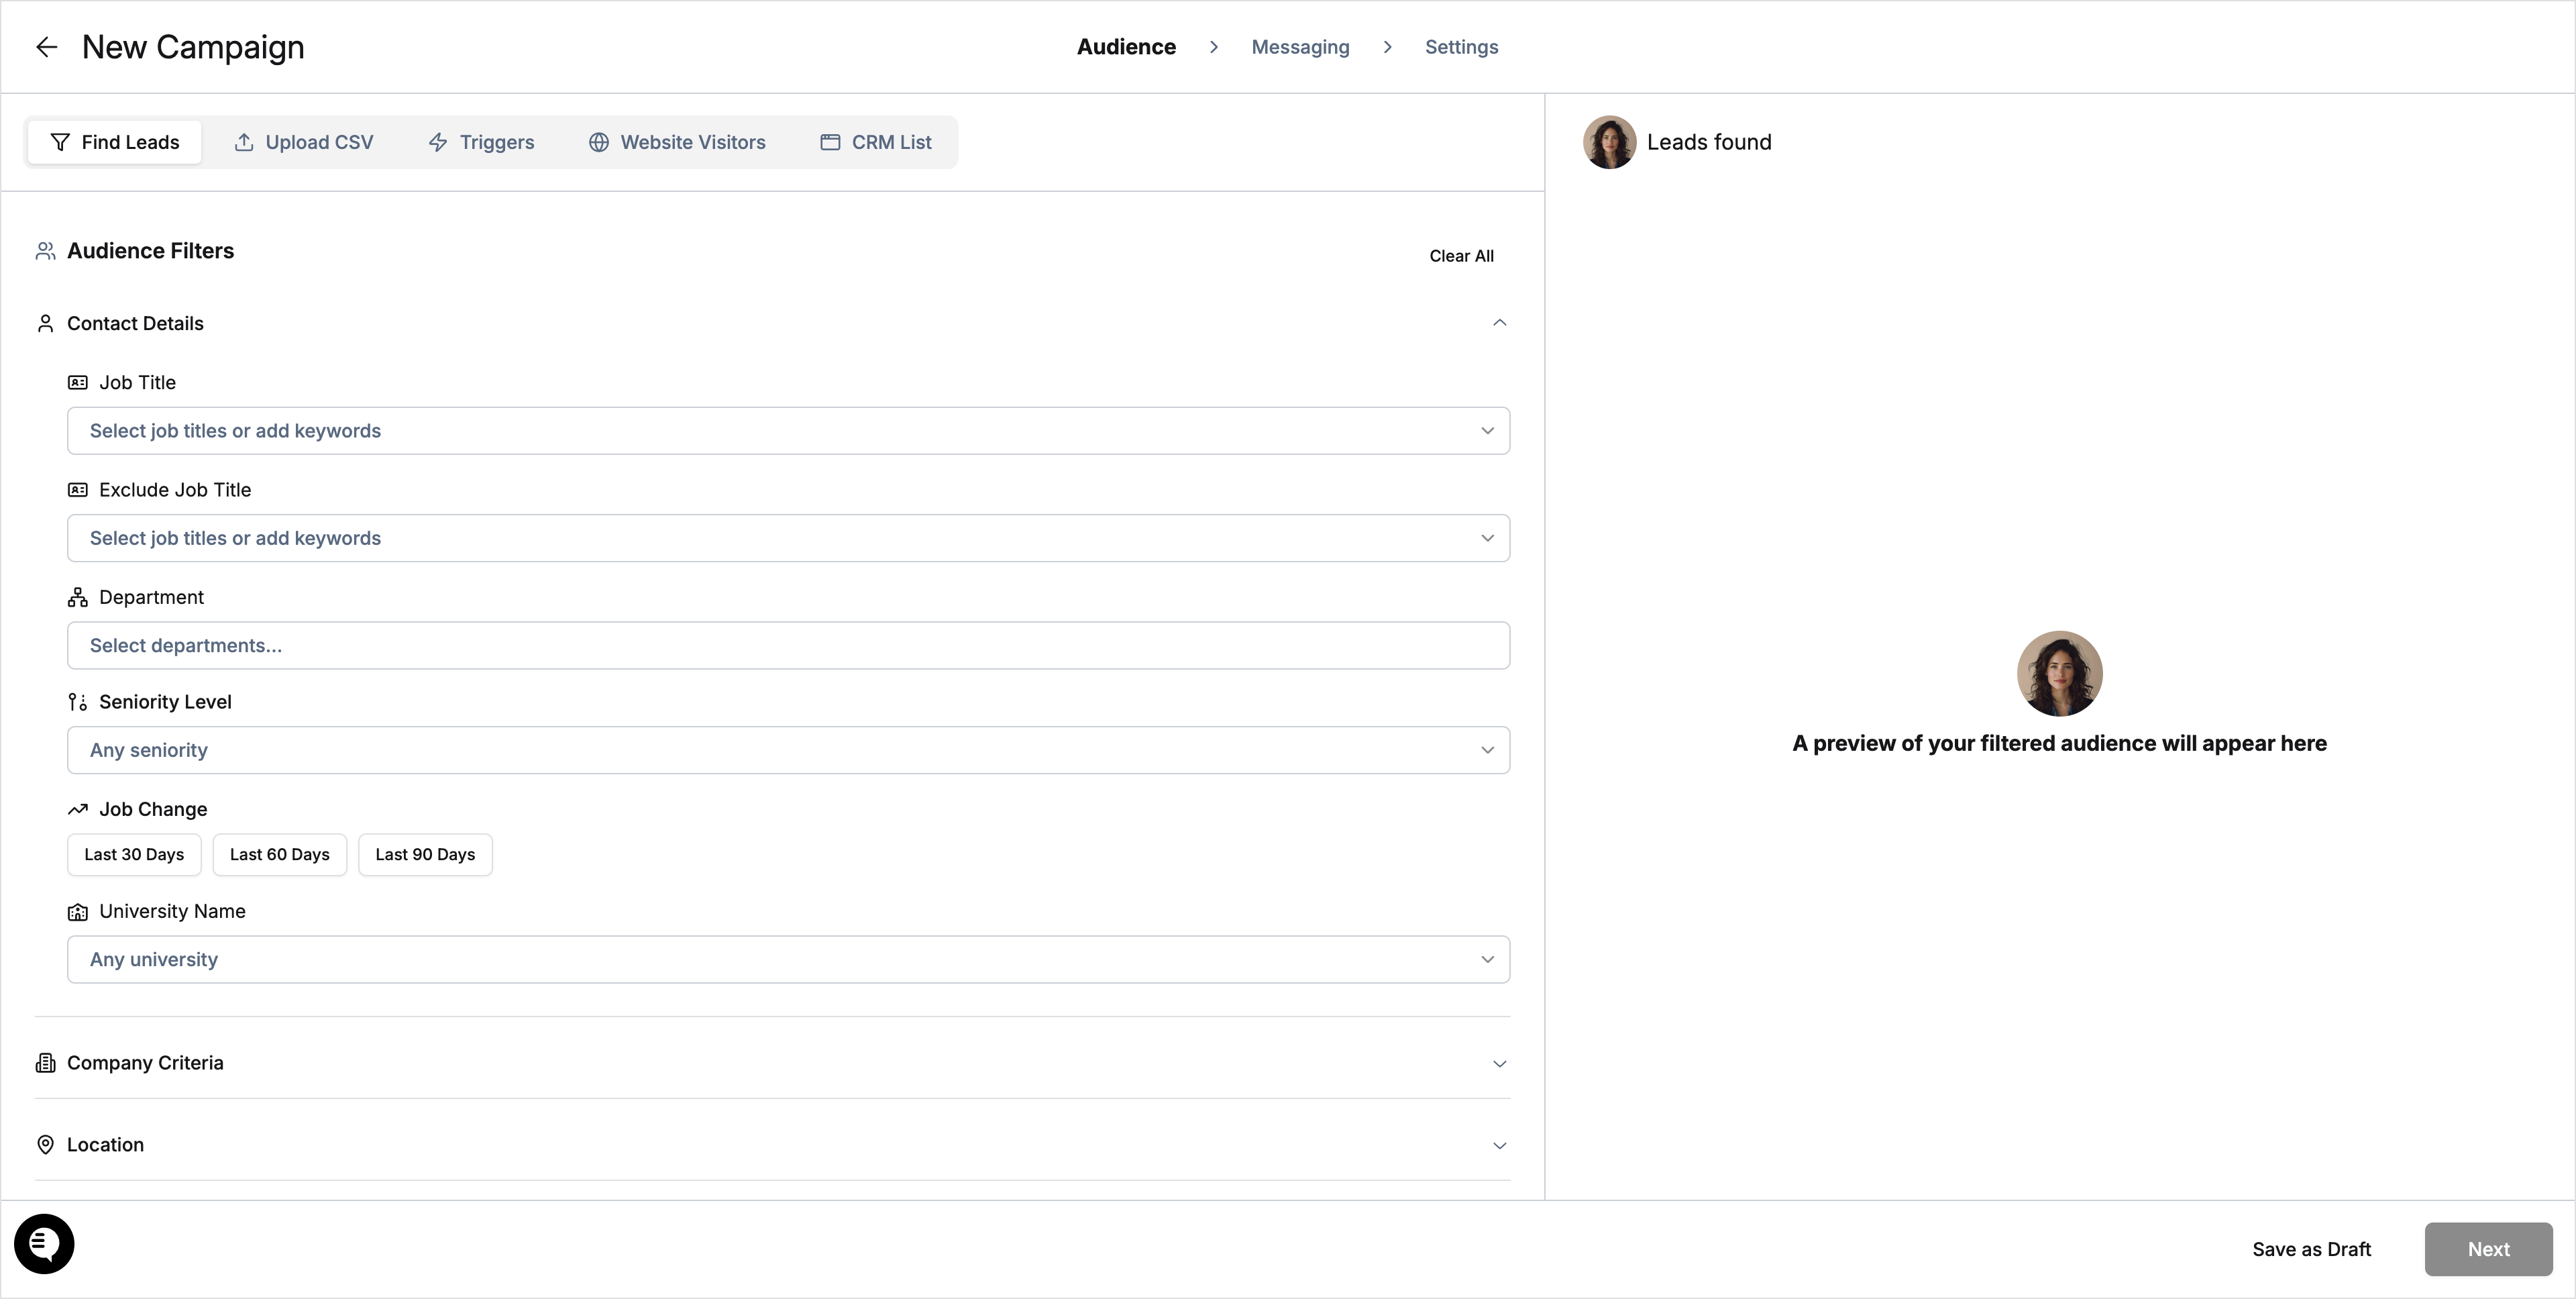
-
Verification Checklist
-
Contact Details panel is expanded in the left sidebar.
-
All filter fields (Job Title, Department, etc.) are visible.
-
Preview pane states “A preview of your filtered audience will appear here.”
-
Save as Draft and Next buttons are displayed at the bottom-right.
Troubleshooting
|||
Success Criteria
-
The Contact Details section is expanded and editable.
-
Desired filters are configured without errors.
-
You are ready to continue building your campaign or click Next to proceed.