Editing Campaigns | Alice
Overview
Once a campaign is live, you may need to make changes, such as refining the audience, updating messaging, or adjusting settings. Alice makes it easy to edit existing campaigns while ensuring updates apply only to newly sourced leads.
Video Guide
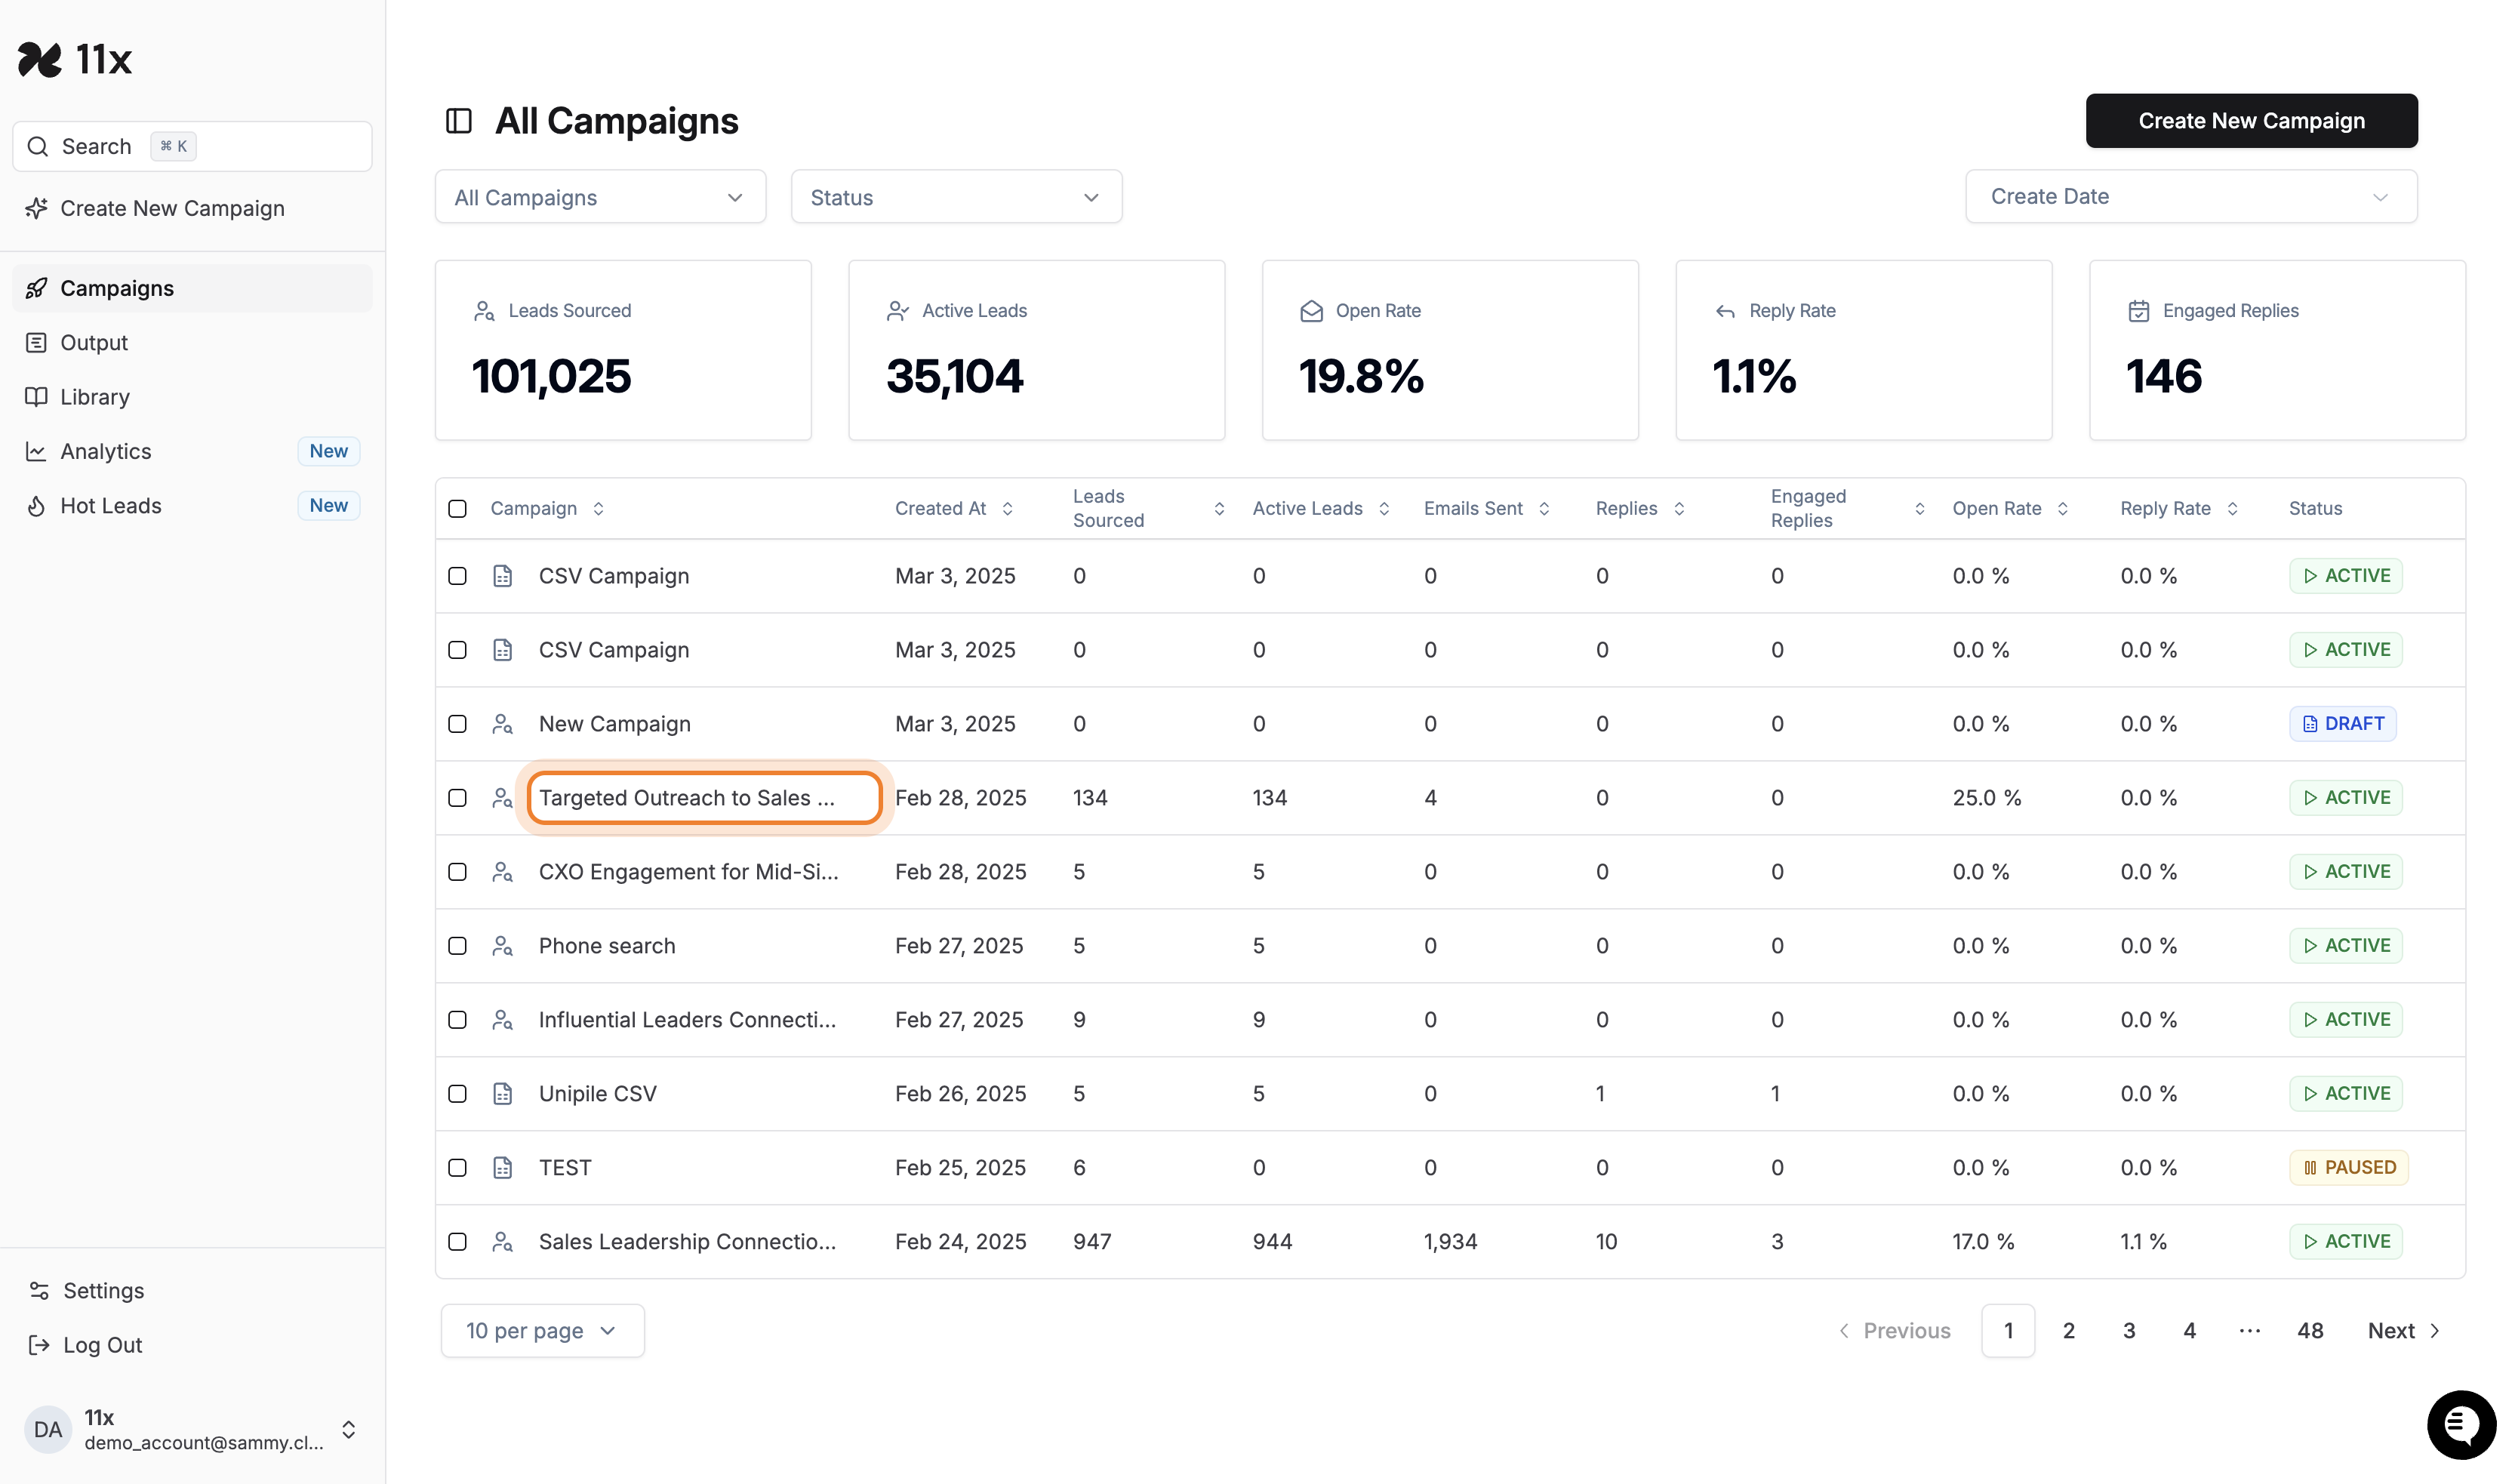
Find the Campaign from the List
Navigate to the list of campaigns and locate the one you want to edit.
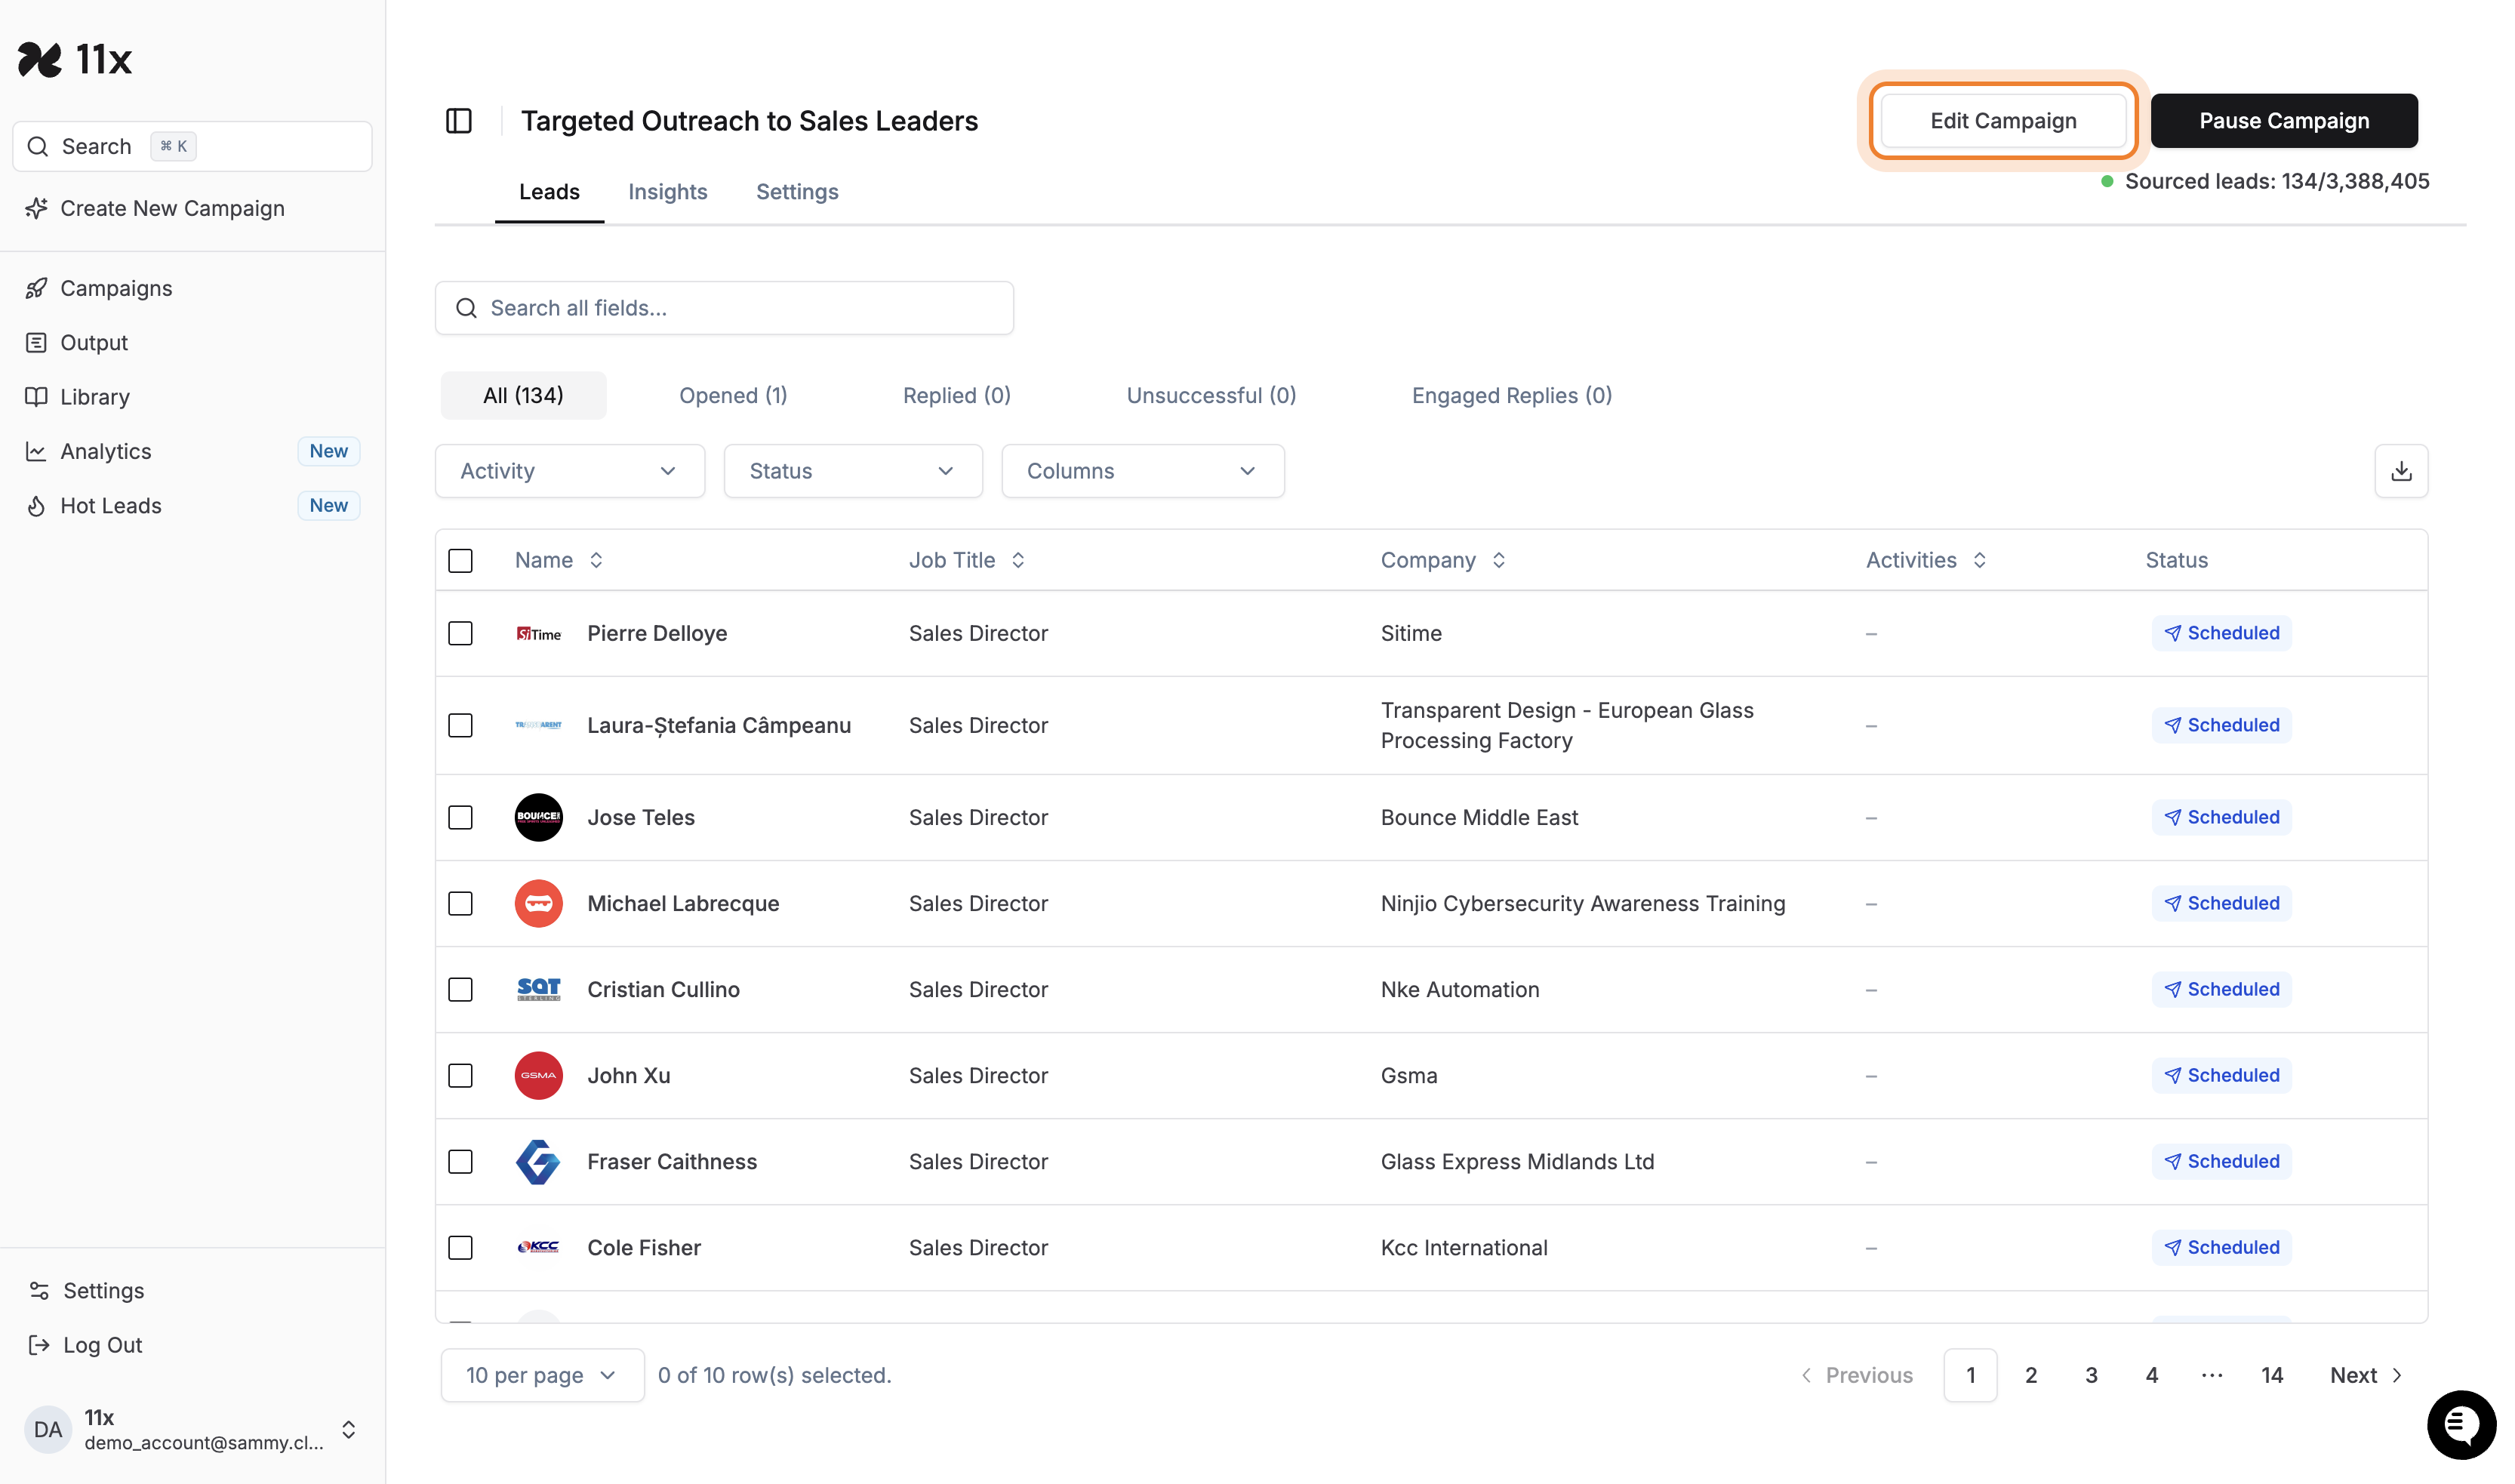
Click “Edit Campaign”
Open the campaign details and click the Edit Campaign button in the top right.
Make Changes to Audience, Messaging, or Settings
-
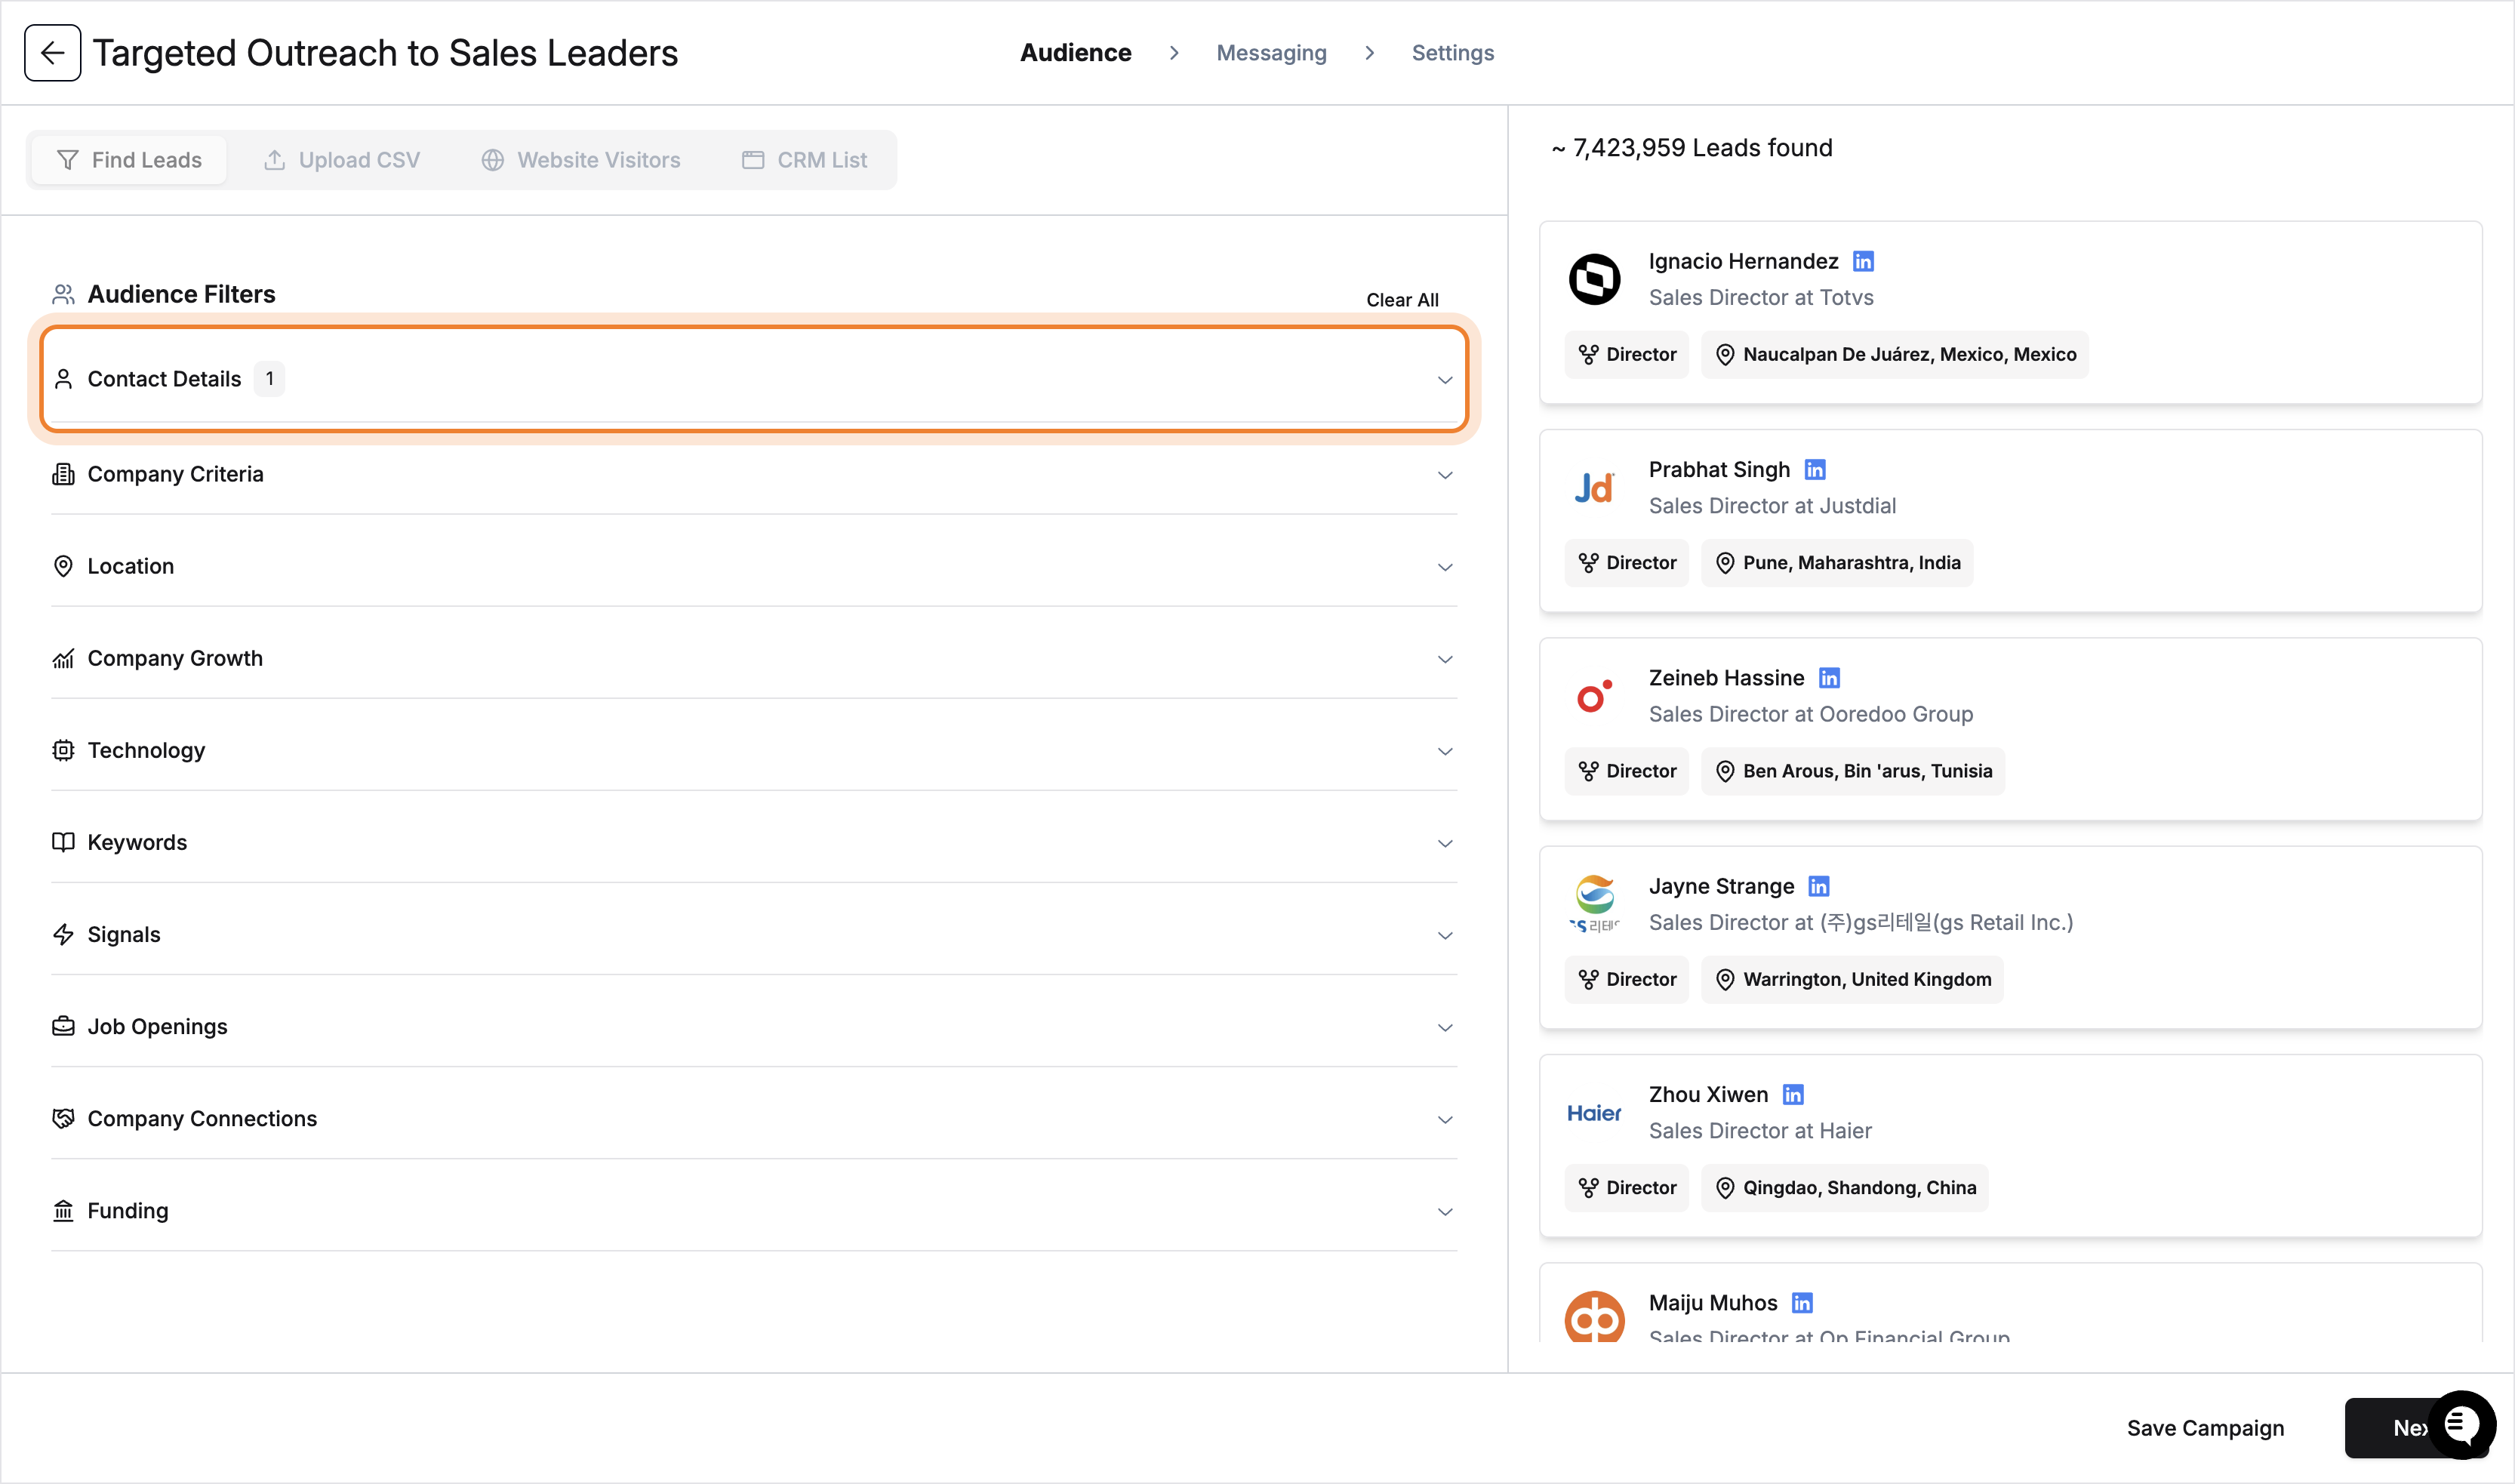
Audience: Modify job titles, locations, exclusions, or other criteria to refine your target list.
- To modify audience filters, such as excluding job titles, follow these steps:
- Click on the Contact Details filter.
- Enter the job title you wish to exclude in the Exclude Job Title input field.
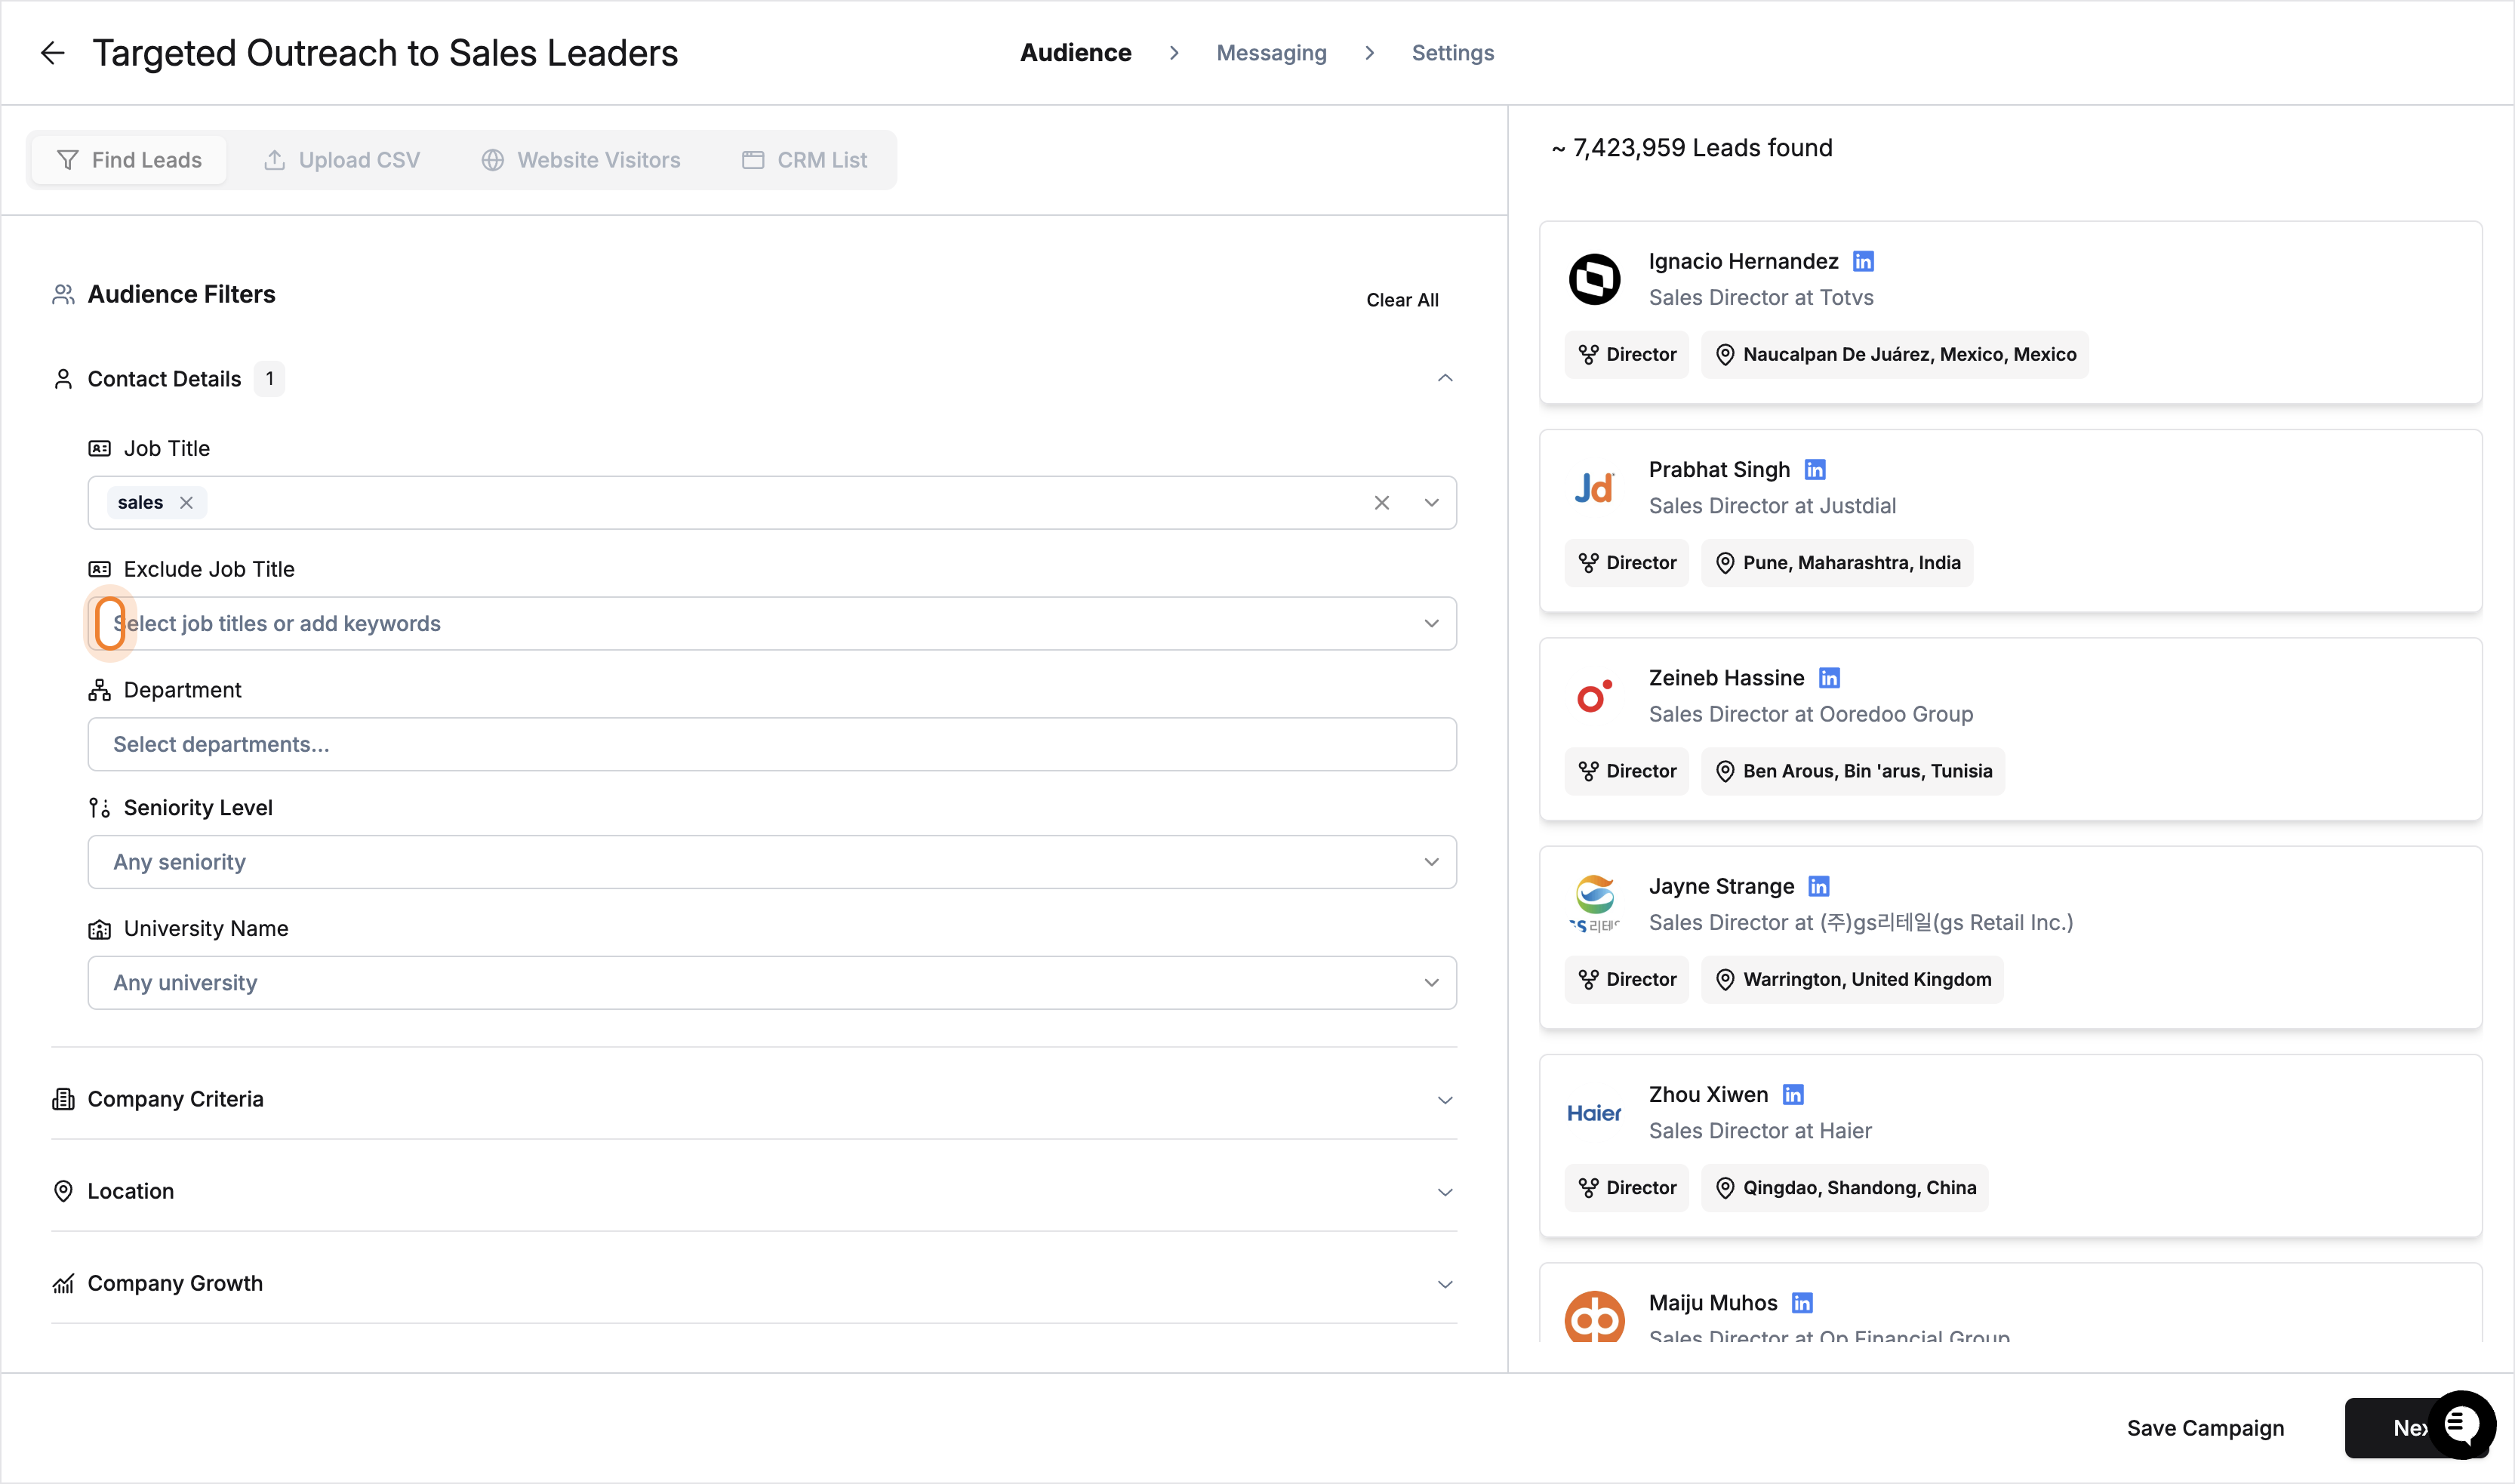
- Select the desired job title from the suggestions.
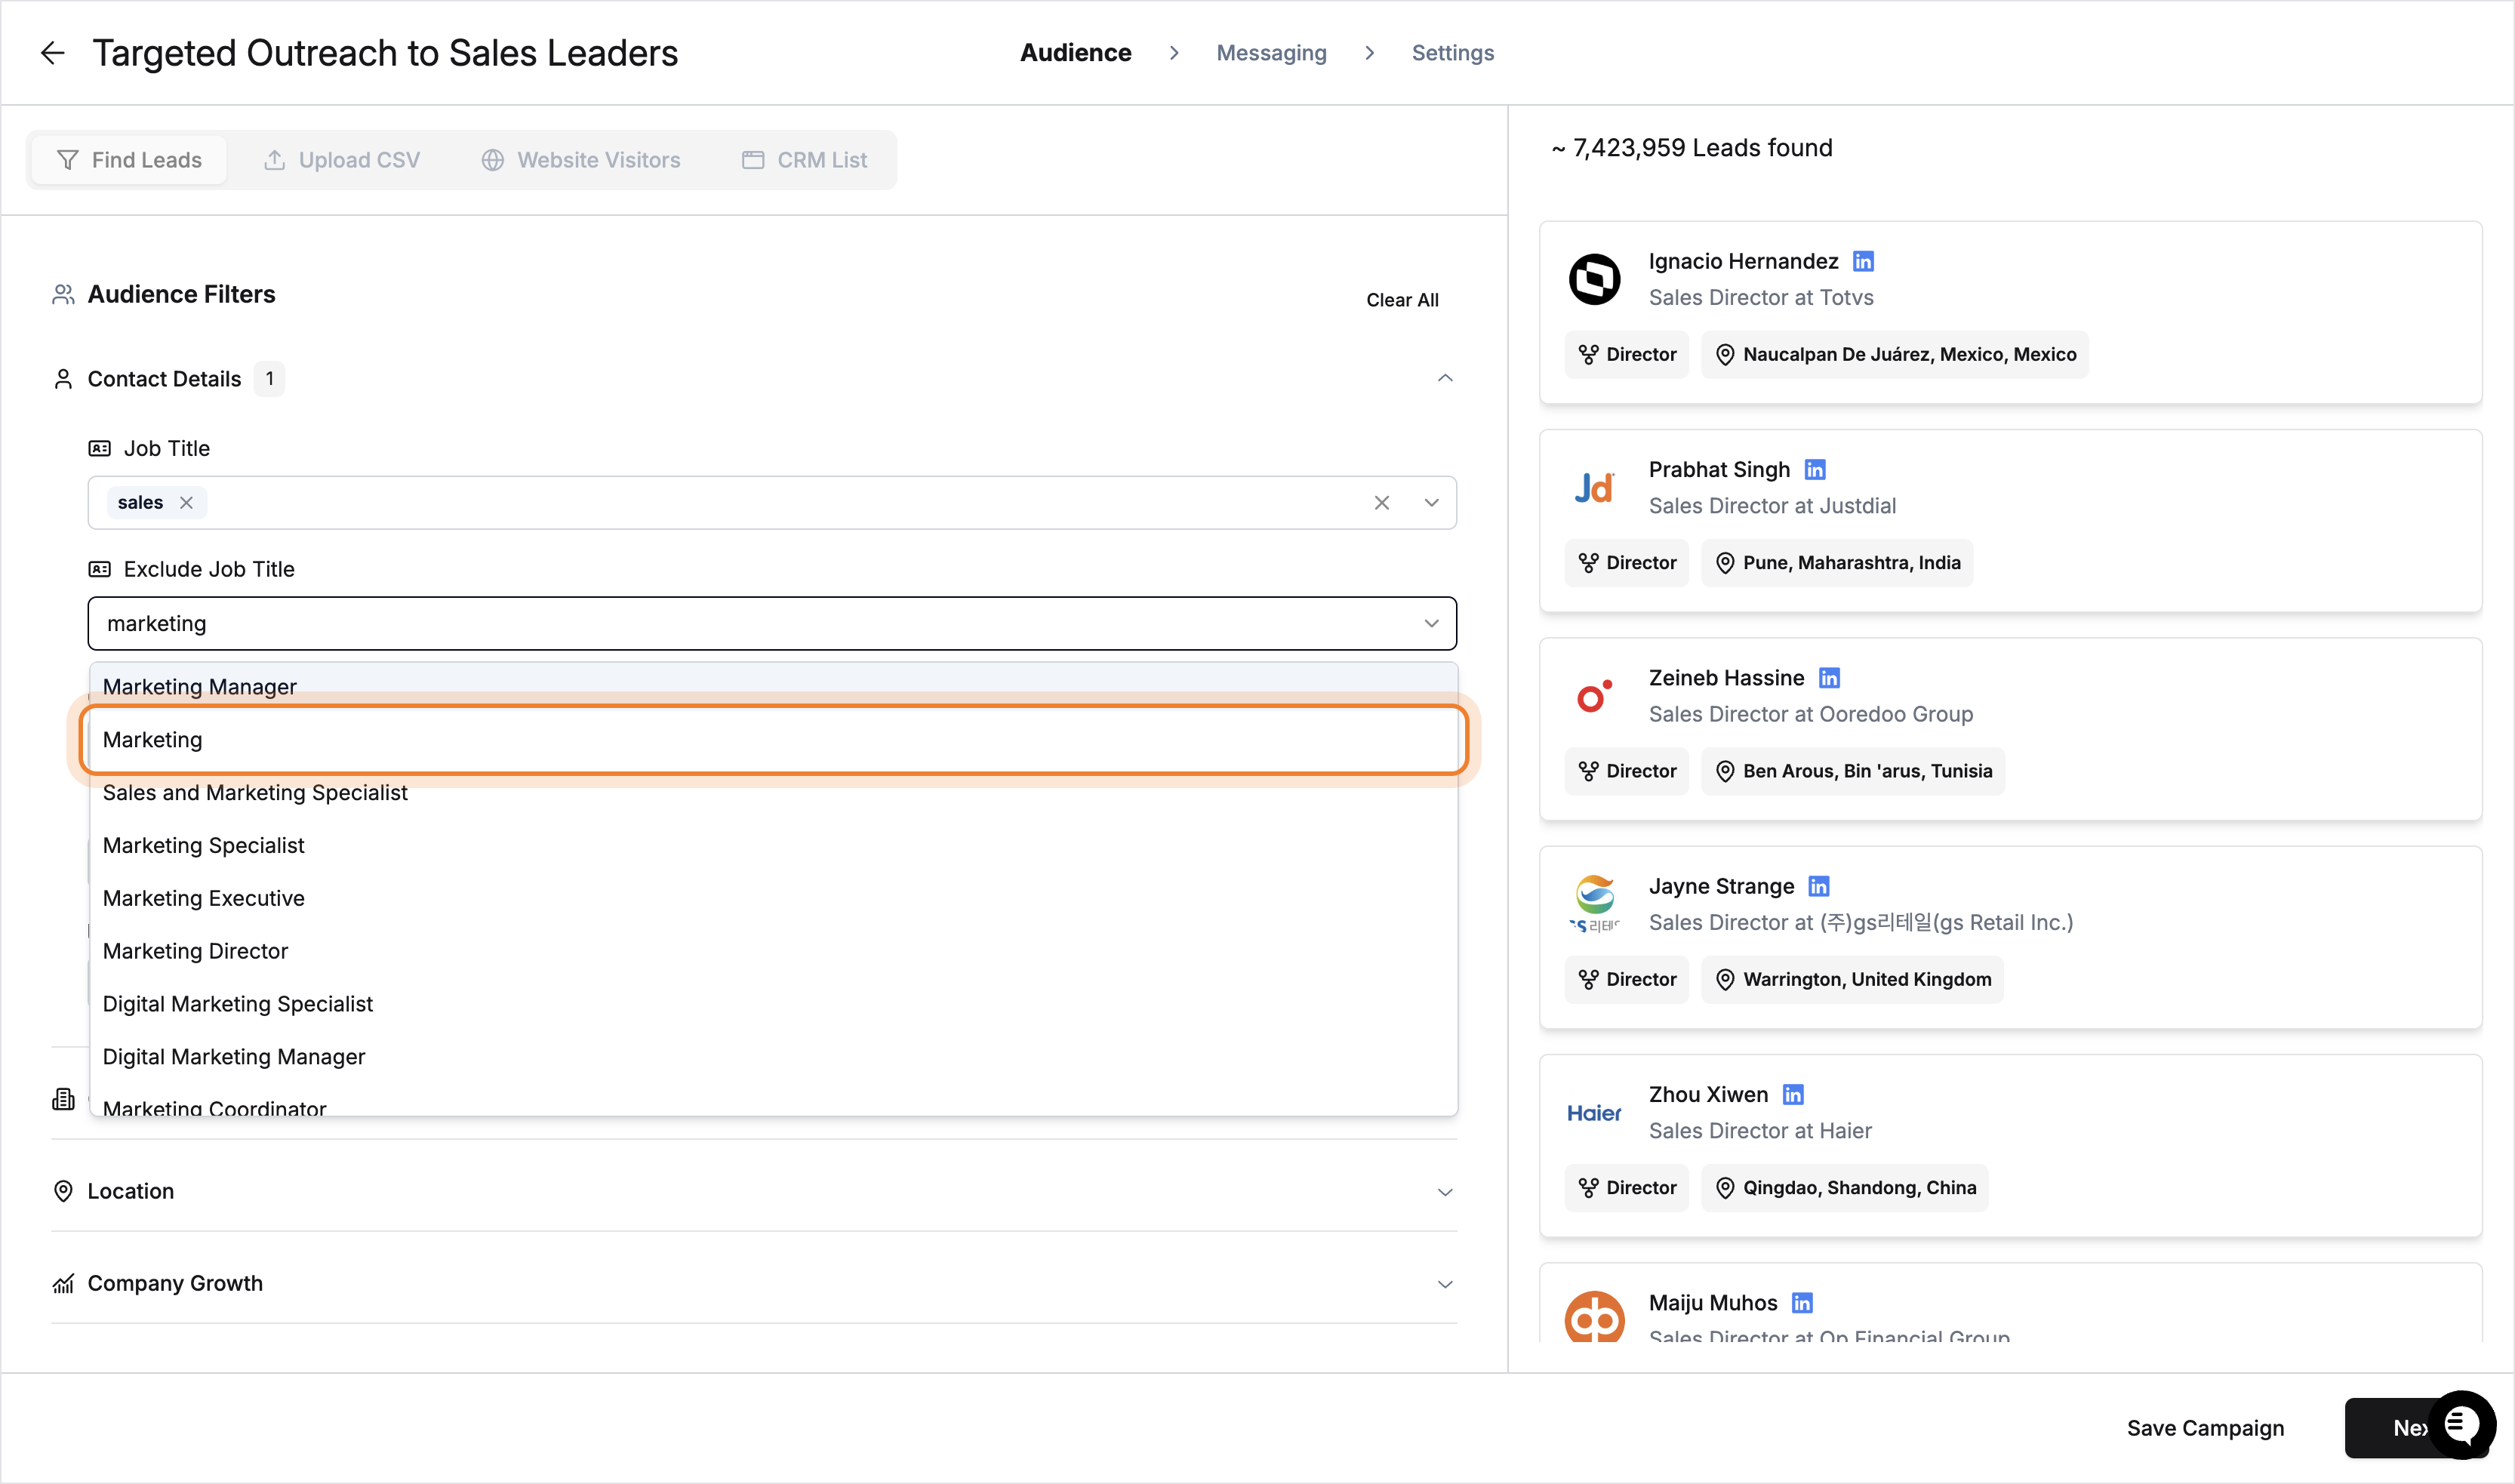
- Click Save Campaign to save your changes.

- Click on the Contact Details filter.
- To modify audience filters, such as excluding job titles, follow these steps:
-
Messaging: Adjust value points, pain points, or other key messaging details.
-
Settings: Update any additional campaign configurations as needed.
Messaging Changes Apply Only to New Leads
Any messaging updates will only affect leads sourced after the change. Existing leads and ongoing sequences will not be altered to maintain message consistency.
Creating and Launching Campaigns in Leadbeam (11x)
Overview
This guide explains how to create and launch campaigns in Leadbeam on the 11x platform. You will learn how to set up offers in the Library, configure campaign filters, and send your initial emails.
Problem it solves: Allows you to streamline outreach by targeting the right audience with specific offers.
Expected outcome: Successfully create a campaign with relevant offers and filters, leading to effective email delivery.
Estimated time to complete: 10–15 minutes, depending on campaign complexity.
Prerequisites
- An active Leadbeam account on 11x with permissions to create and manage campaigns.
- Relevant offers created in the Library > Offers section.
- Basic understanding of your audience’s titles, industries, and headcount ranges.
- (Optional) Plan for advanced filters (e.g., technology usage) if available.
- Stable internet connection (though be aware of potential slower performance during feature launches).
Step-by-Step Instructions
1. Access the 11x Dashboard
- Log in to your 11x account.
- Navigate to the Library and locate the Offers tab.
Tip: If you see previously created offers (e.g., under “Restaurant Tech” or other categories), you can edit and optimize them.
2. Review or Create Offers
- Click the Offers tab to open existing offers.
- Select an offer to review it (e.g., “Restaurant Tech” or “Food & Beverage”).
- Add or edit pain resolutions (e.g., “Save 100+ hours,” “Automate data entry into CRM”).
- Add or edit proof points (e.g., proven use cases, client testimonials).
Why: Offers must clearly address your audience’s pain points.
3. Set Up Campaign Filters
- Go to the Campaigns section in the main menu.
- Select or create a new campaign (e.g., “Wholesale Distribution”).
- Configure job title filters such as:
- Outside Sales
- Territory Sales
- Field Sales
- Area Sales
- (Optional) higher-level roles like VP or CXO if appropriate.
- Configure the company headcount range.
- Configure industry filters (e.g., “Food & Beverage,” “Restaurant,” “Wholesale”).
- (Optional) Add keyword filters if beneficial.
Tip: Avoid double-filtering with broad and specific job titles at the same time unless needed.
4. Save Campaign as Draft
- Click Save as Draft to preserve your settings.
- Wait for the system to confirm the save.
Verification: You should see your campaign appear under Draft Campaigns.
5. Handle Ongoing Optimization
- If the platform is temporarily slow due to updates, wait or close the tab and retry.
- You can continue refining offers or filters while in draft mode.
6. Activate and Send Emails
- Once satisfied with your campaign setup and offers, click Activate.
- Confirm you are ready to send emails to the filtered audience.
- The system will begin sending emails using the chosen offers.
Verification: Check the Emails or Campaign Summary page to see sending progress.
Troubleshooting
-
Platform Performance Issues
- Occasional slowness may occur during feature launches or high traffic.
- Try closing extra open tabs or logging out and back in.
- Contact support via Slack if the issue persists or you are unable to proceed.
-
Filter Too Narrow/Broad
- If your audience is too large, refine your filters (e.g., add more specific roles or narrower industries).
- If your audience is too small, broaden your filters.
-
Future Enhancements
- Filtering by technology usage (e.g., Salesforce) will be available soon.
-
Rescheduling
- If the system is consistently slow or unresponsive, coordinate with support to reschedule training once performance is improved.
Success Criteria
- Draft Campaign Creation: Your campaign is saved under Drafts with correct filters and assigned offers.
- Email Sending: Campaign activates without errors and begins sending emails to your target audience.
- Verification Indicators:
- Confirmation of saved draft.
- Visible sending status or logged email activity.
- Next Steps:
- Monitor replies and conversions.
- Explore upcoming filters (e.g., Salesforce usage) once released.